Step 1: In the Shopify Admin, navigate to Settings.
Step 2: To add more languages to your store, choose Languages > Add languages.
Step 3: Choose languages you want to add to your site
Step 4: Hit Publish when you're done.
Optional: After finishing setting up languages, follow these steps to manage how customers experience your store for one specific market only.
Step 5: In Settings, select a market.
Step 6: In the Languages and domains section, add the languages you want to display in the language dropdown list on your store. You can also change the default language of the market.
When you're done, don't forget to hit Save to save changes.
Use the Shopify Translate & Adapt app, or a compatible third-party translation app to translate your store.
Adding third-party apps can come at a cost, however, and we are unable to guarantee that the apps will integrate with Pebble theme. Any conflicts with the added app and your theme would need to be resolved by the app’s developers.
Once you've translated and published your language, you'll want to enable the language selector for your theme so your customers can choose their language.
Steps:
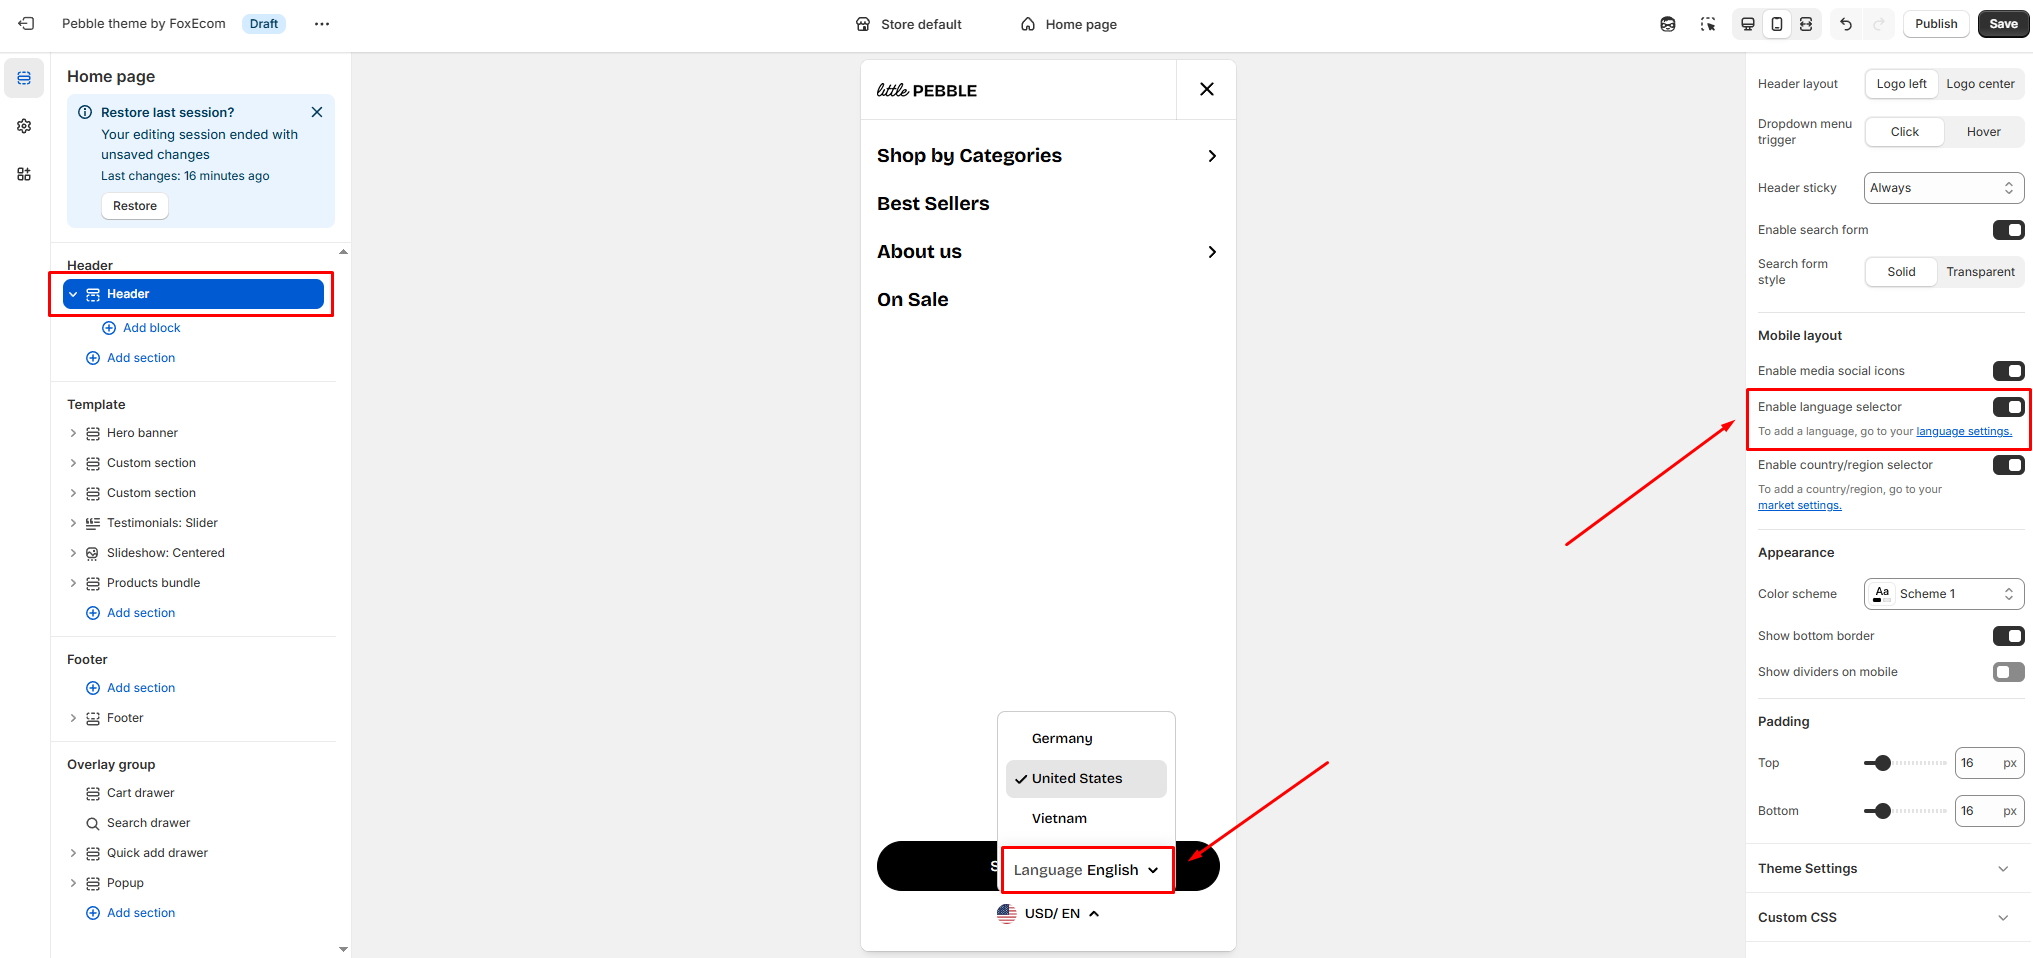
From the Shopify admin, go to Online store > Themes > Customize.
In the Header section, check the option 'Enable language selector' to show a language selector in the mobile menu drawer.
Note: This setting is for Mobile layout, and this shows a language selector on the menu drawer.
In the Footer section, check the option 'Enable language selector' in the Footer on both views.
Save the change.
Our themes don’t support placing the language selector in the mobile header due to limited space.
If you require this customization, you'll need to work with a developer. We also suggest enabling automatic language redirection so visitors are shown the site in their preferred language, reducing the need for a visible selector in the header.

_EQmYzDkd.jpg)