
Other Pages
Blogs
2 min read
_LCM0Tw9v.jpg)
How to edit the blog page
You can add any section that is listed in Theme sections. Nevertheless, there is a section designed specifically for the blog page.
- In the theme editor (Customize), open the template selector
- Select Blogs, then Default blog.
- On the left sidebar, select Default blog.
- Make necessary changes > Save.
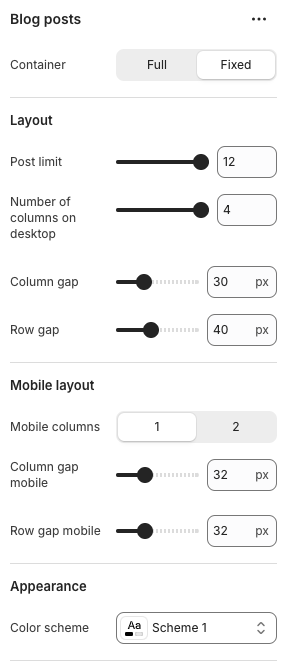
Blog settings
- Container: You can choose between Full width or Fixed width for the section.
- Layout: These settings allow you to control how posts appear on desktop by setting the post limit, choosing the number of columns, and adjusting the column and row gaps to manage the spacing between posts.
- Mobile layout: Choose 1 or 2 columns and adjust column and row gaps to control horizontal and vertical spacing on mobile devices as you like.
- Appearance: Select a pre-defined color scheme for your blog post cards.
Blog posts block

📝 Learn more: Blog posts
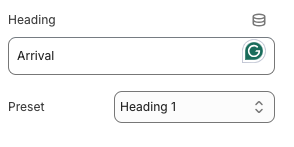
Heading
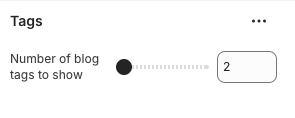
Tags
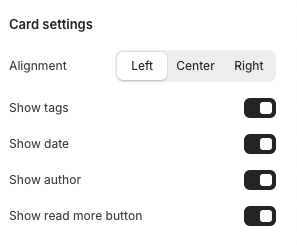
Article card
- Alignment: Change the the position of Heading
- Show tags: Displays the keywords or categories related to the article/blog post.
- Show date: Displays the date the article or blog post was pued.
- Show author: Shows the name of the author or contributor of the article/blog post.
- Show read more button: Lead the customers to the full article/blog post.
Not sure how to add a blog? Check out Shopify Help Center: Add a blog.
📝 Learn more: Basic
Last updated