# Password
_kp5ugTy3.jpg)
The password page is a landing page that adds password protection to merchants' online stores in case they are not yet ready to go live.
## How to edit the Password page
1. In the theme editor (**Customize**), open the template selector.
2. Select **Password.**
3. On the left sidebar, select **Password.**
4. Customize the **Password header** and **Password section** as needed, then click Save.
Open the Password header and Password section to customize:
| Setting | Description |
| ----------------------- | ---------------------------------------------------------------------------------------------------------------------------------- |
| **Container** | Choose the section width. Select Full to use the full available width or Fixed to keep the content within a fixed-width container. |
| **Alignment** | Set the horizontal alignment of the content: Left, Center, or Right. |
| **Vertical gap** | Adjust the vertical spacing between content elements on desktop. |
| **Mobile vertical gap** | Adjust the vertical spacing between content elements on mobile devices. |
You can add different content blocks to the Password section, such as **Heading, Text, and Newsletter**, to customize the message and collect visitor emails. *Learn more:*
Theme blocks
You can also design the page using other sections and blocks to make it more visually appealing. *Learn more:*
Theme sections
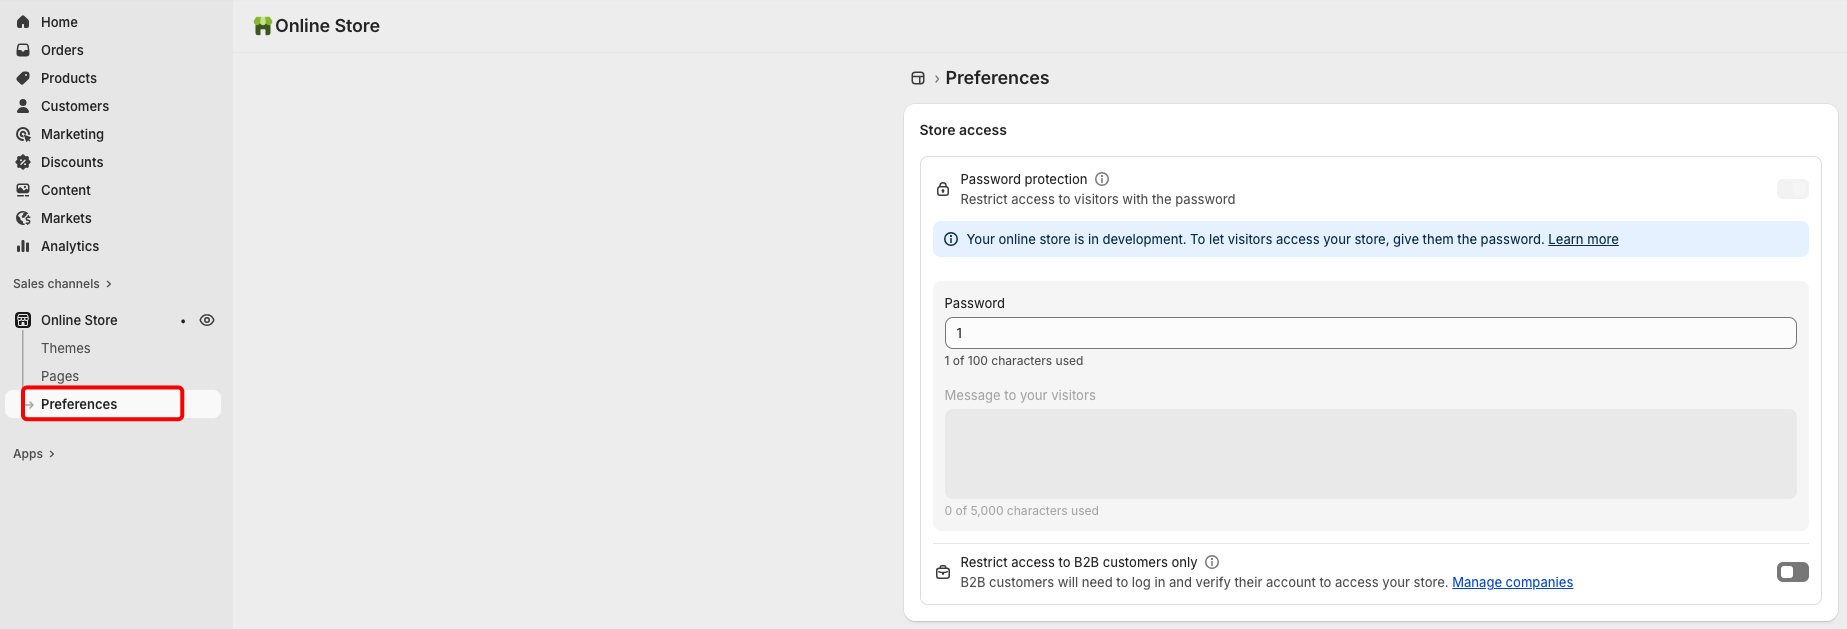
## How to add your online store password
Enable the password to restrict access to your online store. Only customers with a password can access it.
1. From your Shopify admin, go to **Online Store** > [**Preferences**](https://admin.shopify.com/online_store/preferences).
2. In the **Store access** section, select **Password protection**.
3. In the **Password** field, enter the password that you want to add to your online store and restrict access with.
4. Click **Save**.