
Other Pages
Blog posts
3 min read
_EjdlaCNV.jpg)
- Brand storytelling: Share your brand's story, values, and mission. Let your audience connect with your vision and the "why" behind what you do.
- Expertise & authority: Establish yourself as a trusted resource by providing valuable content, industry insights, and helpful tips.
- Attract & engage: High-quality blog content can attract new visitors to your website and keep them coming back for more.
- SEO powerhouse: Blogs optimized for search engines can significantly improve your website's ranking, driving organic traffic.
- Building relationships: Foster a community around your brand by creating interactive content that invites conversation and feedback.
How to edit a blog post template
- In the theme editor (Customize), open the template selector.
- Select Blog posts, then Default blog post.
- On the left-sidebar, select Main article.
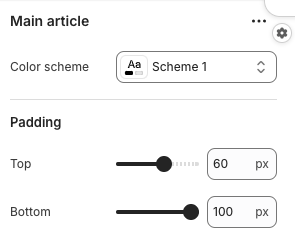
Main article block
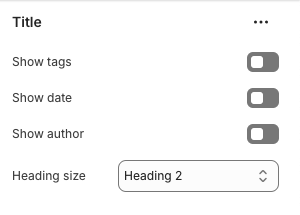
Title
- Show tags: Displays the keywords or categories related to the article/blog post.
- Show date: Displays the date the article or blog post was pued.
- Show author: Shows the name of the author or contributor of the article/blog post.
- Heading size: Choose an appropriate font size for the blog post heading.
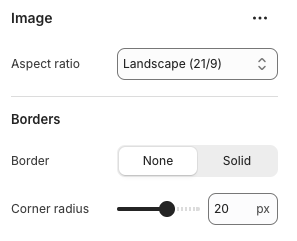
Image
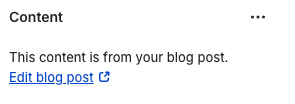
Content
The Content block allows your post to be displayed; to change the content, go to Edit blog post.
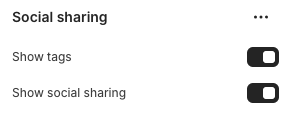
Social sharing
- Show tags: Displays the keywords or categories related to the article/blog post.
- Show social sharing: Displays social media icons for the page.
To set up social media, learn more: Social media.
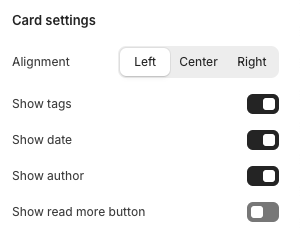
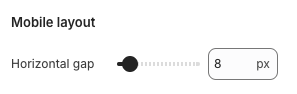
Related posts

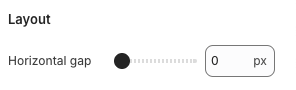
- Alignment: Adjusts the position of the blog card text with 3 options: Left, Center, Right.
- Show tags: Displays the keywords or categories related to the article/blog post.
- Show date: Displays the date the article or blog post was pued.
- Show author: Shows the name of the author or contributor of the article/blog post.
- Show read more button: Lead the customers to the full article/blog post.
If you’re looking to create a more visually appealing blog post layout, you might want to try our Foxify AI Landing Page Builder app, it helps you create beautiful templates easily with simple drag-and-drop ✨
Last updated