# Custom CSS
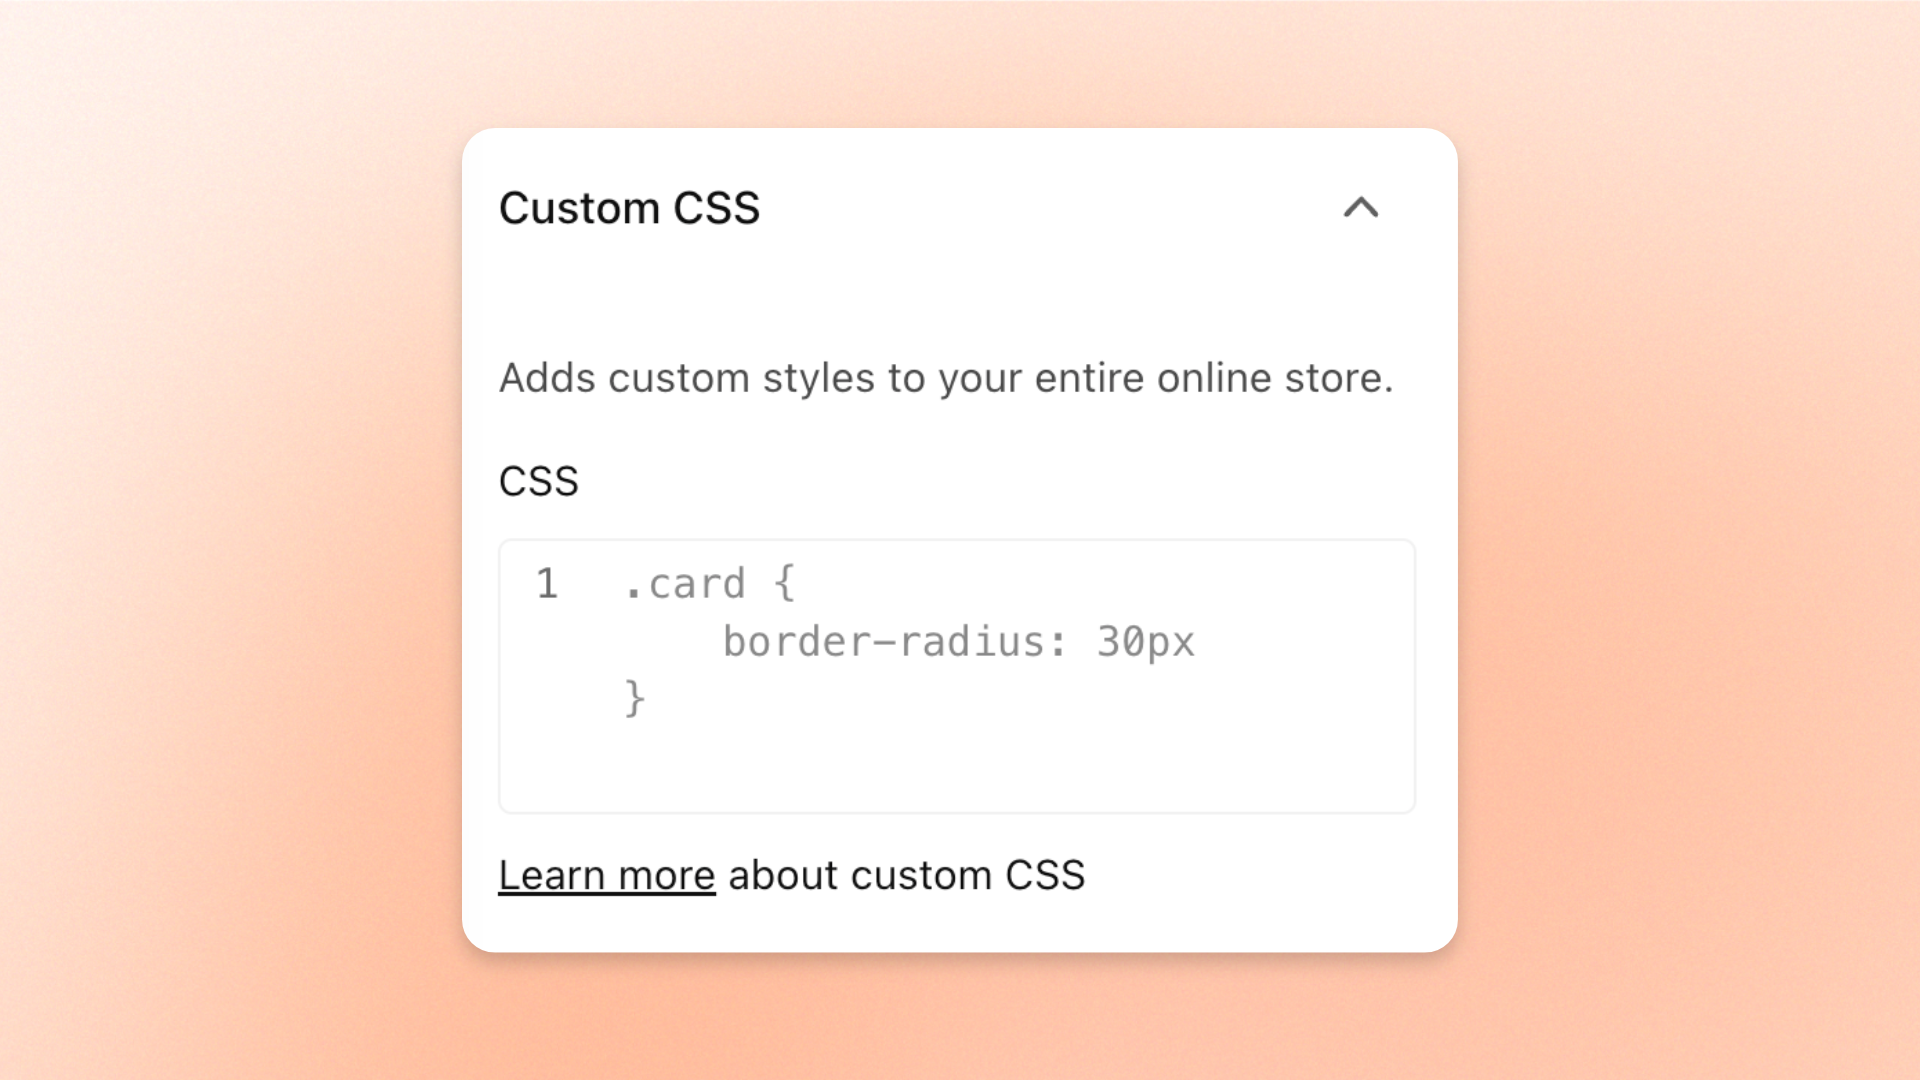
Change how your store looks when a built-in theme setting doesn't give you the exact style you want, so it matches your brand. The **Custom CSS** setting adds your own styles to your entire online store.
Custom CSS needs some knowledge of web design languages, such as CSS, HTML, and Liquid. If you're not familiar with them, avoid custom code to prevent technical issues in your store.
## How to edit Custom CSS
1. Go to **Online Store > Themes** in your Shopify admin.
2. Click **Edit theme** next to Hyper.
3. Click the **Theme settings** icon in the left sidebar.
4. Click **Custom CSS**.
5. Enter your code in the **CSS** field.
6. Click **Save**.
## Settings
| Setting | Description | Options |
| ------- | ------------------------------------------------------- | --------------- |
| **CSS** | Your own CSS styles, added to your entire online store. | Enter CSS code. |
Custom CSS applies to your entire online store. Check several pages in the theme editor preview to make sure a style only changes what you meant it to.
## Tips and best practices
* Duplicate your theme before you add custom CSS, so you have a backup to restore if something goes wrong.
* New to CSS? Check out [W3Schools](https://www.w3schools.com/Css/) for a quick CSS tutorial.
* To learn how custom CSS works in Shopify themes, see [Shopify's guide to adding custom CSS](https://help.shopify.com/en/manual/online-store/themes/customizing-themes/edit-code/add-css).