Email signup
Encourage customers to get their latest deals, new collection release updates, etc. via the Email sign-up section.
#How to add an Email signup section to your Shopify store
Steps:
- In the theme editor (Customize),> click Add section
- Select Email signup.
- Make necessary changes.
- Save the settings.
#How to edit an Email sign-up section
#General
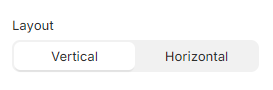
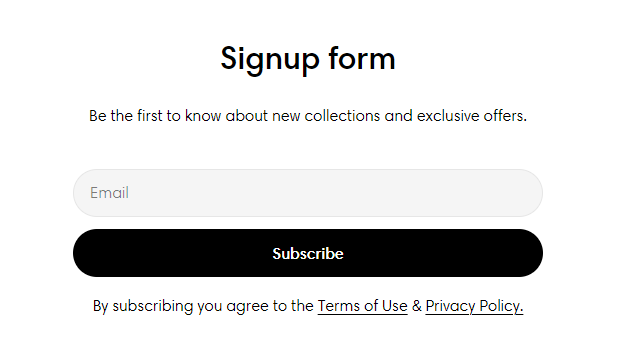
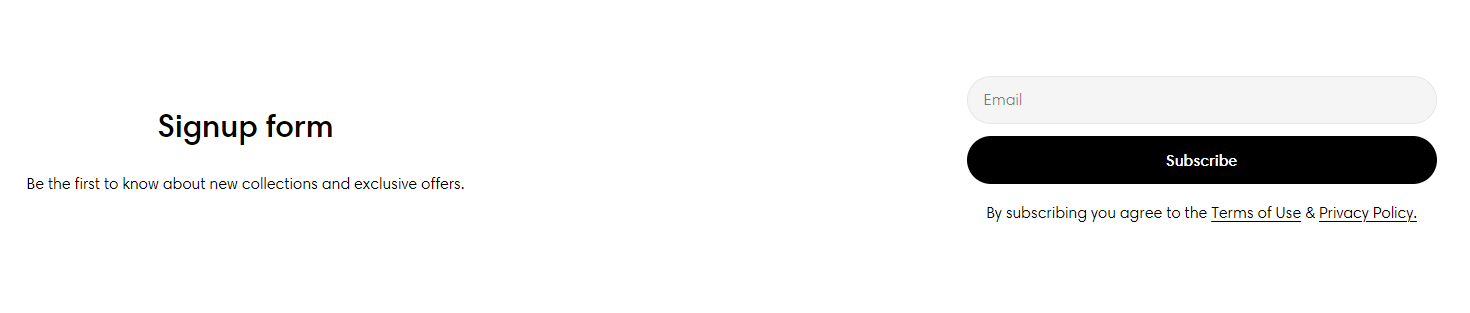
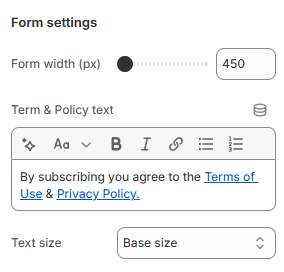
You can choose your preferred section Layout (Vertical/ Horizontal).
Customize the text and alignment to ensure the banner effectively communicates your message and encourages engagement.
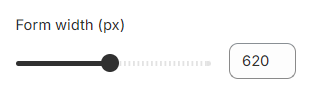
Use the slider to adjust the Form width (px) from 450px to 800px.
Provide the appropriate Term & Policy text for the Email sign-up section if needed and adjust the Text size.
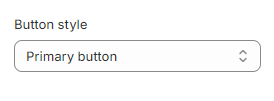
Change the Button style of the submit button to match your store's design.
Any customers who sign up will have an account created for them in Shopify Admin.
#Block settings
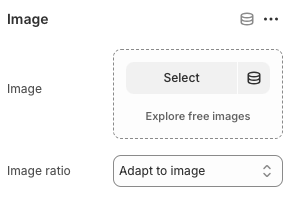
- Image: Choose the image you want to use for the form
The image is displayed on the left side of the form.
- Image ratio
- Adapt to image
- Square (1:1)
- Portrait (3:4)
- Landscape (4:3)
Last updated

_vYqcvK1P.jpg)