# Countdown timer
_Zi6CXMJX.jpg)
A countdown clock for promotion/new collection release can bring excitement to customers that have been waiting for the event.
## How to add a Countdown timer section to your Shopify store
Steps
1. In the theme editor **(Customize)**, click **Add section.**
2. Locate **Countdown timer.**
3. Make necessary changes.
4. **Save.**
## How to edit a Countdown timer section
### Section settings
#### General settings
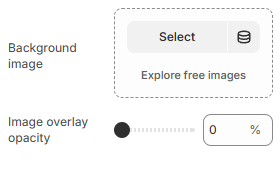
Pick a **Background image** for the timer and set the opacity for it in the **Image overlay opacity** range.
#### Content settings
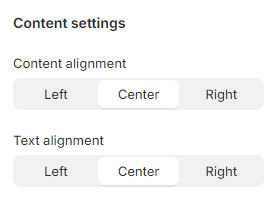
Change the **Content alignment** (Left/Center/Right) and then align the text inside - **Text alignment** (Left/Center/Right).
### Block settings
You can choose to add more elements to the Countdown timer section:
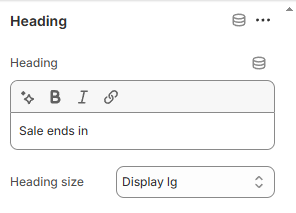
Give the section a **Heading** and adjust the **Heading size**.
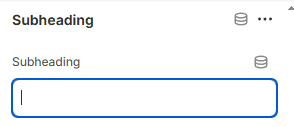
Give the section a **Subheading.**
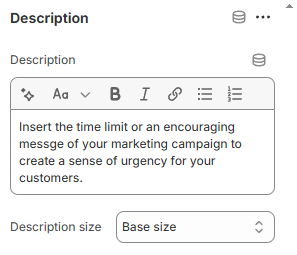
Give the section a **Description** and adjust its size.
Choose between two countdown types: Evergreen or Fixed time.
* Evergreen: This timer repeats after a set duration.
* Ideal for:
* Ongoing promotions (e.g., flash sales every month).
* Seasonal offers that repeat periodically.
* Fixed time: Counts down to a specific date and time.
* Ideal for:
* Product launches.
* Limited-time promotions (e.g., holiday sales).
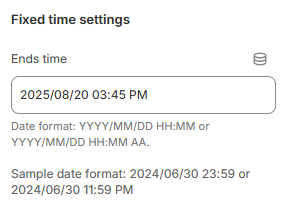
* **Settings:**
* **Ends time:** Set the exact date and time in the format `YYYY/MM/DD HH:MM` or `YYYY/MM/DD HH:MM AM/PM.`

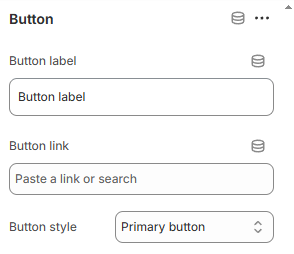
Add a Button to link customers to your desired page.
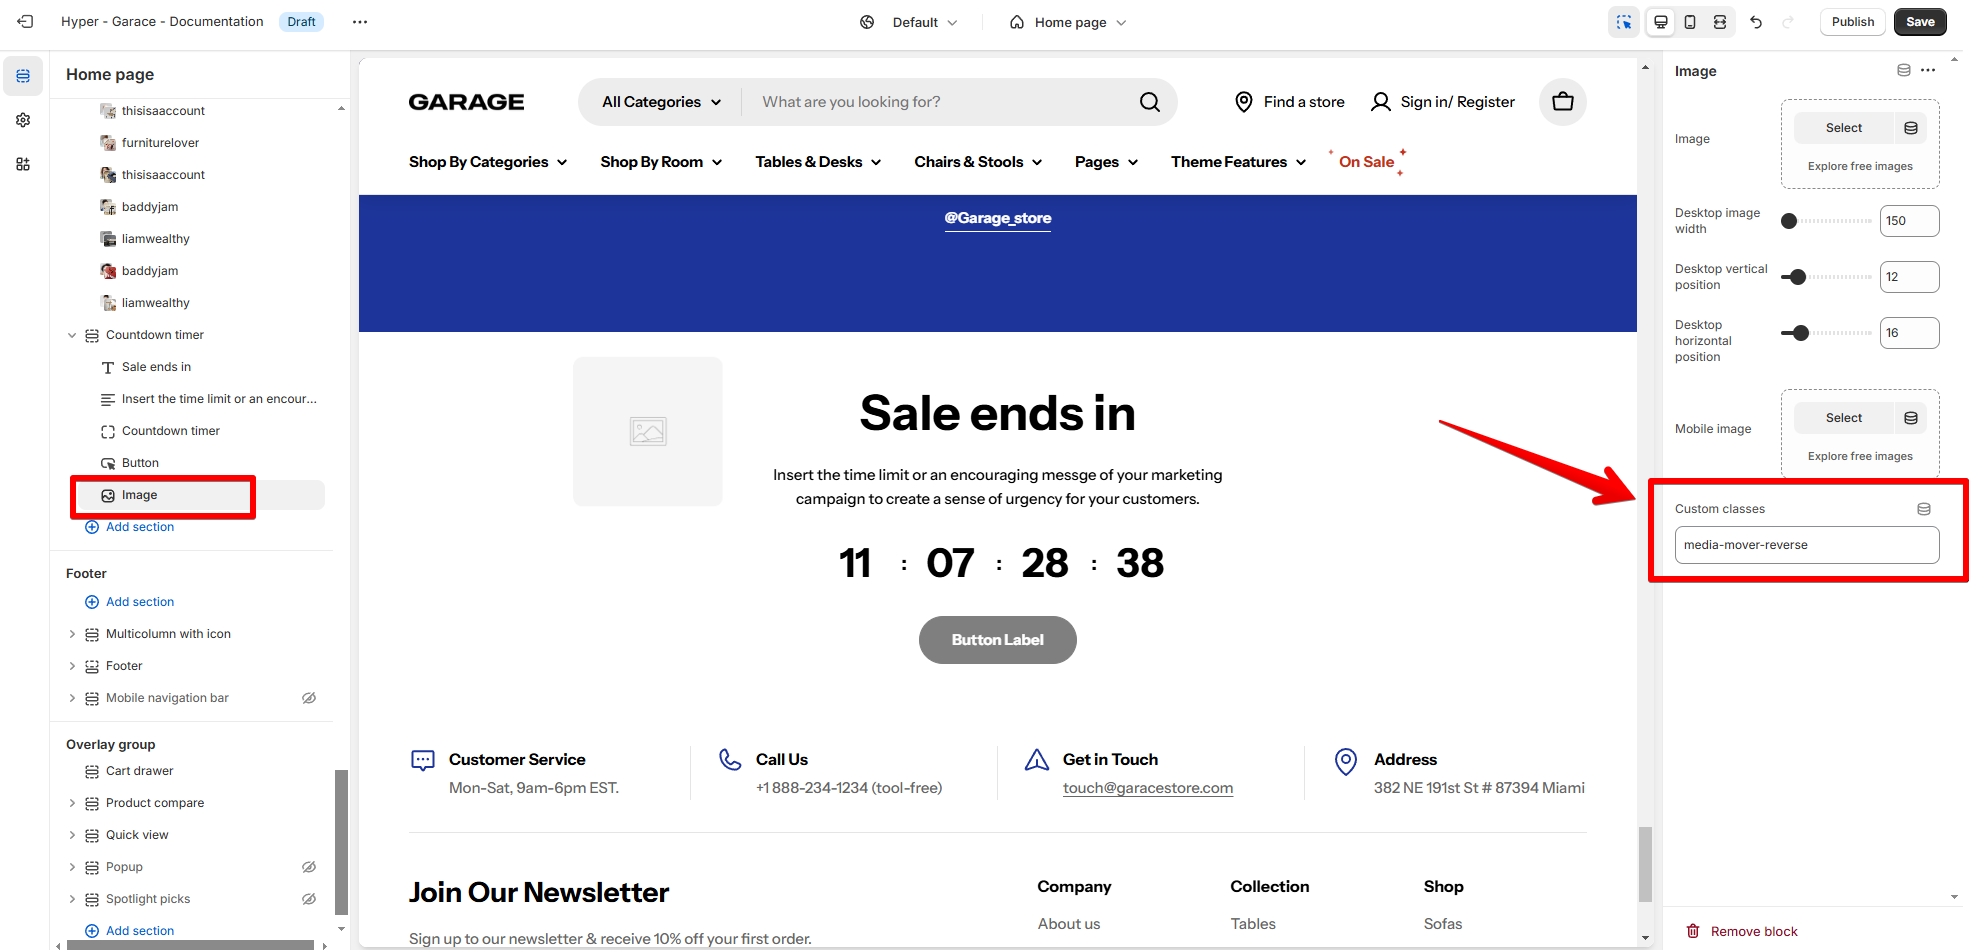
You can add multiple **Image** blocks in the Countdown timer section on both desktop and mobile screens to attract customers' attention.
Adjust the **Desktop Image width** between 150px and 350px.
Especially, you are able to change the **Desktop vertical position** and **Desktop horizontal position** for the Image blocks.
⚠️ On mobile view, images will be vertically stacked by default.
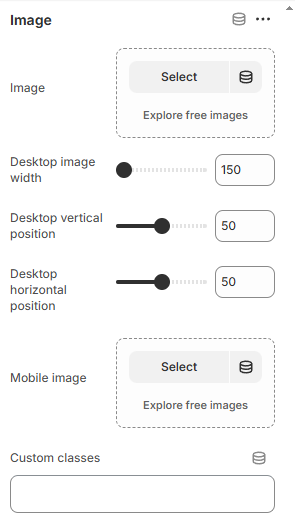
Add the following predefined **custom classes** for the image's floating effects:
* media-mover
* media-mover-slower
* media-mover-reverse