
Theme Sections
Comparison table 🔥
3 min read
_8h1suFov.jpg)
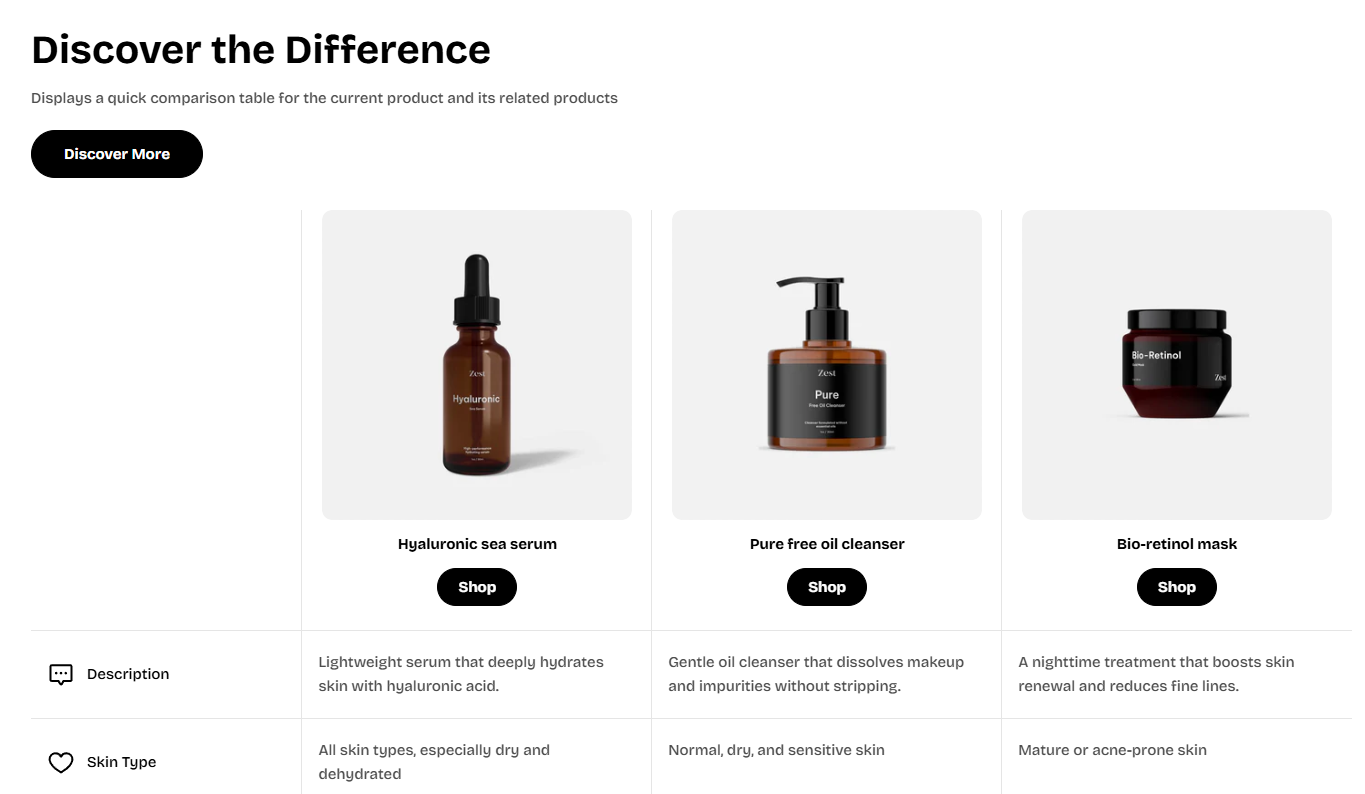
How to add a Comparison table section to your Shopify store
- In the theme editor (Customize), click Add section.
- Locate Comparison table section.
- Make necessary changes.
- Save.
How to customize a Comparison table section
Section settings
General settings
- Color scheme: Select predefined set of colors for the section. This color scheme affects the header and background of the section.
Section header
- Layout
Header content
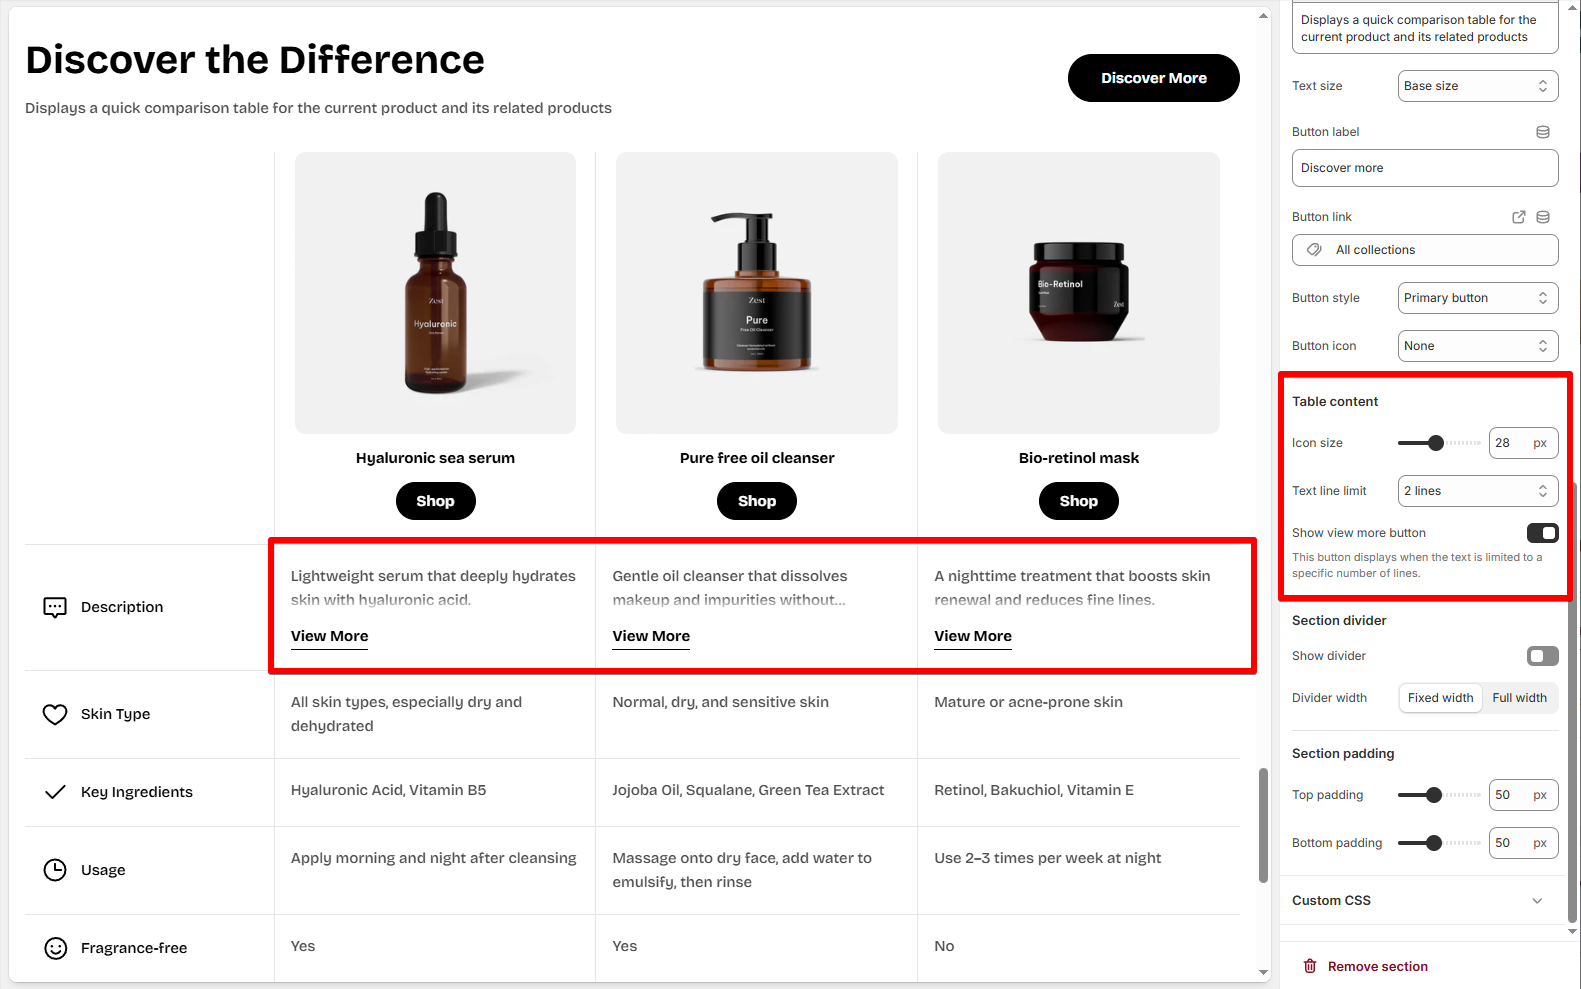
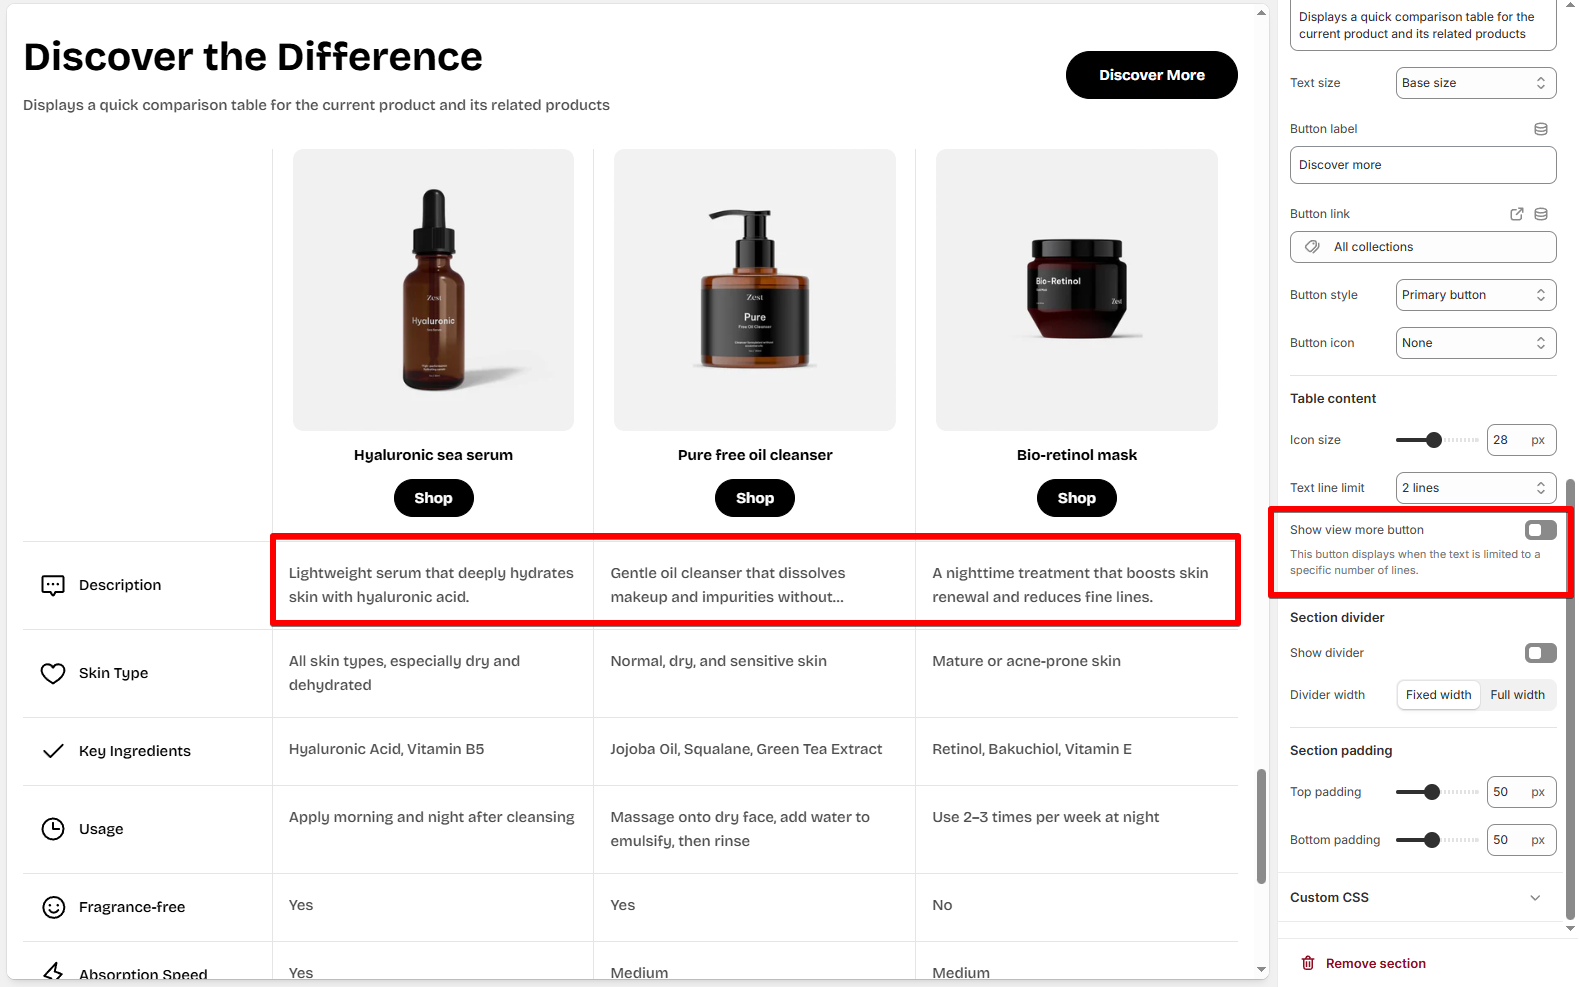
Table content
- Icon size: Controls the size of the icons for each heading row.
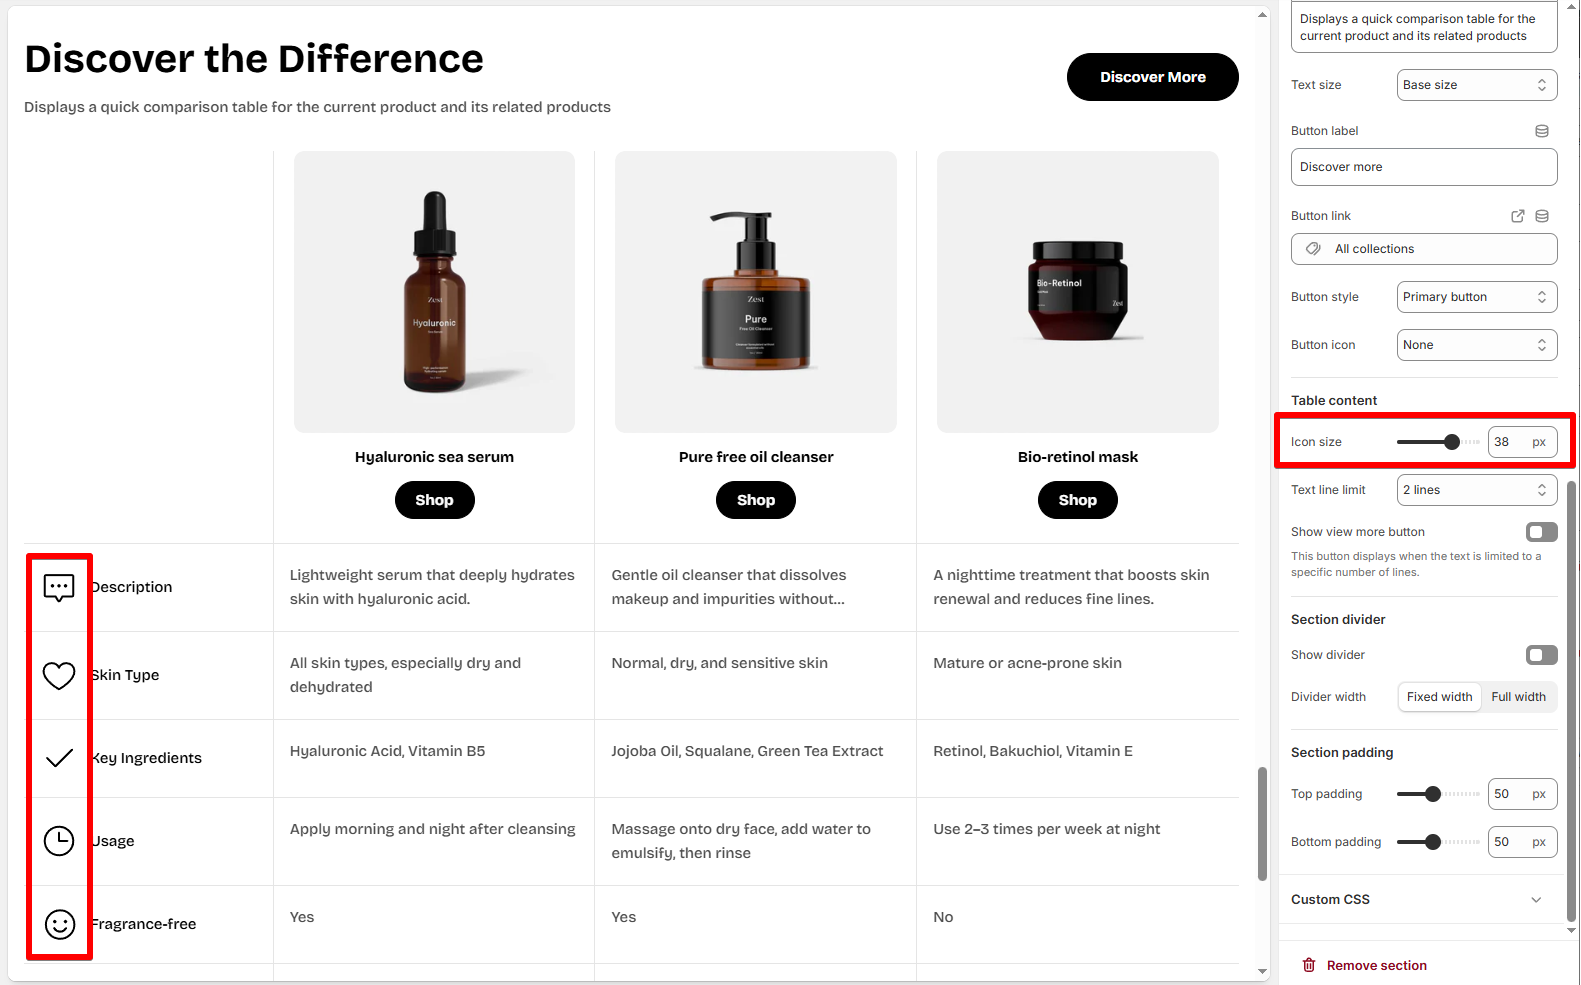
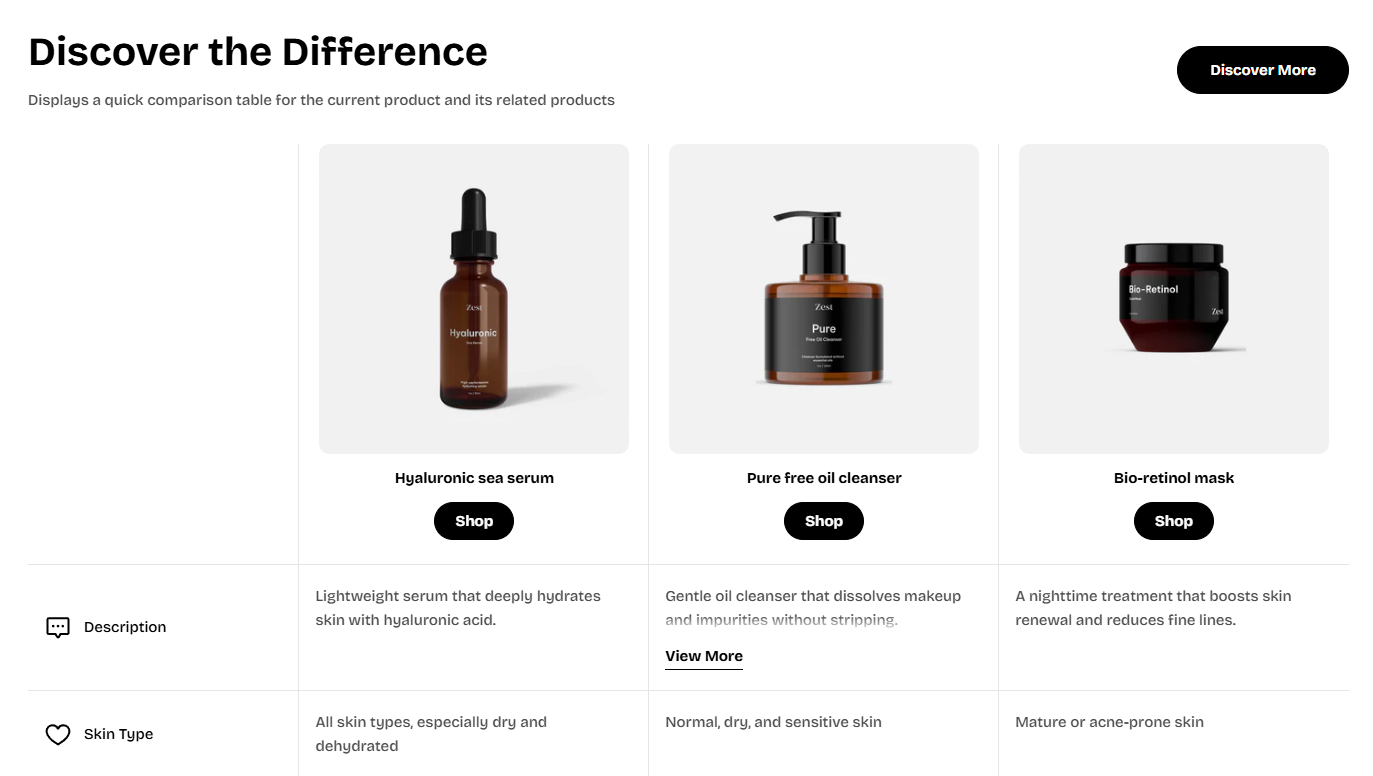
- Text line limit: Limits content height per cell to avoid overflow (No limits/ 1-5 lines).
- Show view more button: Toggle this to show/hide an expandable button if content is clipped.
Block settings
Heading
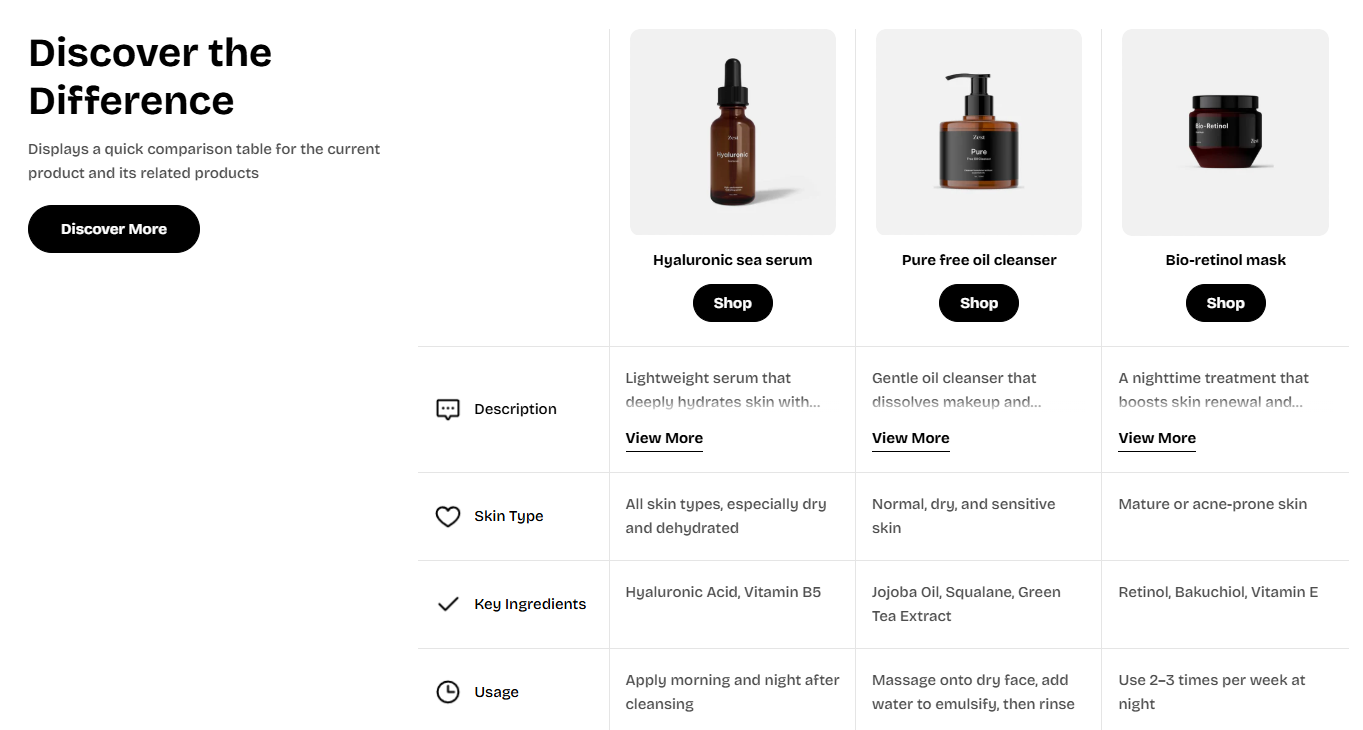
- Icon: Choose from theme icons (chat, heart, check, etc.) for visual clarity.
- Image (optional): Upload a custom icon.
- Title: The row label (e.g., “Key Ingredients”).
- Use clear, relevant labels.
- Keep titles short (1–3 words).
- Max 10 heading rows supported.
Content
- Product: Select the product to display in this column.
- Text 1–10: Match each text field to a heading row. For example:
- Text 1 → Description
- Text 2 → Skin Type
- Text 3 → Key Ingredients
- And so on...
Last updated