
Theme Sections
Collection list slider
2 min read
_MGxwOpGt.jpg)
How to add a Collection list slider section to your Shopify store
- In the theme editor (Customize), click Add section
- Locate Collection list slider
- Make necessary changes
- Save.
To know more about creating and editing collections, see: This tutorial.
How to edit a Collection list slider section
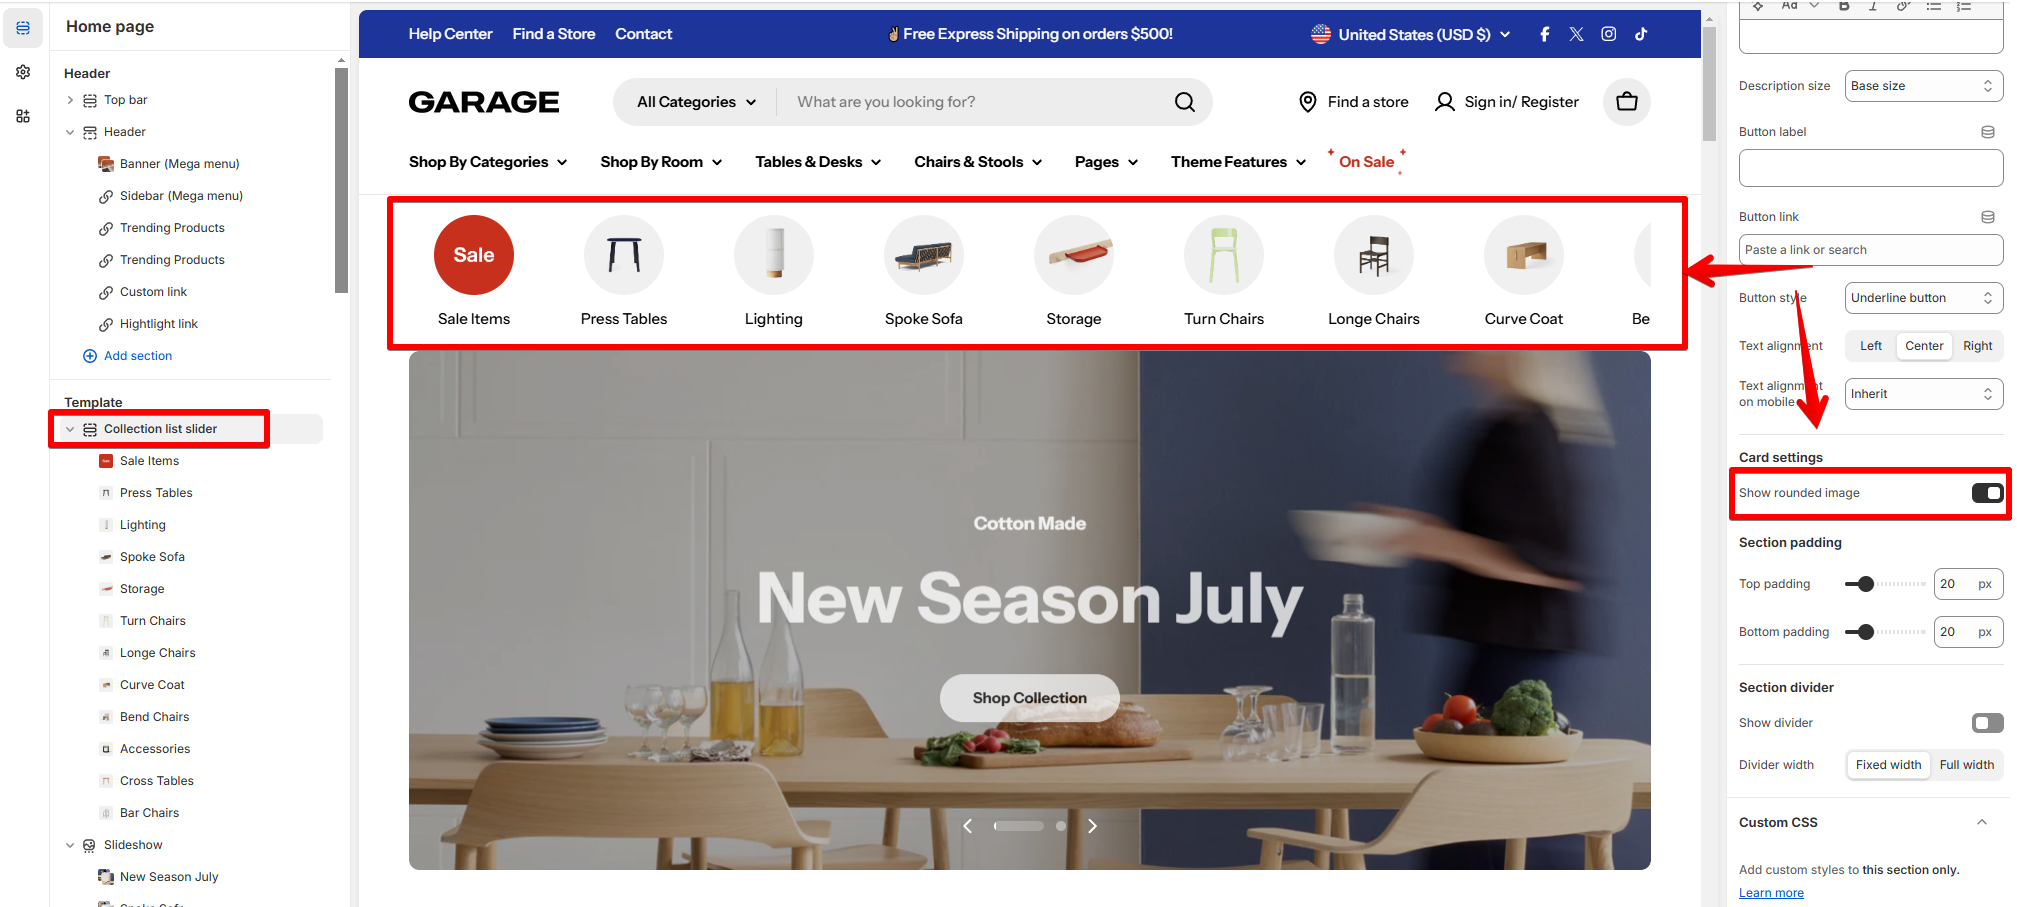
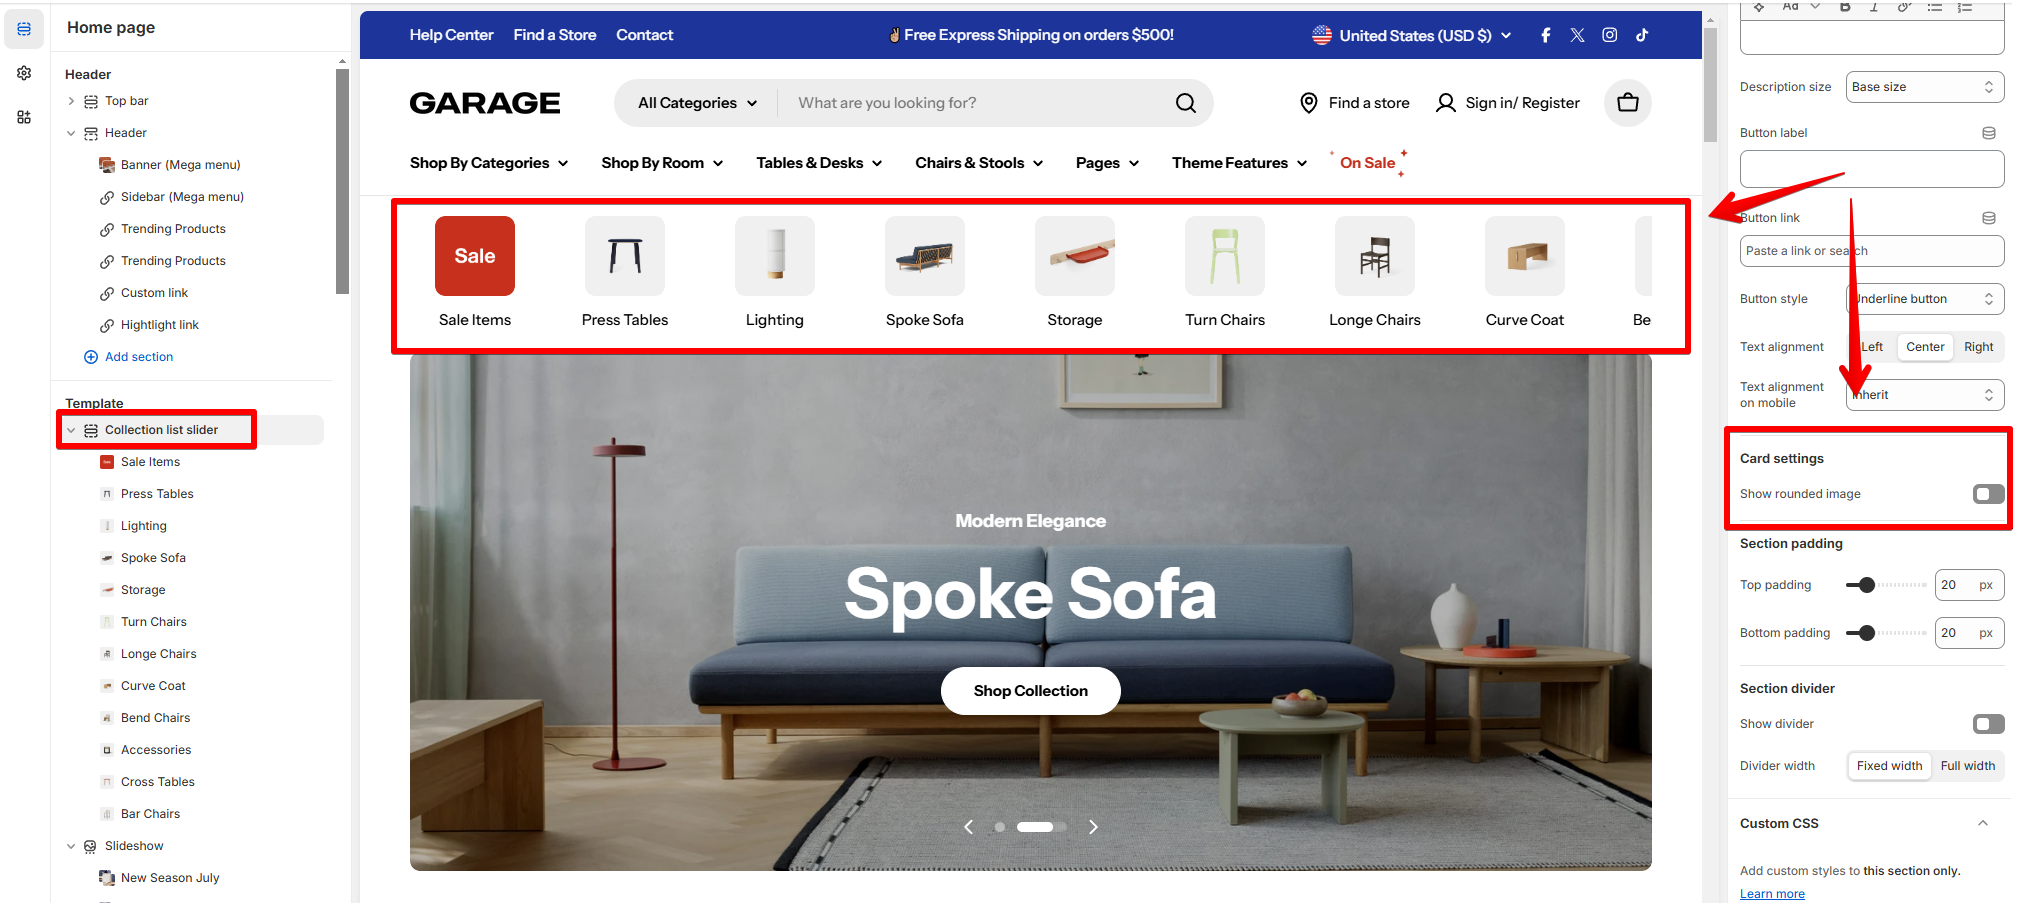
Section settings
Section header
Card settings
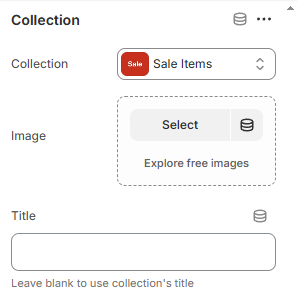
Block settings
Last updated