# Map
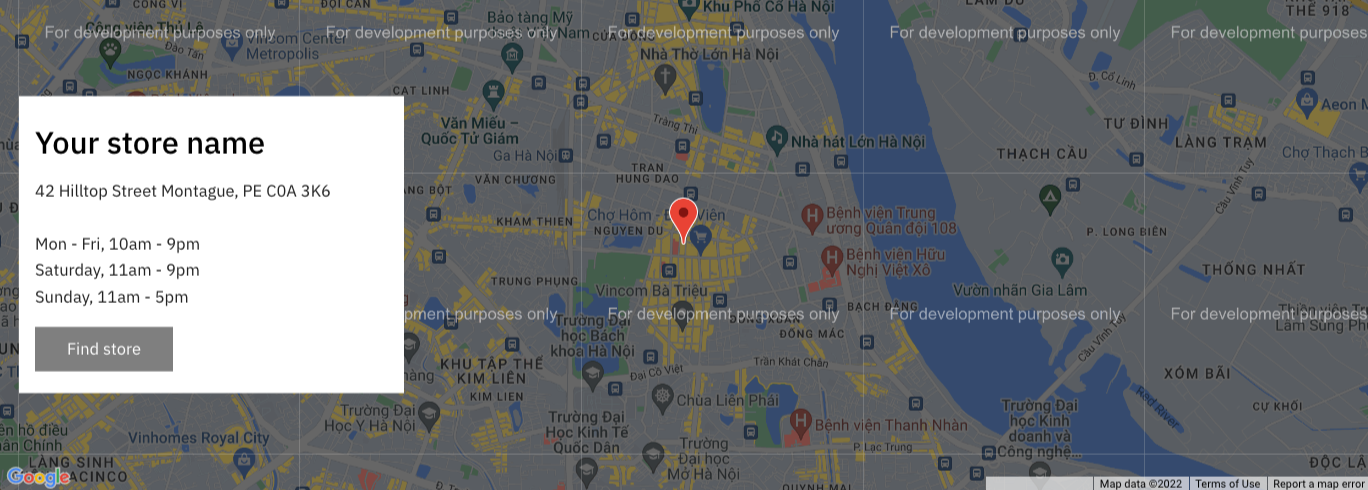
Showcase your store's location with a live Google Map, store info, and a call-to-action button. It’s especially helpful for brick-and-mortar stores that want to build trust and make it easy for customers to find them.
## How to add a Map section to your Shopify store
Steps
1. In the theme editor **(Customize)**, click **Add section.**
2. Locate **Map.**
3. Make necessary changes.
4. **Save.**
## How to edit a Map section
### Section settings
| Setting | Description |
| --- | --- |
| Address | Input the physical location of your store. |
| Google Maps API key | Required for the map to display. See [register a Google Maps API key](https://developers.google.com/maps/documentation/javascript/get-api-key). |
| Banner | Optional image shown if map doesn't load. |
| Map style | Choose from default, silver, retro, dark, night, aubergine. |
| Map height | Adjust the map height in pixels. |
| Zoom | Adjust zoom level. Higher values shows a closer view. |
| Draggable | Allow users to drag and explore the map. |
| Scroll wheel | Enable zooming with mouse scroll. Only works if draggable is on. |
Without a valid Google Maps API key, the map will not appear. A fallback banner image is highly recommended in such cases.
### Block settings
Now that you have a basic map of the store's location, you can choose to display additional information within the box, including:
* Heading
* Text
* Button
* Social links.
Add your social links in Theme settings > [Social media](https://docs.foxecom.com/zest-theme/theme-settings/social-media)