
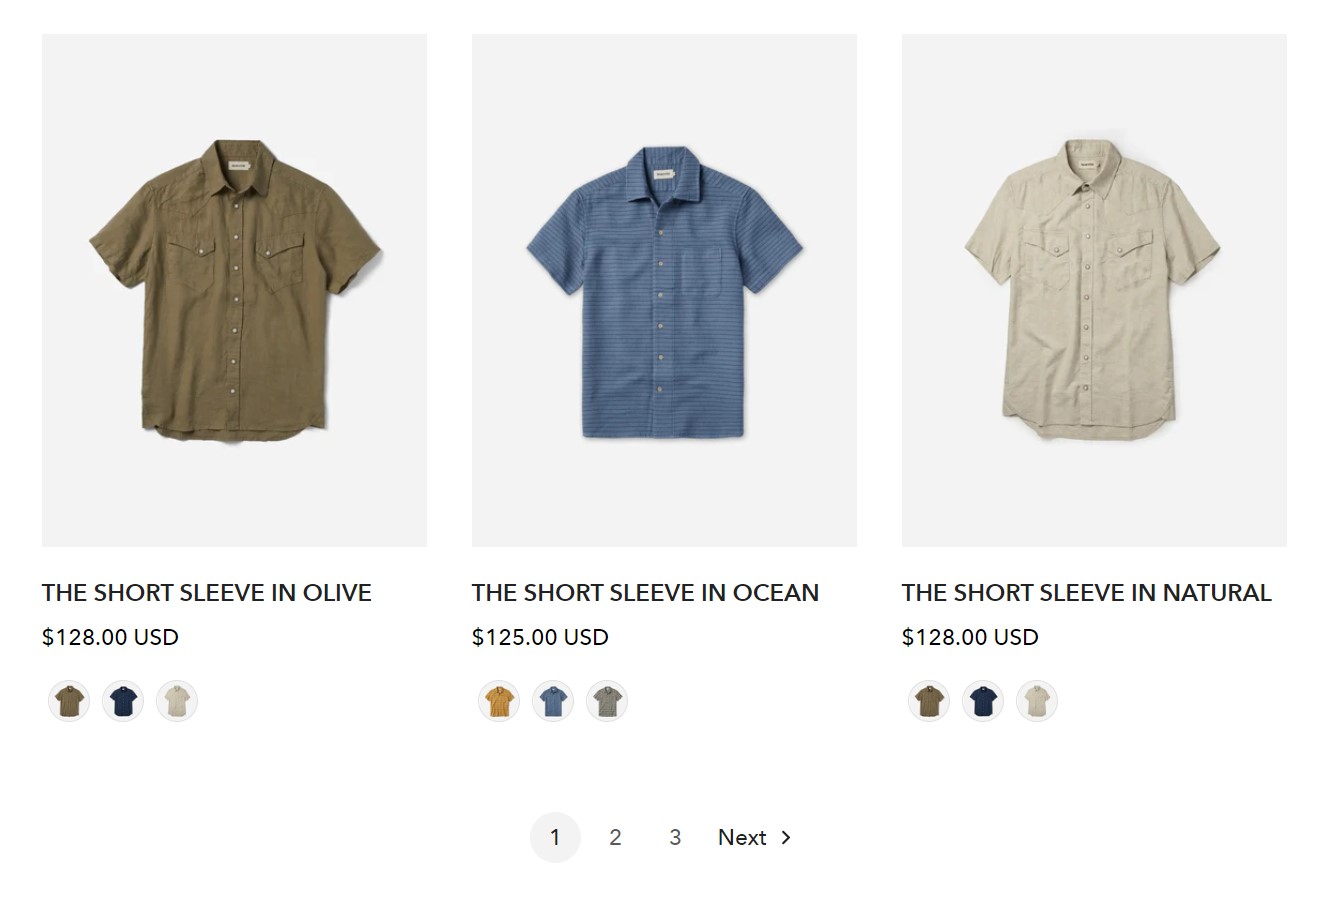
Product grid
5 min read
_Ddf9I9KQ.jpg)
How to navigate to the Product grid
- In the theme editor (Customize), open the template selector.
- Select Collections, then Default collection.
- On the left sidebar, locate Product grid
- Make necessary changes > Save.
How to edit a Product grid
🔧 General and layout
| Setting | Description |
|---|---|
| Products per page | Set the total number of products shown per page (6-50 products). |
| Products per row | Choose how many products display in each row (2–4 recommended). |
| Column gap / Row gap | Adjust spacing between items. |
| Show product count | Display total number of products. |
🔍 Filtering and Sorting
| Setting | Description |
|---|---|
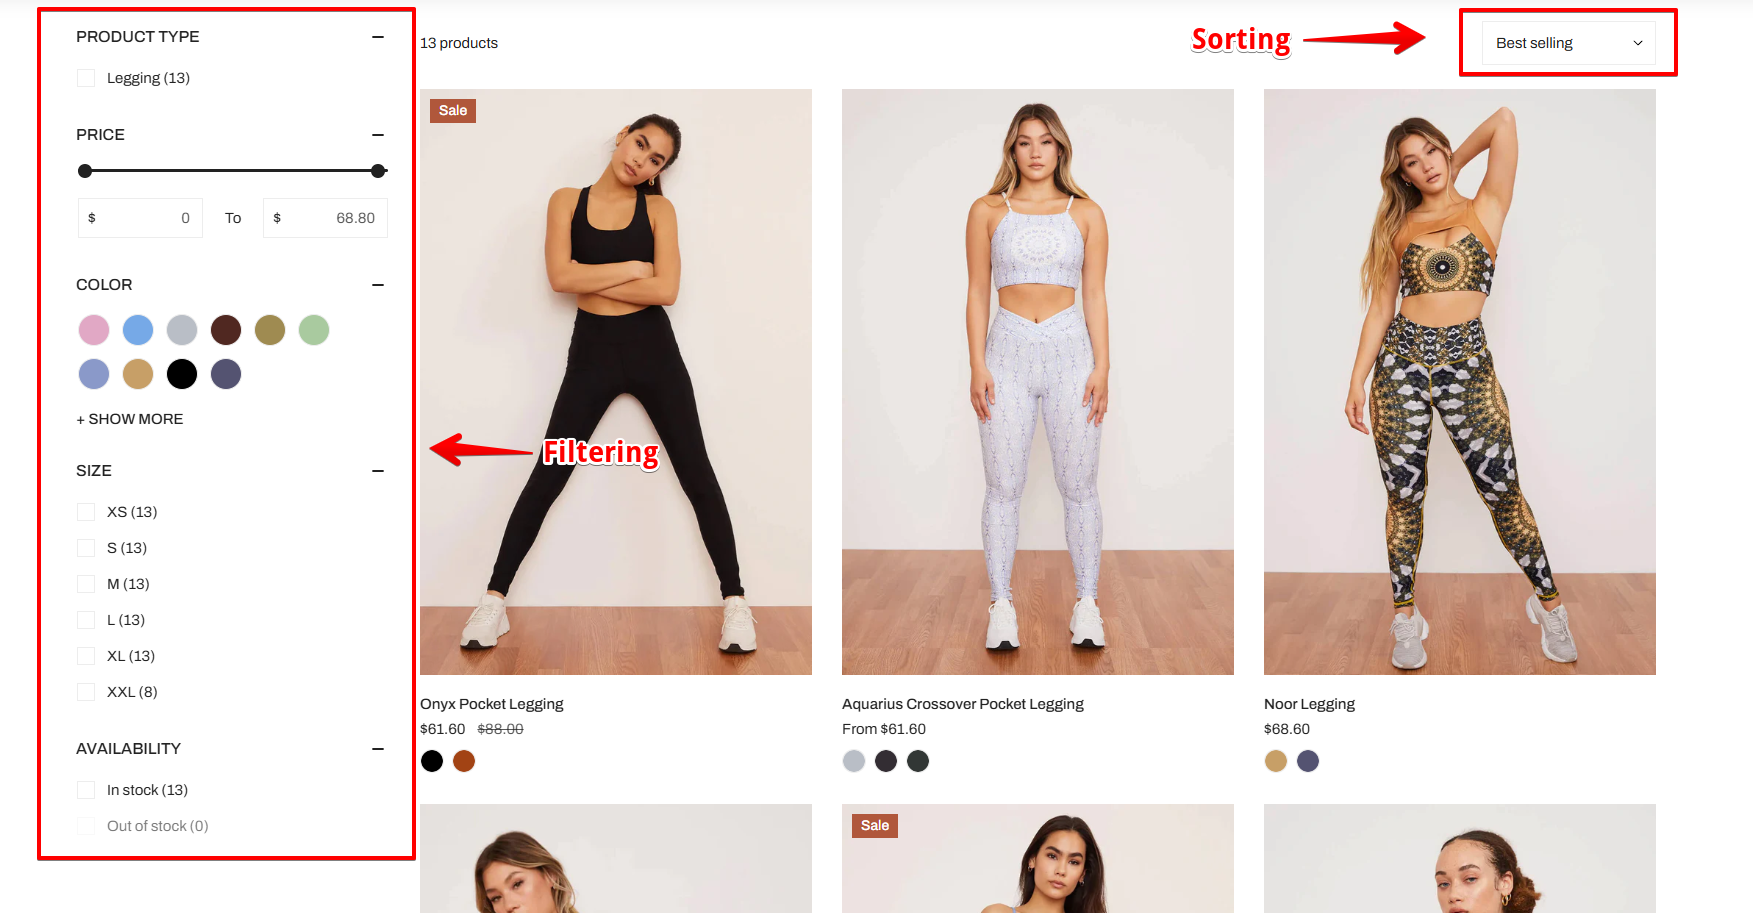
| Enable filtering | Activate Shopify’s storefront filters. Learn how to customize filters |
| Enable sorting | Allow sorting by options like price, newest, best-selling, etc. |
| Desktop filter layout | Choose: - Left sidebar:  - Right sidebar: 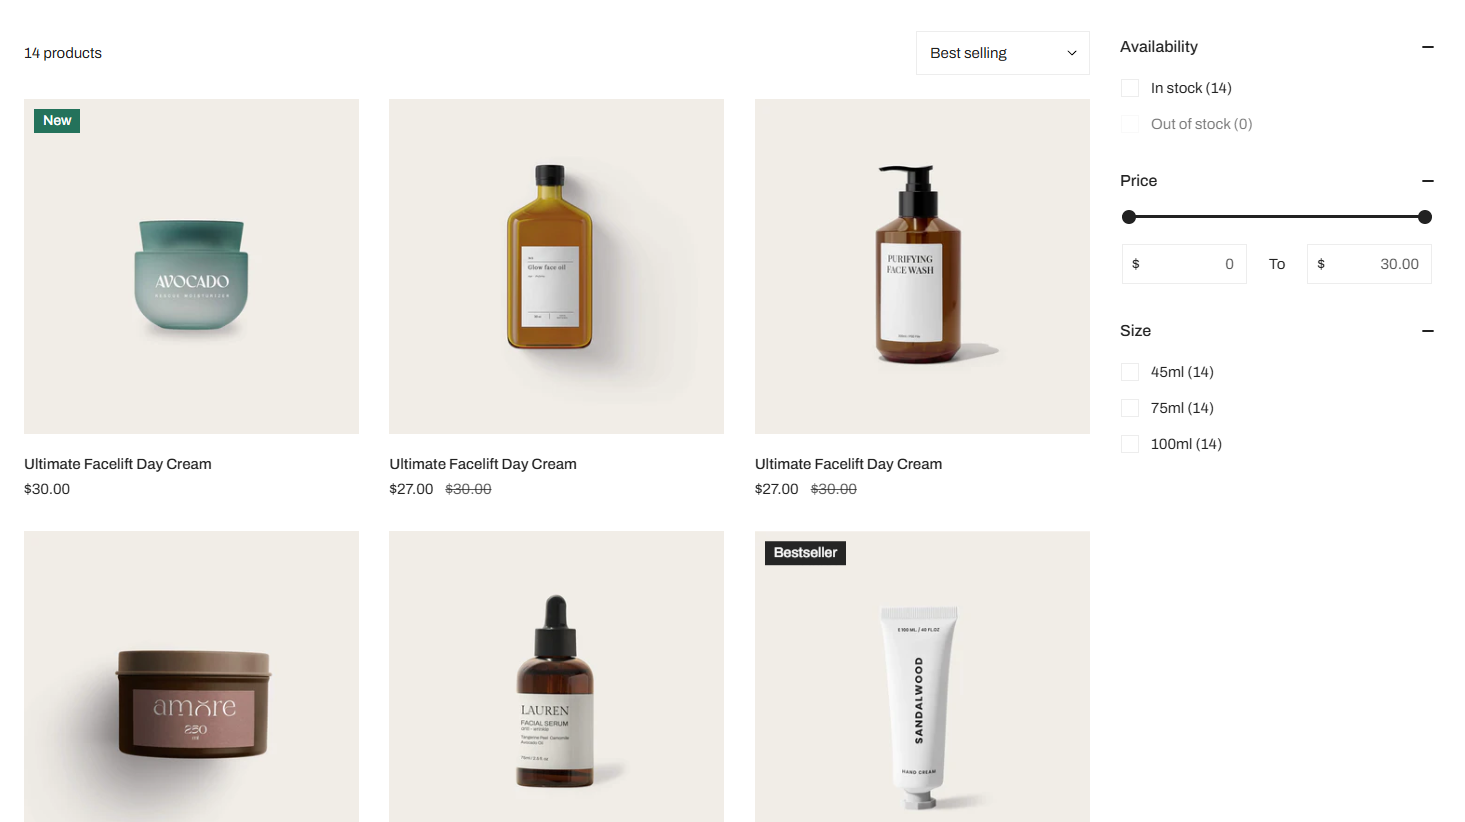 - Drawer: 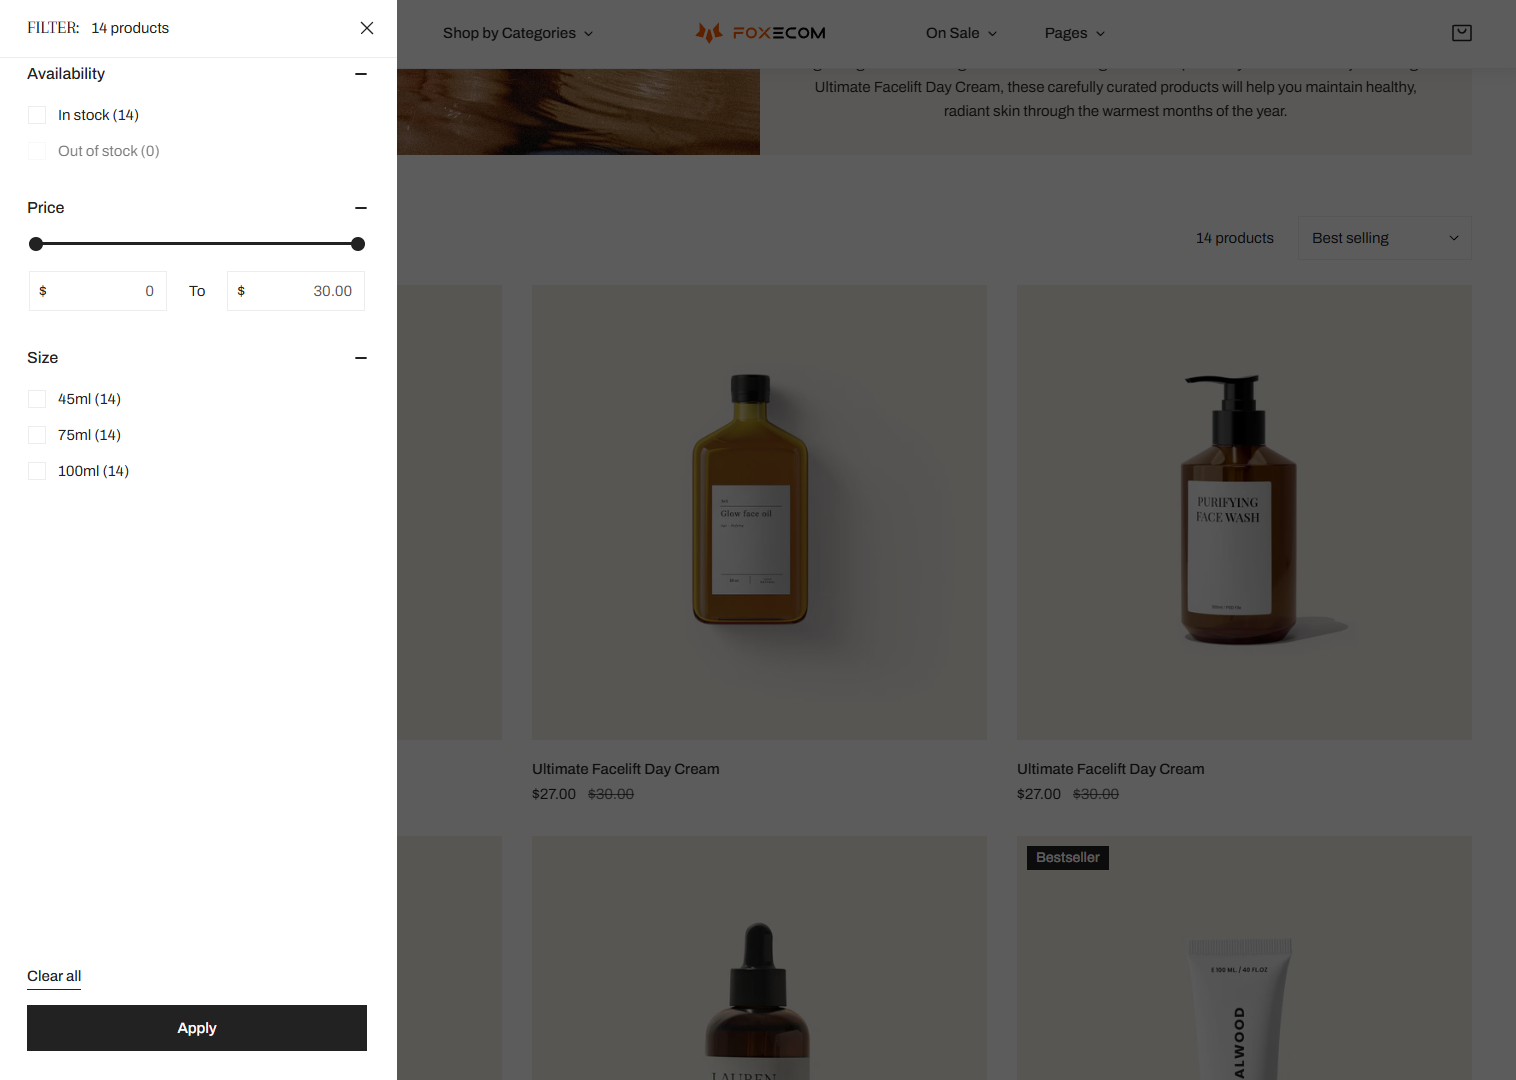 |
| Group collapsible | Group filters in collapsible dropdowns.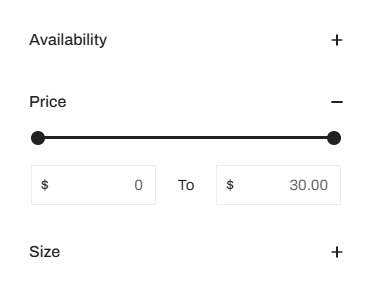 |
| Default state | Set filters as Collapsed or Expanded on load. |
| Open first group by default | If checked, the first filter group expands on page load. |
| Group heading size | Choose heading font size (Small, Medium, Large). |
| Show results count | Show how many results match the filters.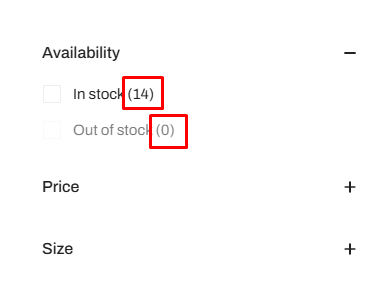 |
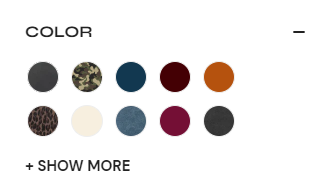
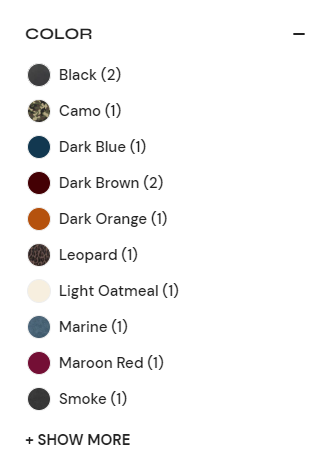
| Filter color type | Choose between Inline color swatches or List view. |
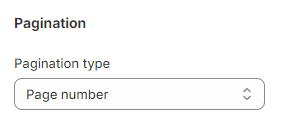
🔁 Pagination

Last updated