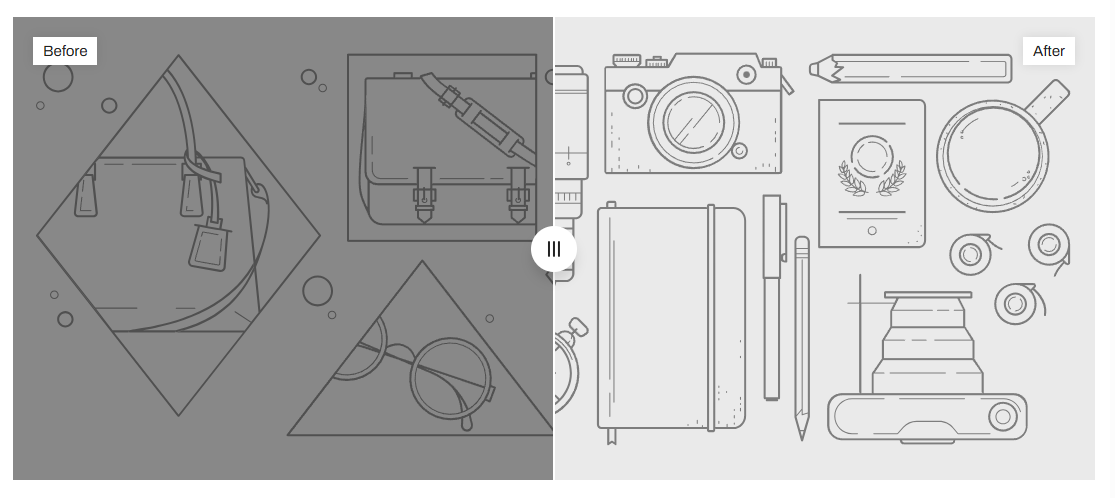
The Before/sfter image slider section lets you visually compare two images side by side—perfect for showcasing product effectiveness, transformation results, or progress stories.
#How to add a Before/after image slider to your Shopify store
Steps
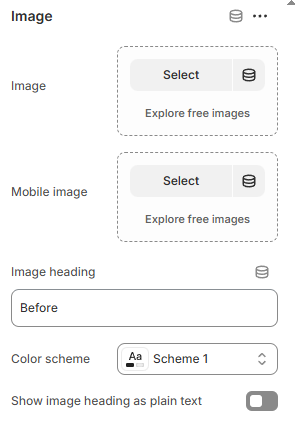
In the theme editor (Customize), click Add section.
Locate Before/after image slider section
Make necessary changes.
Save.
To achieve the effect, it is recommended to use images of the same size and position, and there are visually distinguished differences between the before and after photos.

_uO7ICOFz.jpg)