# Logo list

<figure><img src="https://1836495117-files.gitbook.io/~/files/v0/b/gitbook-x-prod.appspot.com/o/spaces%2FOdebKCa6IK9qfbdvSKj0%2Fuploads%2FJh7dueMq1atfauJGN5bY%2FFox-BG%20Light%20(44).jpg?alt=media&#x26;token=0ef9e8f7-c43e-4627-af83-ec7d6c626e9f" alt=""><figcaption></figcaption></figure>

Display partner brands, press mentions, or featured collaborators in a clean grid or carousel layout. This section is perfect for building trust and credibility.

## How to add a Logo list section to your Shopify store

{% hint style="success" %}
Steps

1. In the theme editor **(Customize)**, click **Add section.**
2. Locate **Logo list.**
3. Make necessary changes.
4. **Save.**
   {% endhint %}

{% hint style="info" %}
For the best result, upload all logo images in the same size or aspect ratio with transparent backgrounds, and link the images to the relevant pages or sites.&#x20;
{% endhint %}

## How to edit a Logo list section

### Section settings

<table><thead><tr><th width="280">Setting</th><th>Description</th></tr></thead><tbody><tr><td><strong>Images per row</strong></td><td><p>Controls how many logos appear in a single row (2-12).
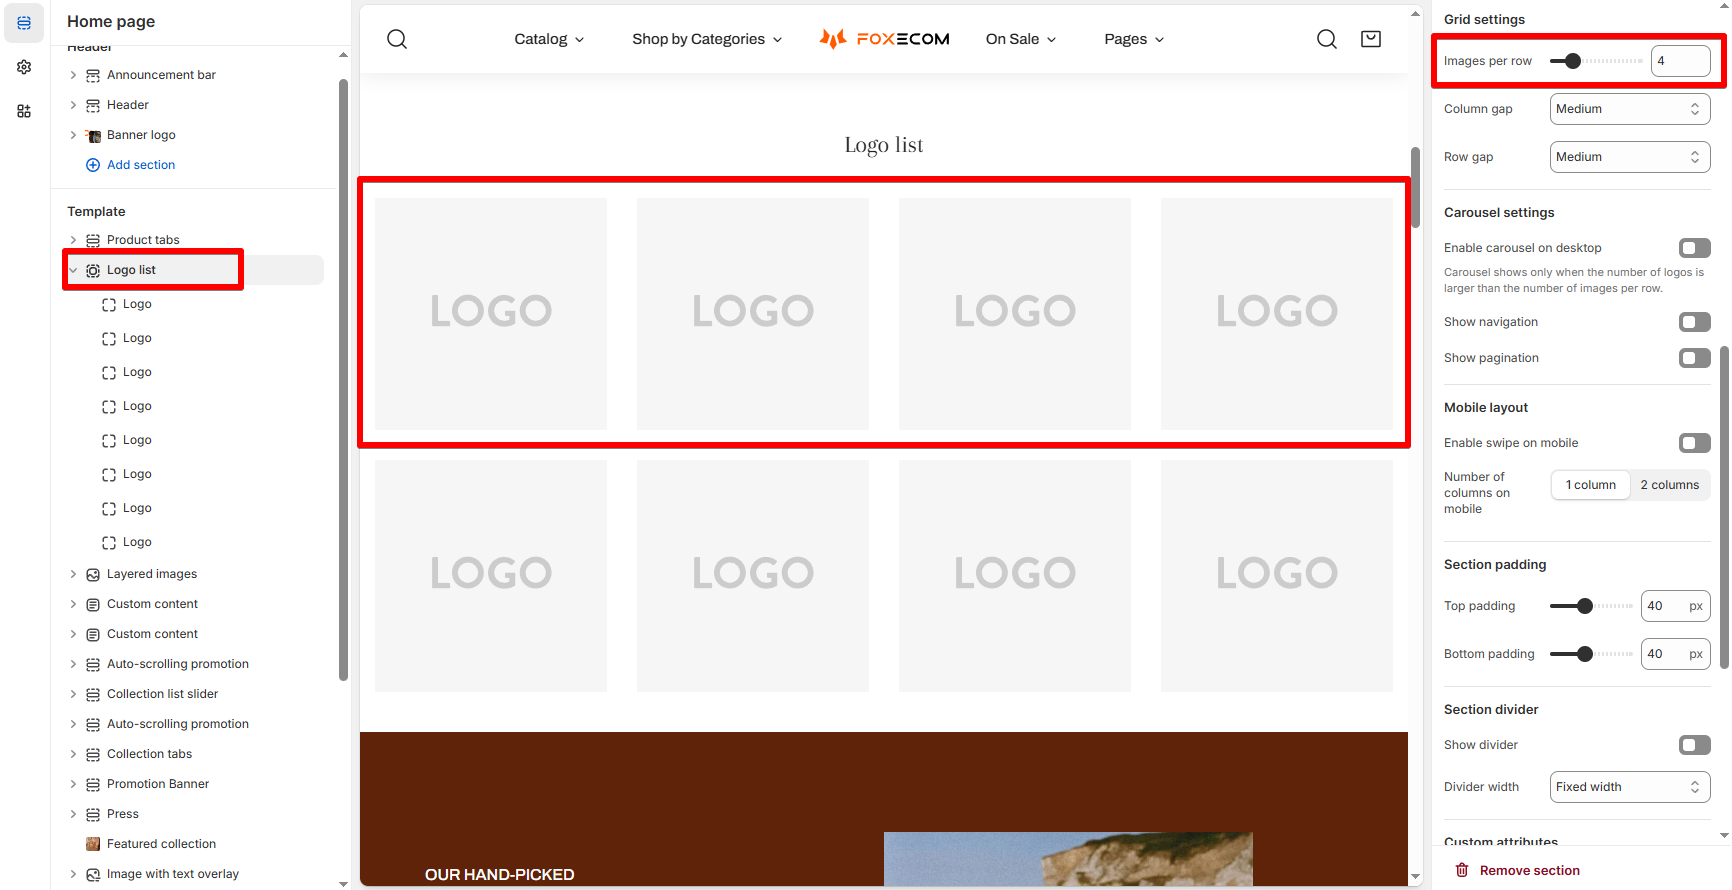
<br></p><p><img src="https://1836495117-files.gitbook.io/~/files/v0/b/gitbook-x-prod.appspot.com/o/spaces%2FOdebKCa6IK9qfbdvSKj0%2Fuploads%2FELJYaIhZAY8zVQe0jF37%2Fimage.png?alt=media&#x26;token=a8740f5e-2294-45ca-b586-ab2a7e572baa" alt=""></p></td></tr><tr><td><strong>Column gap / Row gap</strong></td><td>Adjust spacing between logos.</td></tr><tr><td><strong>Enable carousel on desktop</strong></td><td>When enabled, turns logo list into a sliding carousel.</td></tr><tr><td><strong>Show navigation/pagination</strong></td><td>Adds arrows or dots if carousel is active.</td></tr><tr><td><strong>Enable swipe on mobile</strong></td><td>Allows mobile users to swipe through logos.</td></tr><tr><td><strong>Number of columns on mobile</strong></td><td>Choose between 1 or 2 columns per row on mobile.</td></tr></tbody></table>

### Block settings

You can add as many brand logos as you want, and all added logos, organized as individual blocks, can be easily managed.

<table><thead><tr><th width="280">Setting</th><th>Description</th></tr></thead><tbody><tr><td><strong>Image</strong></td><td>Upload or select a logo image. Recommended: transparent PNG or SVG.</td></tr><tr><td><strong>Image from URL</strong></td><td>Optionally use an image URL instead of upload.</td></tr><tr><td><strong>Image link</strong></td><td>Optional clickable link for each logo.</td></tr><tr><td><strong>Image width</strong></td><td>Scale the logo size independently.</td></tr></tbody></table>

{% hint style="info" %}
:star: **Tip**: Keep logos visually consistent in size and color (e.g., all greyscale or same padding).
{% endhint %}


---

# Agent Instructions: Querying This Documentation

If you need additional information that is not directly available in this page, you can query the documentation dynamically by asking a question.

Perform an HTTP GET request on the current page URL with the `ask` query parameter:

```
GET https://docs.foxecom.com/zest-theme/theme-sections/brand-list.md?ask=<question>
```

The question should be specific, self-contained, and written in natural language.
The response will contain a direct answer to the question and relevant excerpts and sources from the documentation.

Use this mechanism when the answer is not explicitly present in the current page, you need clarification or additional context, or you want to retrieve related documentation sections.
