
Theme Sections
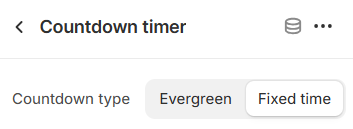
Countdown timer
3 min read
_vohs2RCg.jpg)
How to add a Countdown timer section to your Shopify store
- In the theme editor (Customize) > click Add section.
- Select Countdown timer.
- Make necessary changes.
- Save the settings.
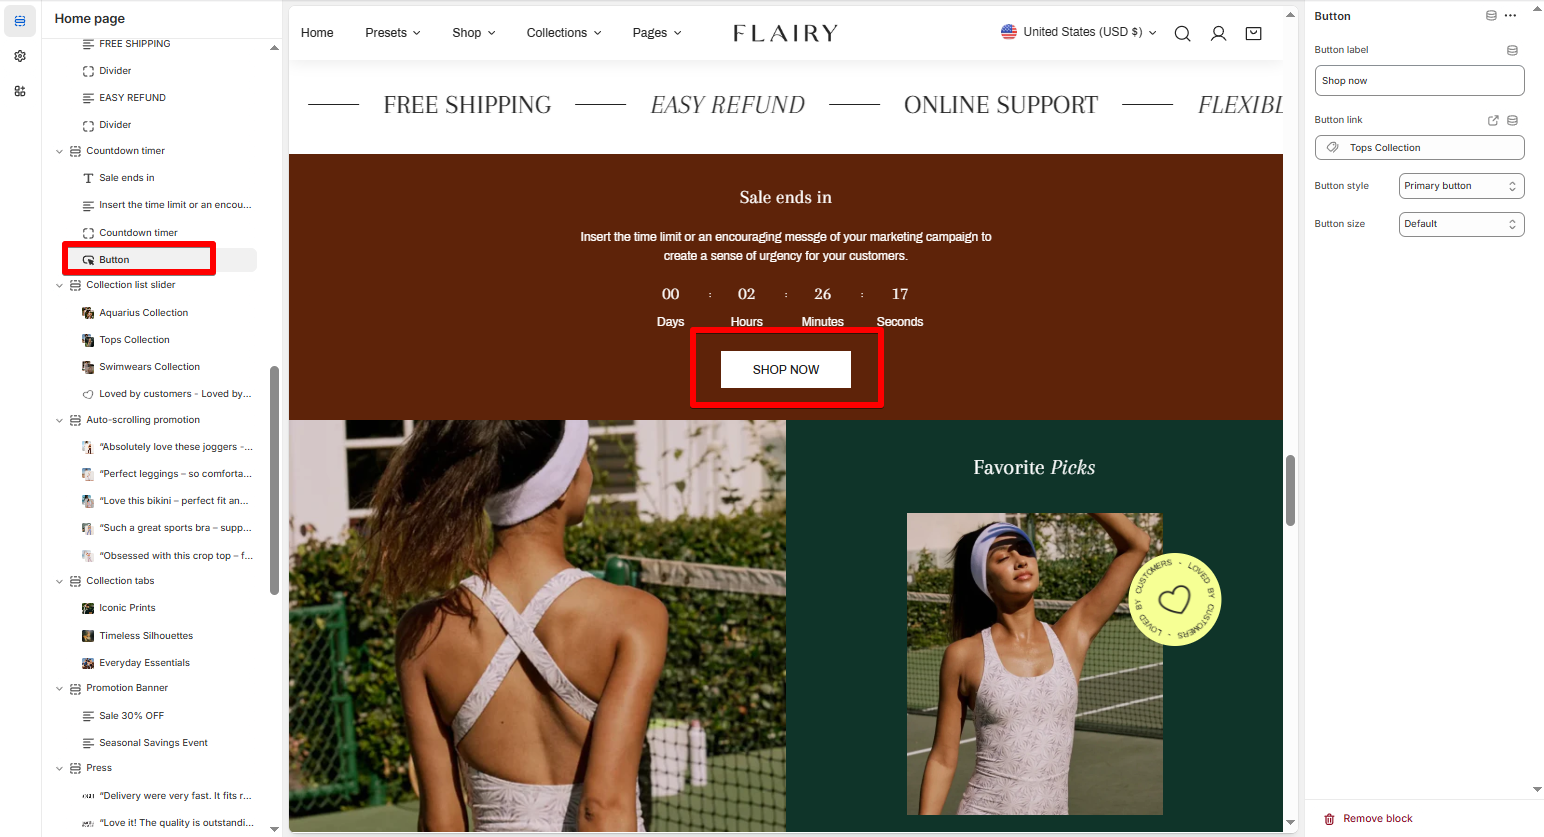
How to edit a Countdown timer section

Section settings
Blocks settings
- Heading
- Subheading
- Text
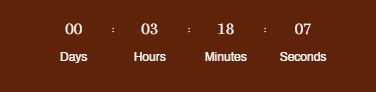
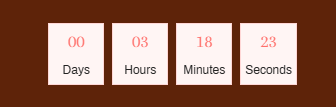
- Countdown timer
- Button
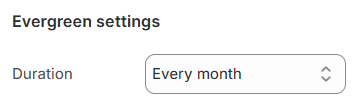
- Evergreen: A repeating countdown that resets after a specified duration (e.g., every month).
- This is useful for recurring sales, daily deals, or subscription cycles.
See Changelog.
- Fixed time: A one-time countdown that ends at a specific date and time.
- Ideal for limited-time promotions, event registrations, or product launches.
- Small
- Medium
- Large
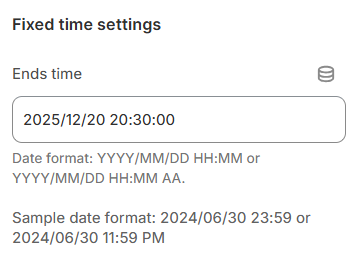
| Name | Format | Example |
|---|---|---|
| 24 hour format | YYYY/MM/DD HH:MM | 2023/10/04 23:30 |
| 12 hour format | YYYY/MM/DD HH:MM AA | 2023/10/04 11:30 PM |


Style the subheading in Theme settings > Typography

Style the text in Theme settings > Typography
Last updated