
Theme Sections
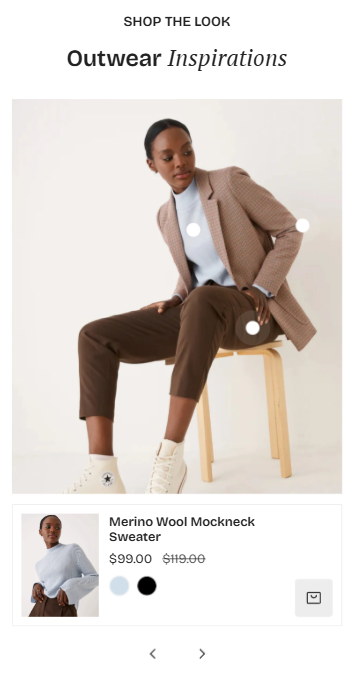
Lookbook
2 min read
_BNoxkJqu.jpg)
_ba6rMAZ1.jpg)
How to add a Lookbook section to your Shopify store
- In the theme editor (Customize), click Add section.
- Select Lookbook.
- Make necessary changes.
- Save.
How to edit a Lookbook section
Section settings
| Settings | Description |
|---|---|
| Heading / Subheading / Description | Add title and supporting text for your section |
| Image ratio | Set ratio for images (Adapt to image or a fixed ratio) |
| Number of columns on desktop | Choose number of Lookbook cards per row |
| Column gap | Adjust the gap between columns |
Block settings
- In the Lookbook section, click Add block.
- Select a Lookbook card and/or a Lookbook slider.
- Make necessary changes.
- Save.
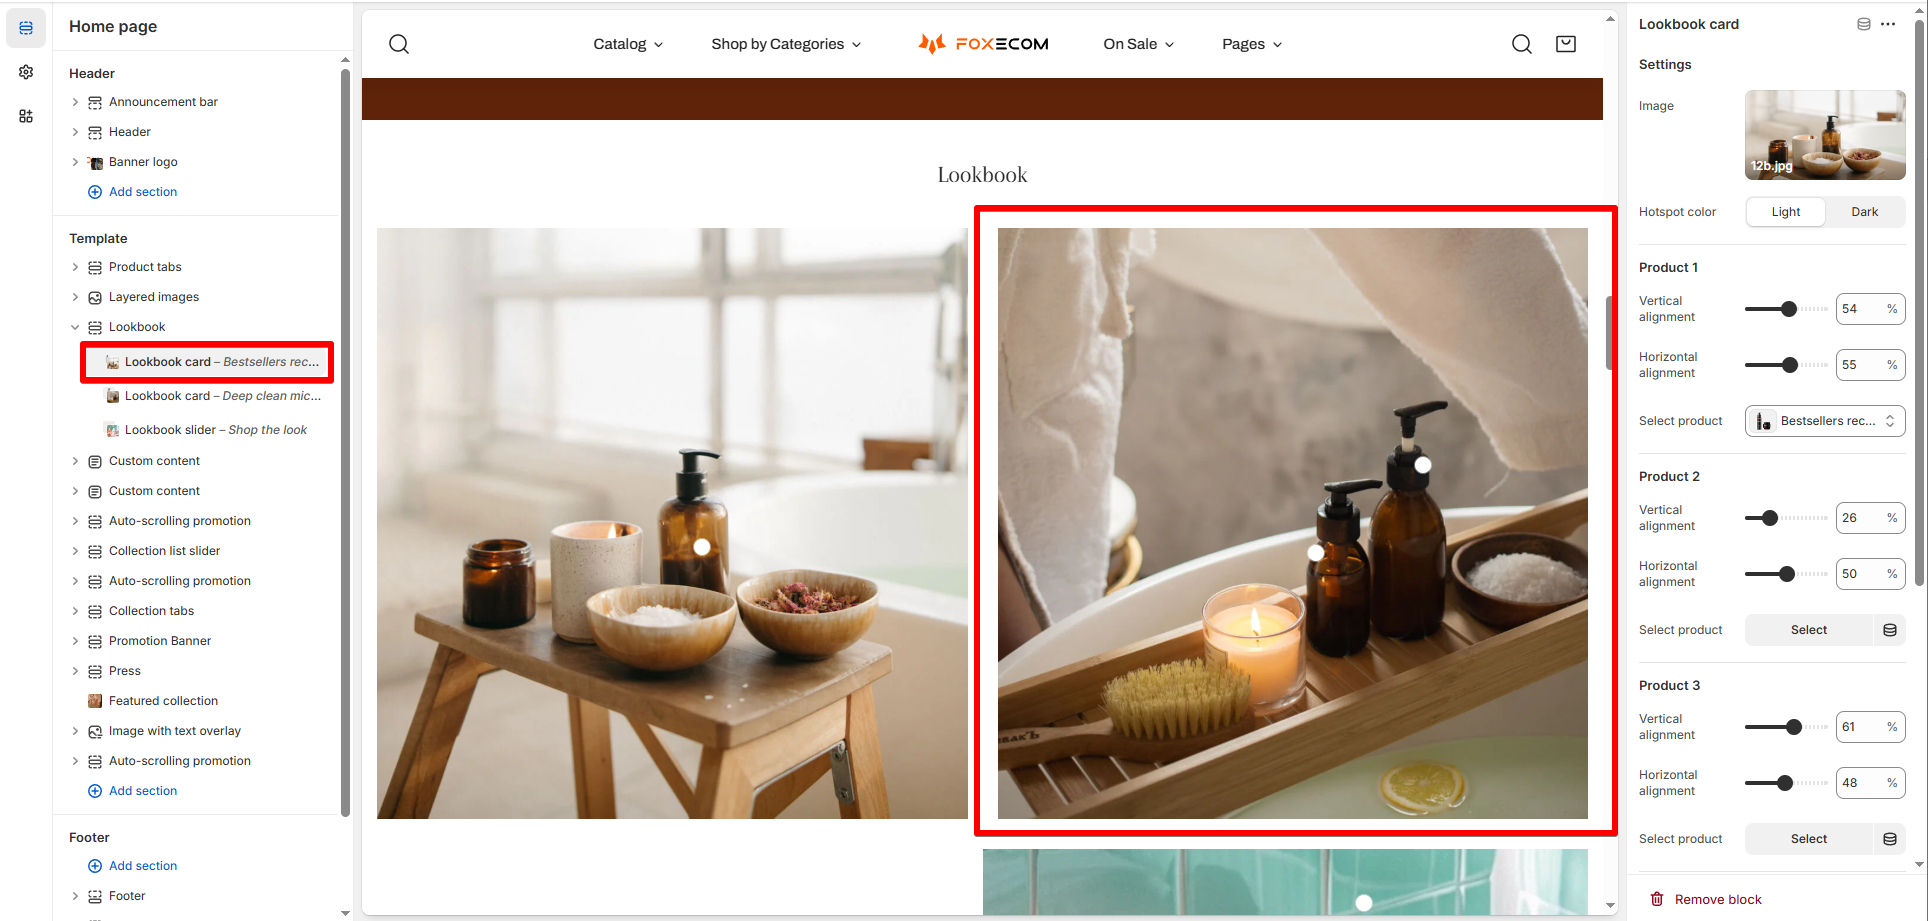
- Click Add block > Lookbook card.
- Upload a lifestyle image.
- Adjust hotspot color to Light or Dark based on image contrast.
- For each product pin:
- Select product.
- Adjust vertical and horizontal alignment to position the pin.
- You can add up to 6 product pins per image.
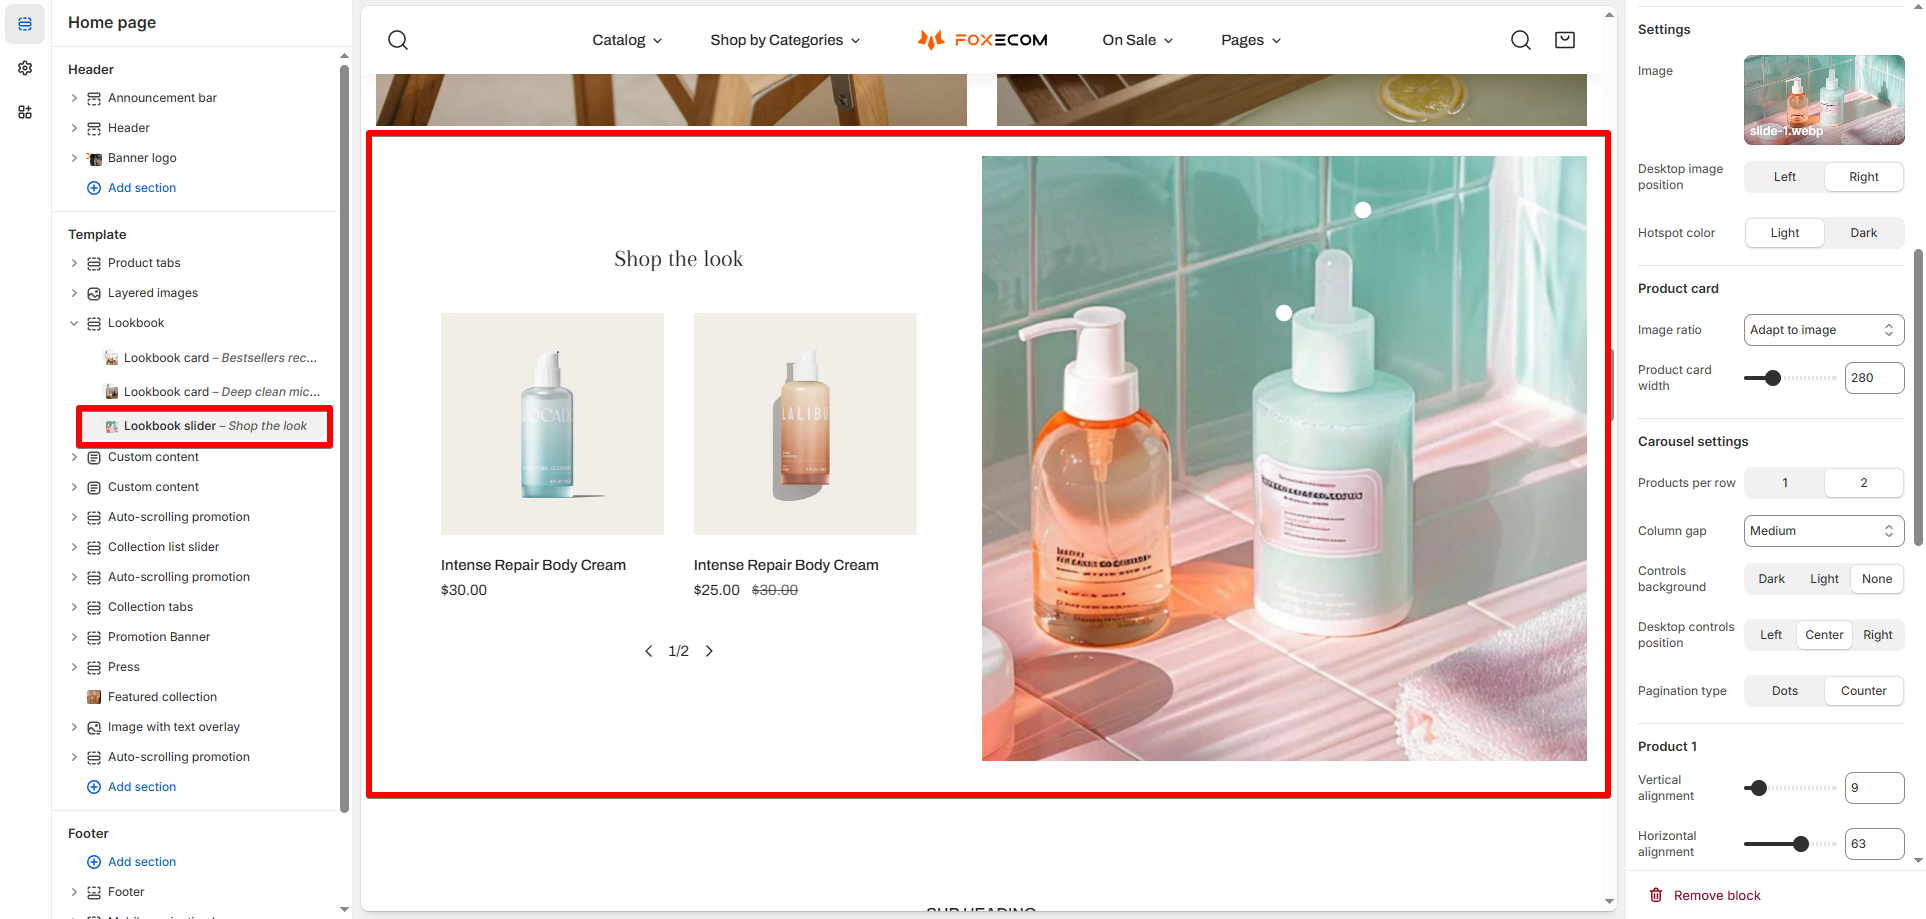
- Click Add block > Lookbook slider.
- Upload your image.
- Add 1–5 product pins.
- For each product pin:
- Select product.
- Adjust vertical and horizontal alignment to position the pin.
- Customize:
- Desktop image position (Left/Right)
- Product card layout (Adapt to image / Fixed size)
- Carousel settings: control arrows, pagination, gap size, and items per row.
- Use high-quality lifestyle images that showcase multiple products in a natural setting.
- For Lookbook cards, avoid overlapping pins; keep them easy to spot.
Last updated