# Add a banner to mega menu
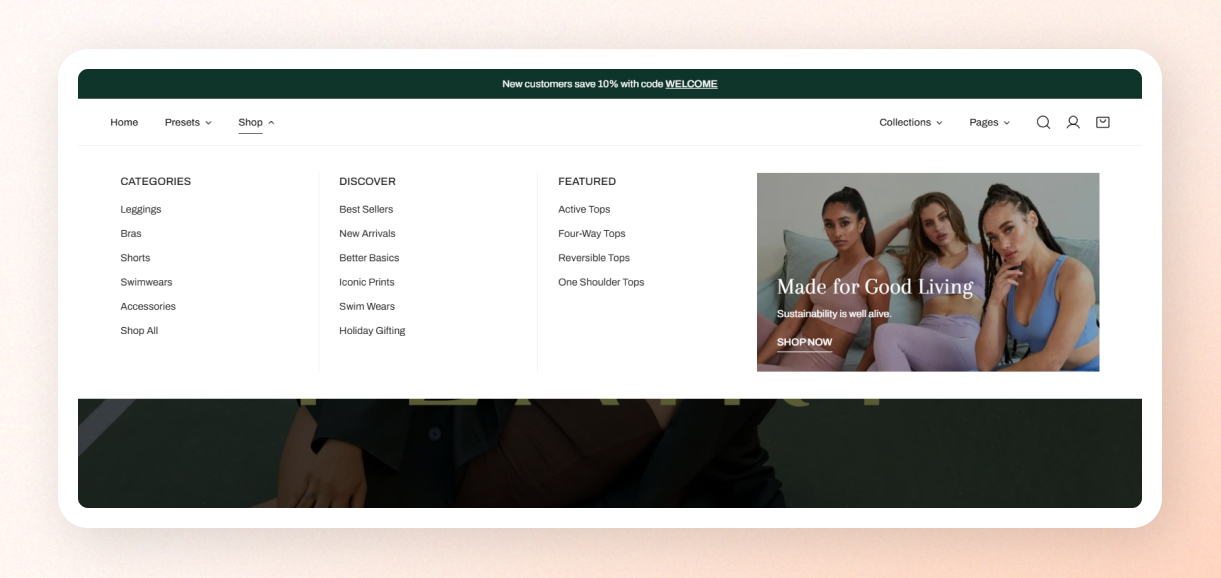
Enhance your navigation with visual content by adding a banner to a mega menu item. This is useful for promoting sales, new collections, or seasonal campaigns.
## How to add a banner to the mega menu
Steps:
1. Select the Header section, click **Add block**.
2. Select block **Banner (Mega menu)**.
3. In the **Menu title** field, type the **exact name** of the main menu item you want this banner to appear under.
4. Make necessary changes.
5. Save.
### ⚙️ Block settings
| Setting | What it does |
| --- | --- |
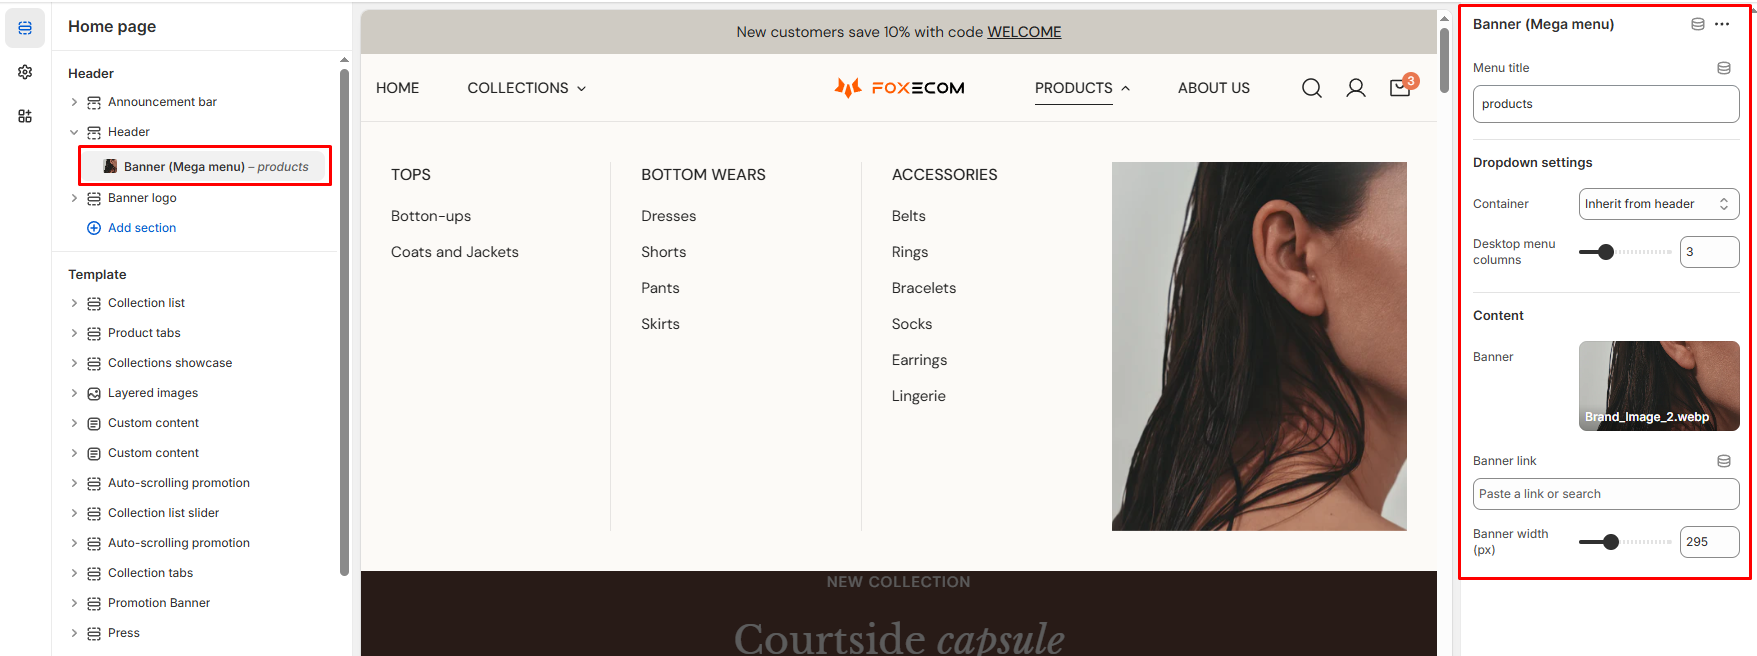
| Menu title | Determines which main menu item this banner belongs to. It must exactly match the menu title. |
| Dropdown container | Inherits padding and layout behavior from the header or can be customized independently. |
| Desktop menu columns | Defines how many columns are shown in the mega menu. Adjust to ensure your banner layout fits well. |
| Banner image | Upload an image for your promotion. It will appear at the end of the corresponding mega menu dropdown. |
| Banner link | Add a destination link when users click on the banner (e.g., to a collection or product page). |
| Banner width (px) | Set the banner width manually to better fit your mega menu layout. |
### 📝 Pro tips
* If the banner isn’t showing up, double-check the **Menu title** — it must match the main menu item exactly.
* If the mega menu doesn't show after translating, see[Mega menu not working when changing the store languages](https://docs.foxecom.com/zest-theme/troubleshooting/mega-menu-not-working-when-changing-the-store-languages)
* If you want to add multiple banners, use **Custom cards** block instead. Learn more: [Add custom cards to mega menu](https://docs.foxecom.com/zest-theme/pages-global-sections/menu/add-custom-cards-to-mega-menu)