# Checkout

<div data-full-width="true"><figure><img src="https://1997835572-files.gitbook.io/~/files/v0/b/gitbook-x-prod.appspot.com/o/spaces%2F-MlL6sK9D7unq8F2VPPp%2Fuploads%2Fa5w6LQkUFhLWSt58jhjP%2FHelp%20Center%20banner%20%201250%20x%20200-2.png?alt=media&#x26;token=ab0daf12-b917-4435-a603-9a3f6613f853" alt=""><figcaption><p><a href="https://foxecom.com/pages/affiliate?utm_source=minimog%2Bhelp%2Bcenter&#x26;utm_medium=banner&#x26;utm_campaign=foxaffiliatelaunch2024">Explore FoxEcom Affiliate Program now </a><span data-gb-custom-inline data-tag="emoji" data-code="2728">✨</span></p></figcaption></figure></div>

{% embed url="<https://youtu.be/WrJaJQ2GqGk>" %}

An example of a standard checkout page on a Shopify store using Minimog theme.

![](https://1997835572-files.gitbook.io/~/files/v0/b/gitbook-x-prod.appspot.com/o/spaces%2F-MlL6sK9D7unq8F2VPPp%2Fuploads%2FUBiUntXChu5yWlNb4JGY%2FScreen%20Shot%202021-10-25%20at%2021.22.07.png?alt=media\&token=d0dba1cf-16fc-432a-a8f7-7e2d2ada8d6a)

{% hint style="success" %}
Steps

1. In the theme editor (**Customize**), click **Theme settings**
2. Locate **Checkout**
3. Make necessary changes
4. **Save.**
   {% endhint %}

You can use the theme settings to **customize the style of the checkout page**. The settings include:

## Banner & logo

You can choose to add a background banner or store logo to stylize the checkout page to promote brand recognition - or leave them blank.&#x20;

![](https://1997835572-files.gitbook.io/~/files/v0/b/gitbook-x-prod.appspot.com/o/spaces%2F-MlL6sK9D7unq8F2VPPp%2Fuploads%2FMbz6FyfcLZqzobrGZ3va%2FScreen%20Shot%202021-10-25%20at%2021.13.57.png?alt=media\&token=f447f87c-890a-490c-a81c-9480083c404d)

## Main content area

On the left side of the page, it shows the contact info and shipping address of the buyer.&#x20;

In this area, you can add a background image, or leave it blank and use background color only.

The provided fields for shoppers to fill in texts can be set as white or transparent.

## Order summary area

Appear on the right-hand side of the site. The same as the main content area, background image, and color can be added to meet your expectations.

<figure><img src="https://1997835572-files.gitbook.io/~/files/v0/b/gitbook-x-prod.appspot.com/o/spaces%2F-MlL6sK9D7unq8F2VPPp%2Fuploads%2F5NNsE127hP9rvABXnq7q%2Fimage.png?alt=media&#x26;token=9a99a087-df5a-4938-8ca8-e21e7bab0712" alt=""><figcaption></figcaption></figure>

## Typography & colors

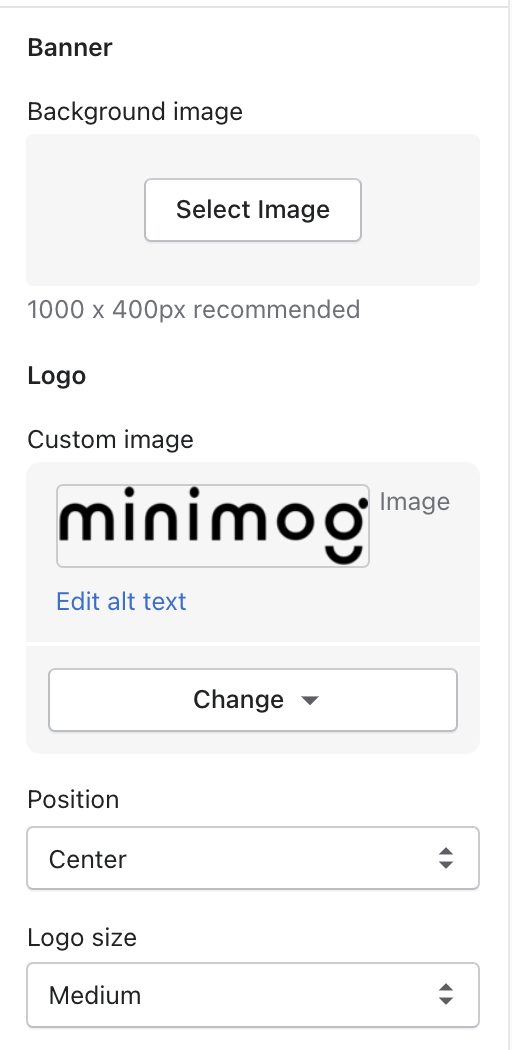
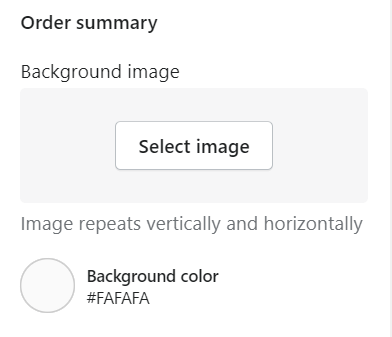
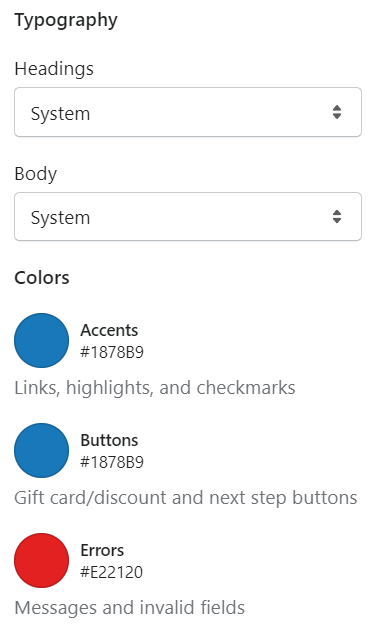
Use this part to change fonts and colors that match the store's brand style.

<figure><img src="https://1997835572-files.gitbook.io/~/files/v0/b/gitbook-x-prod.appspot.com/o/spaces%2F-MlL6sK9D7unq8F2VPPp%2Fuploads%2FjvqsqPjRI5wVsOswmwNv%2Fimage.png?alt=media&#x26;token=4eb254f4-3122-4f1e-afe3-2a9031acb247" alt=""><figcaption></figcaption></figure>

{% hint style="info" %}
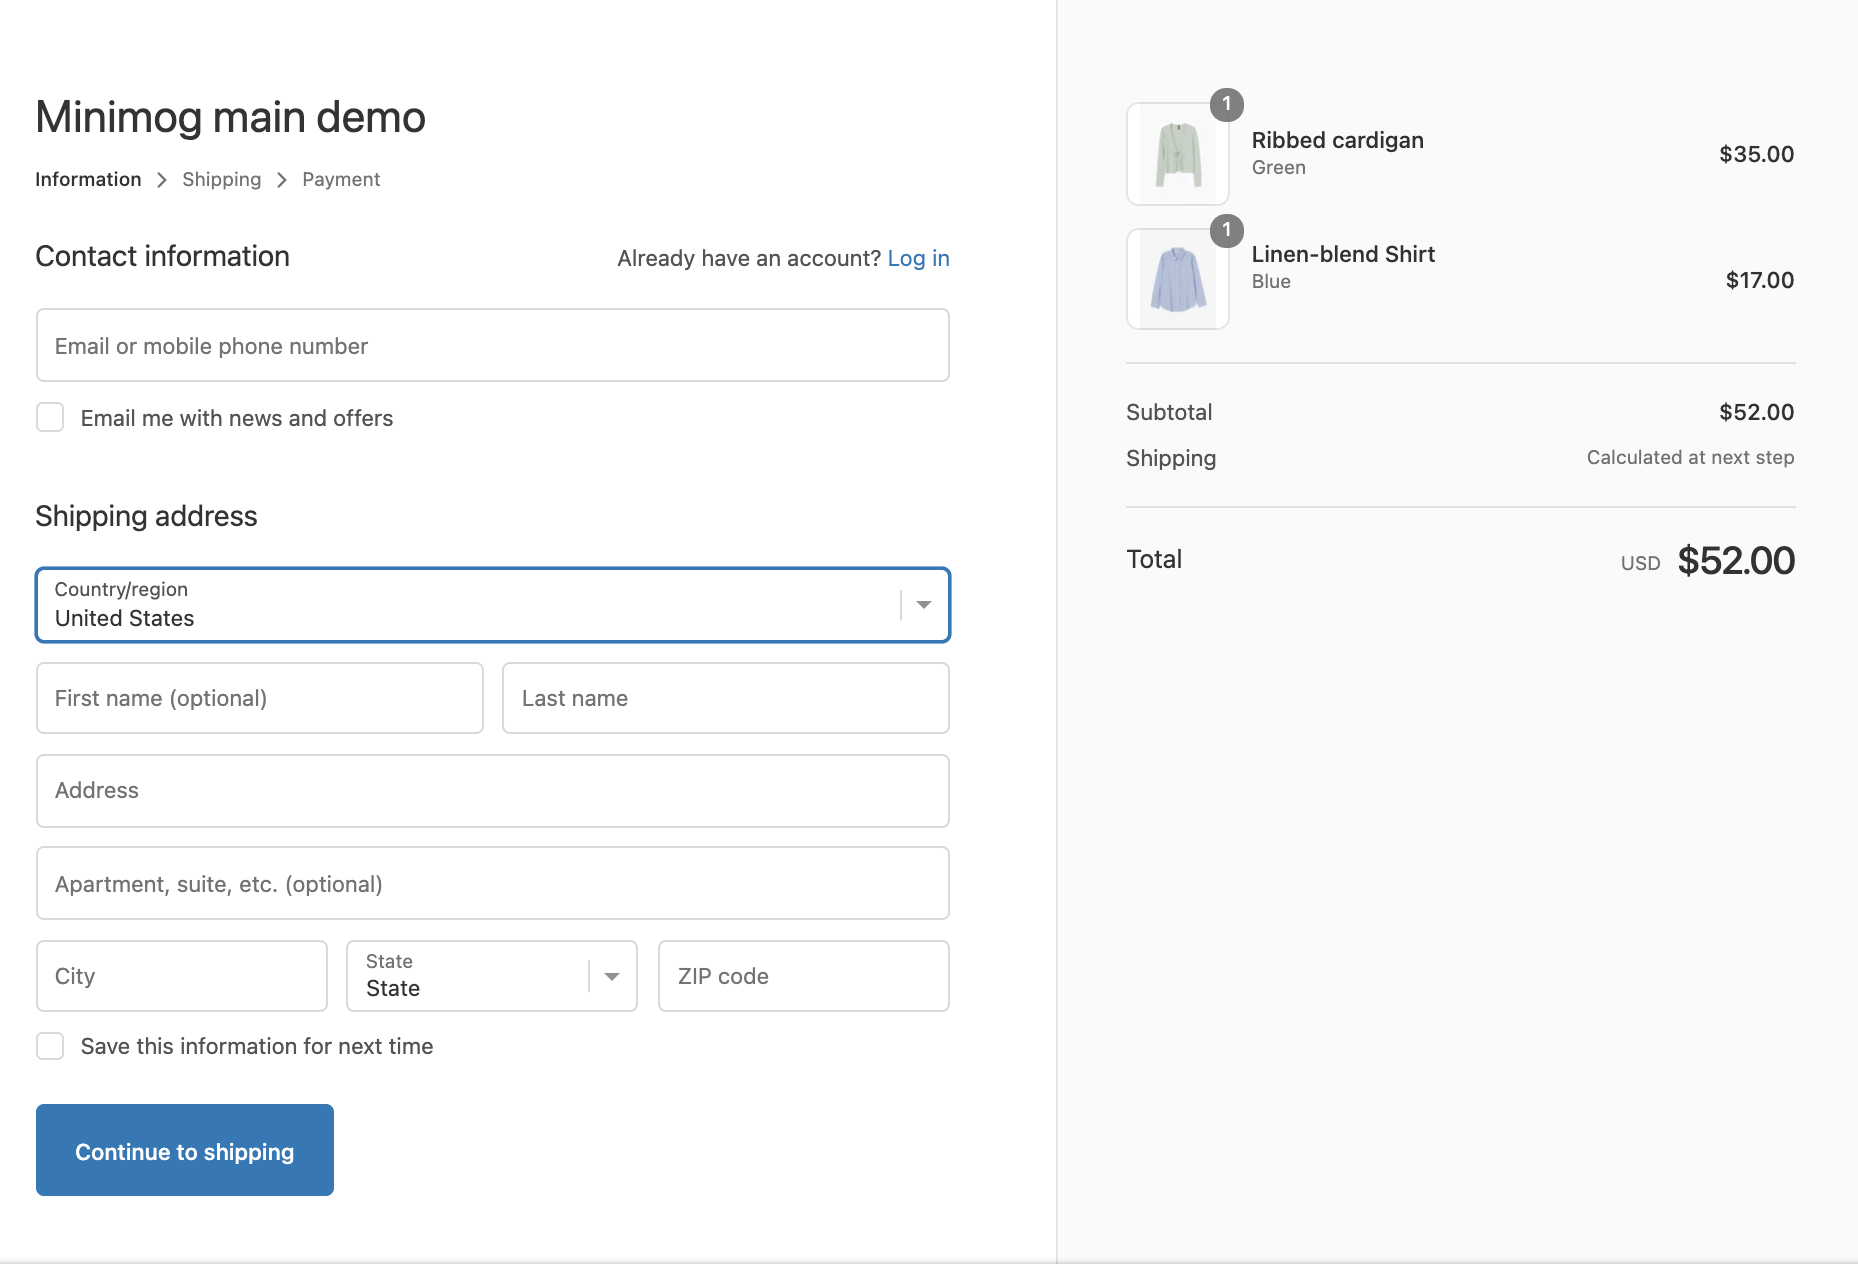
The main purpose of this page is for your customers to enter the shipping and payment information for their orders, so you don't want to distract them or make the information hard to read.&#x20;

It's recommended to keep the design of the checkout page simple.&#x20;

Choose high-contrast colors and non-distracting visuals.
{% endhint %}

{% hint style="info" %}
To edit your checkout, see this [Shopify Manuals](https://help.shopify.com/en/manual/checkout-settings/checkout-extensibility).
{% endhint %}
