Lookbook
A guide to set up Lookbook to connect media and products in one section
.png?alt=media&token=deecd7f6-4c27-4076-8272-7ec81720b5de)
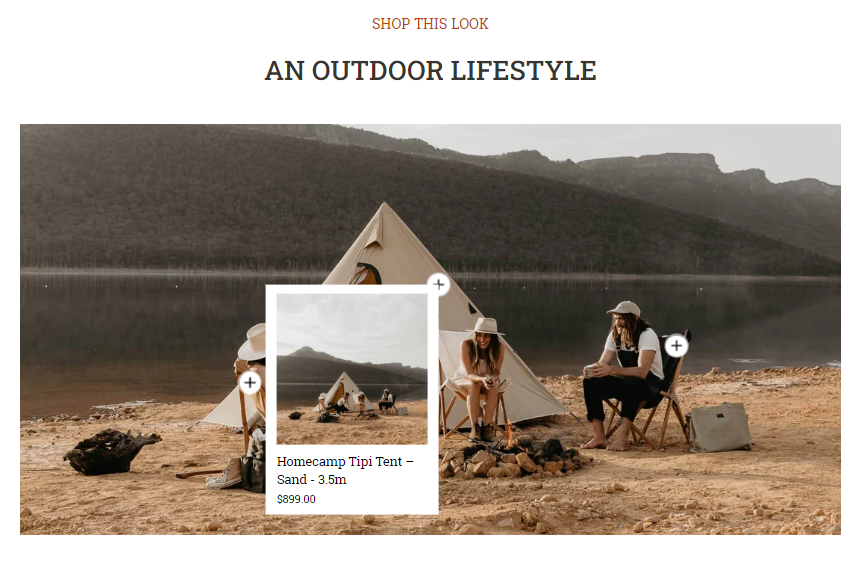
The lookbook helps you showcase multiple products and let customers interact with them. The lookbook is one of the amazing features that can boost your sales like a cross-selling art.
This article shows you how to create lookbooks on your own for a powerful and eye-catching store.
Steps
- 1.In the theme editor (Customize), click Add section
- 2.Locate Lookbook
- 3.Save
Use the provided fields to add an eye-catching heading/subheading/description and adjust text alignment.

Select the container type, background color, and image aspect ratio for the section.


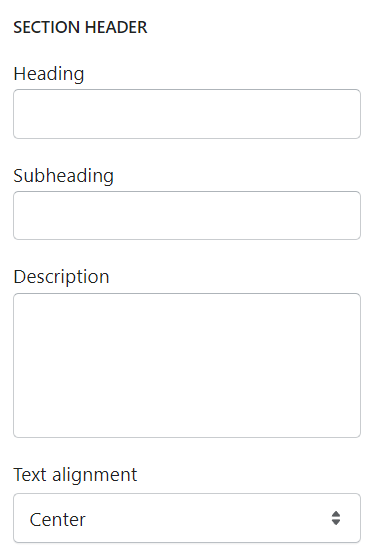
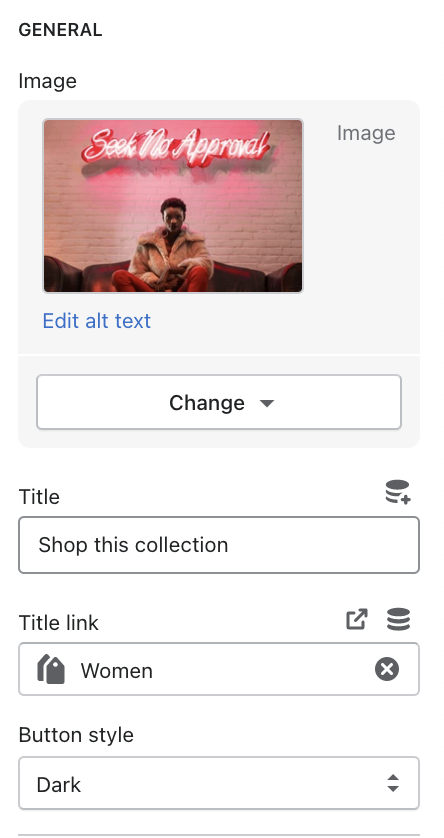
Each item consists of a high-resolution image and tagged products. You can add your preferred image and select the icon color (Light/Dark).

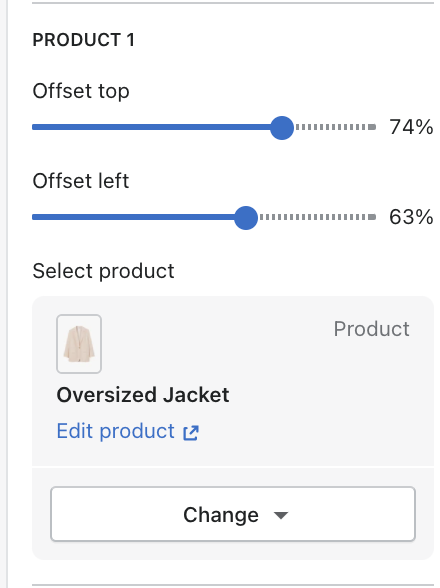
To tag products on the item image, you must add the chosen products. Then, use the offset top and left to adjust the annotation icon. You can add up to 5 products/annotation icons for one lookbook item (image).

Showcase your highlighted products in an interactive way.
.gif?alt=media&token=74ed4a32-88b4-4dbc-8555-c3ea951e04ef)
Similar to adding the Lookbook's items, after adding an image to the block, select up to 5 products and adjust the corresponding annotation icons.
- Columns: display the product slider in one column or two.
- Show pagination and/or navigation: let customers easy to navigate between products in the slider.

Last modified 6mo ago