# Countdown timer
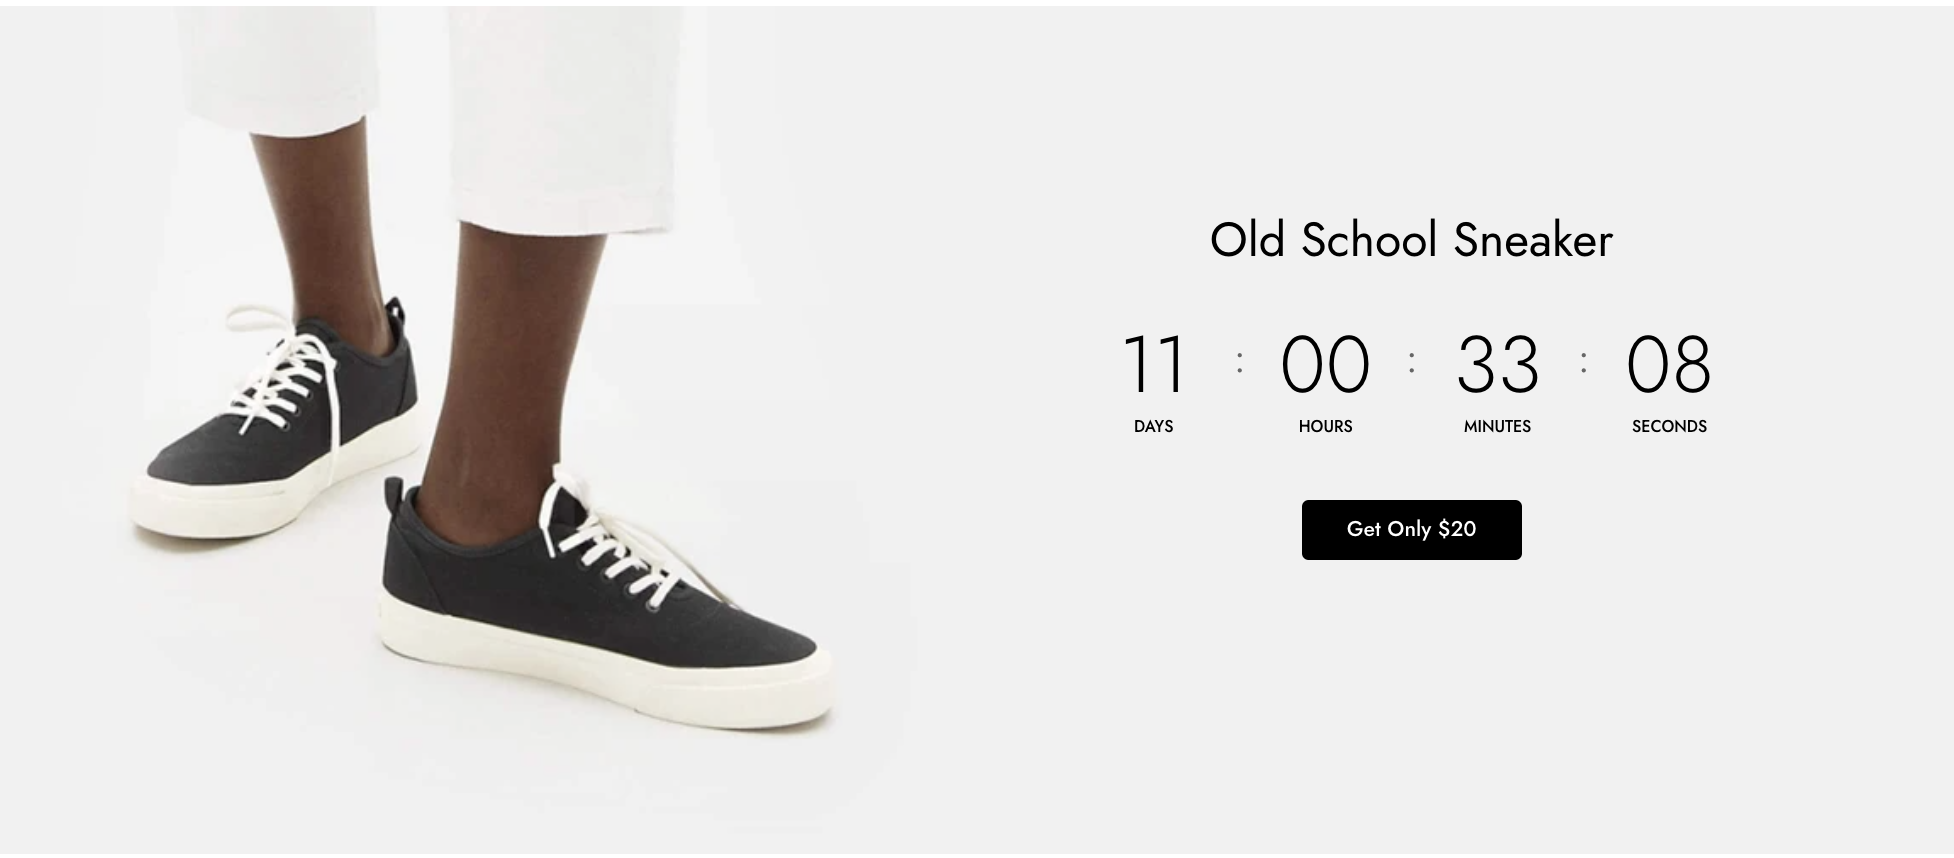
A countdown clock for promotion/new collection release can bring excitement to customers that have been waiting for the event.
## How to add the Countdown timer section to your Shopify store
Steps
1. In the theme editor **(Customize)**, click **Add section.**
2. Select **Countdown timer**.
3. Make necessary changes.
4. **Save** the settings.
## How to edit a Countdown timer section
### General settings
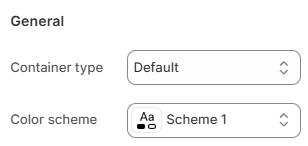
You can choose your **Container type** for the collection list as:
* Default;
* Full width;
* Use container box.
Select the **Color scheme** for the section.
Set up your Color schemes anytime in the Theme settings > [Colors](https://docs.foxecom.com/minimog-theme/theme-settings/colors-and-color-schemes).
Choose the **Alignment** for the section content:
* Left
* Center
* Right

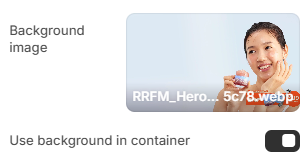
You can upload a **Background image** for the section.
Enable **Use background in container** to display the background image only inside the content container.
Enable **Parallax effect** to create a scrolling animation effect for the background image.
The **Parallax direction** can be set as:
* Vertical
* Horizontal
* Zoom
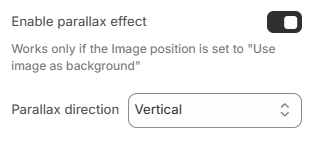
Note: The parallax effect only works when the background image is used as the section background.
### Mobile settings
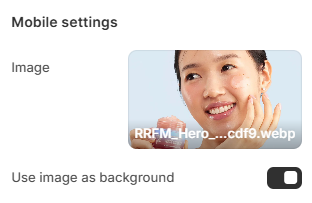
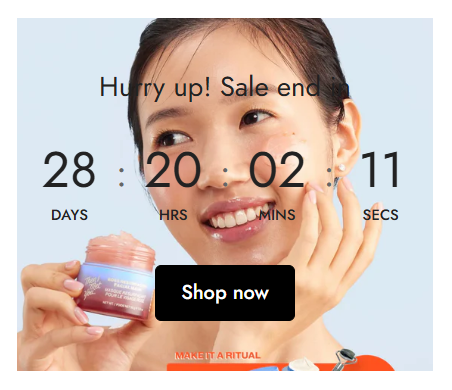
Upload a separate **Image** for mobile devices to optimize the section appearance on smaller screens.
Enable **Use image as background** to display the selected mobile image as the section background.

### Content settings
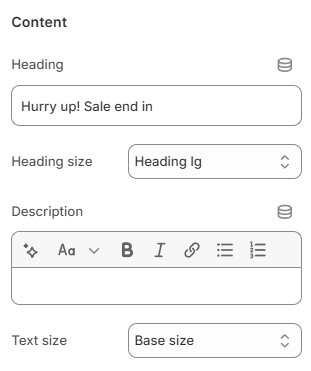
Enter a **Heading** for the countdown section.
Choose the **Heading size** as:
* Heading xs
* Heading sm
* Heading md
* Heading lg
* Heading xl
* Heading 2xl
Add an optional **Description** using the rich text editor.
Select the **Text size** for the description:
* Small
* Base size
* Large
* Extra large
* Default
### Countdown timer
Add a countdown timer and adjust the end time of the event.
The **Countdown type** offers two modes:
* **Evergreen**: A repeating countdown that resets after a specified duration (e.g., every month).
* This is useful for recurring sales, daily deals, or subscription cycles.
The Evergreen setting is only available in Minimog **version 6.0.0 and above**. ✨
See [Changelog](/minimog-theme/changelog).
* **Fixed time**: A one-time countdown that ends at a specific date and time.
* Ideal for limited-time promotions, event registrations, or product launches.

If you choose the **Evergreen** countdown, you must specify the **Duration** for when the timer should reset.
**Duration** determines how often the countdown restarts.
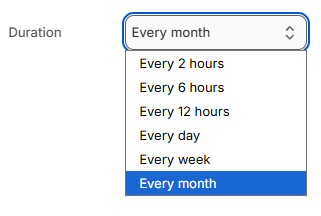
If you choose the **Fixed time** countdown, you need to specify when the countdown should end.
Enter the exact date and time in the **Ends time** field when the countdown should stop.
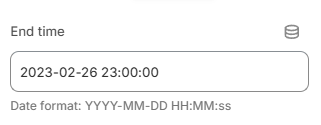
Date formats accepted: YYYY-MM-DD HH\:MM\:ss
### Button settings
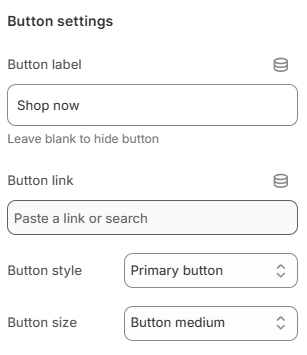
Display a call-to-action button to redirect customers to your desired pages.
Add a **Label** and **Link** for one or both, then choose a **Button style:**
* Primary button
* Secondary button
* Underline button
* White button
Leave the **Button label** field blank to hide the button.
and adjust the **Button size:**
* Button small
* Button medium
* Button large
### Advanced
Enable **Preload image** to preload the section image when the page loads.
This can help:
* Reduce Largest Contentful Paint (LCP);
* Improve page loading performance.