# Slideshow
A slideshow is a quick and interactive way to showcase content and information on your site. Slideshow lets you display your most popular products/collections or shout out about what's new with a call-to-action button.

## How to add a Slideshow
Steps
1. In the theme editor (**Customize**), click **Add section**
2. Select **Slideshow**
3. **Save**
## Section settings
### Design settings
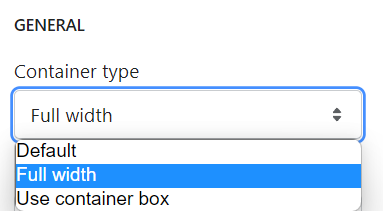
In this settings, you can choose the container type for the slideshow:
And the slide height:
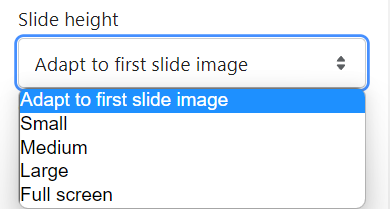
When choosing "Adapt to first slide image", the slide height will follow the image ratio of the first slide. It will not be cropped.
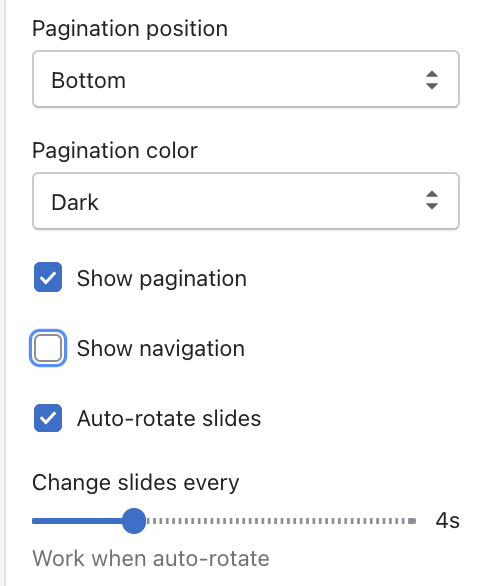
### **Auto-rotate slides**
Enable **Auto-rotate slides** to run the slideshow automatically. The duration time to change slides is between 2-10 seconds.
If you don't want to use rotation, you can disable it and use pagination or navigation.
## Block settings
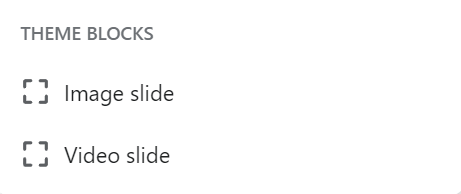
Since each theme blocks have its own settings, you need to click each block to modify it.
### Background settings
You can add images for desktop and mobile versions separately.
💡**Pro tip:** 1920x900px is recommended for desktop & 600x480px is recommended for mobile.
### **Content**
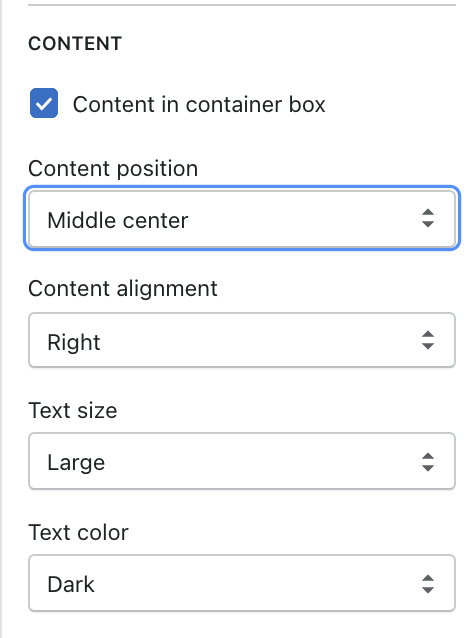
Add some text for the slide’s heading and subheading, then determine the content's color, size, and position by choosing a value in the text color/size, content position, and alignment drop-down.
### Buttons
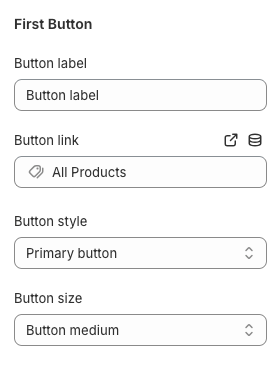
You can display **two** call-to-action buttons (**First Button** and **Second Button**) to redirect customers to your desired pages/collections. Add a **Label** and **Link**, then choose a **Button style** and adjust the **Button size.** Leave the **Button label** blank if you don't want to display the button in your slide.
 _1hwR6Aqs.png)
For example:

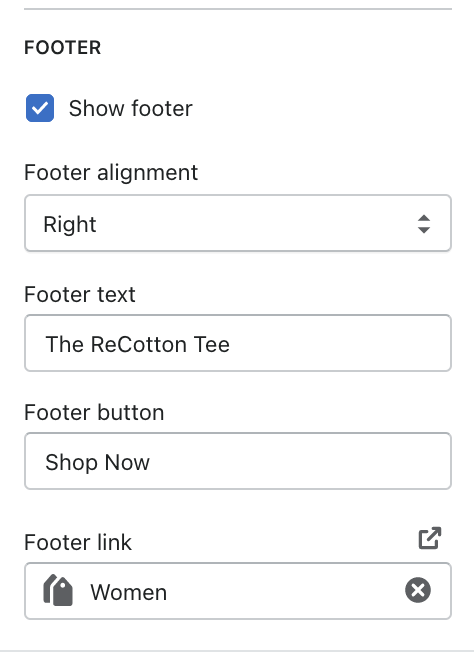
### **Footer**
Enable/ Disable the footer by ticking/unticking the checkbox.
Footer works as a second call-to-action button that redirects customers to your desired pages/ collections.