
Theme Sections
Video hero
3 min read
If you want to add a Vimeo or YouTube video, which includes sound, you should use the Video section instead.
How to add a Video hero
- In the theme editor (Customize),> click Add section.
- Select Video hero.
- Make necessary changes.
- Save the settings.
General settings
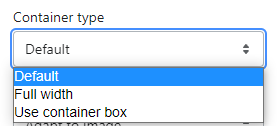
Container type
- Default: based on the Container max-width you set in Theme settings > Layout settings.
- Full width: to span the content from right to left and takes the full 100% of the screen's width.
- Use container box: based on the Container width you set in Theme settings > Layout settings.
Section height

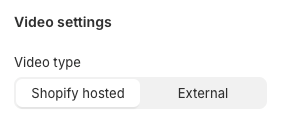
Video settings
Video type
- Add a video you've added to your Shopify Files, or
- Upload an external video (Vimeo and Youtube accepted).
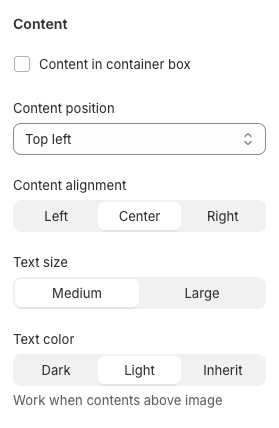
Content settings
- Content in container box: select the checkbox if you want the content to show inside the Container width that is set in Theme settings > Layout settings.
- Content position: use the dropdown options to change the position of the content on the video (desktop view). Available positions are:
- Top left
- Top center
- Top right
- Middle left
- Middle center
- Middle right
- Bottom left
- Bottom center
- Bottom right
- Text size: set the size of the text as Medium or Large.
- Text color: choose the text color for the video headings and description as Light or Dark.
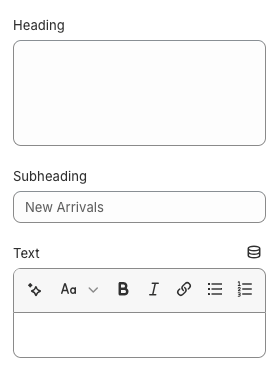
- Heading: enter heading text to display as a section title.
- Subheading: enter subheading text to display below the heading.
- Text: enter a description or extra info to your video. Use the formatting buttons to add bold, italic, or linked text.
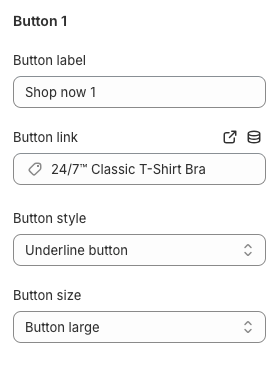
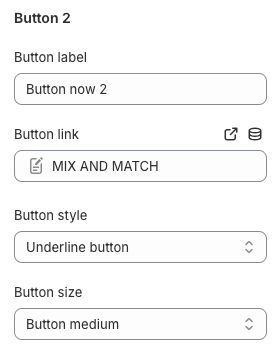
- Button label: add custom text for your call-to-action button.
- Button link: select or paste a link for the call-to-action button.
- Button style: select the style of the button as a Primary button/ Secondary button/ White button/ Underline button.
- Button size: set the size of the button as small/ medium/ large.
Last updated