# Additional pages
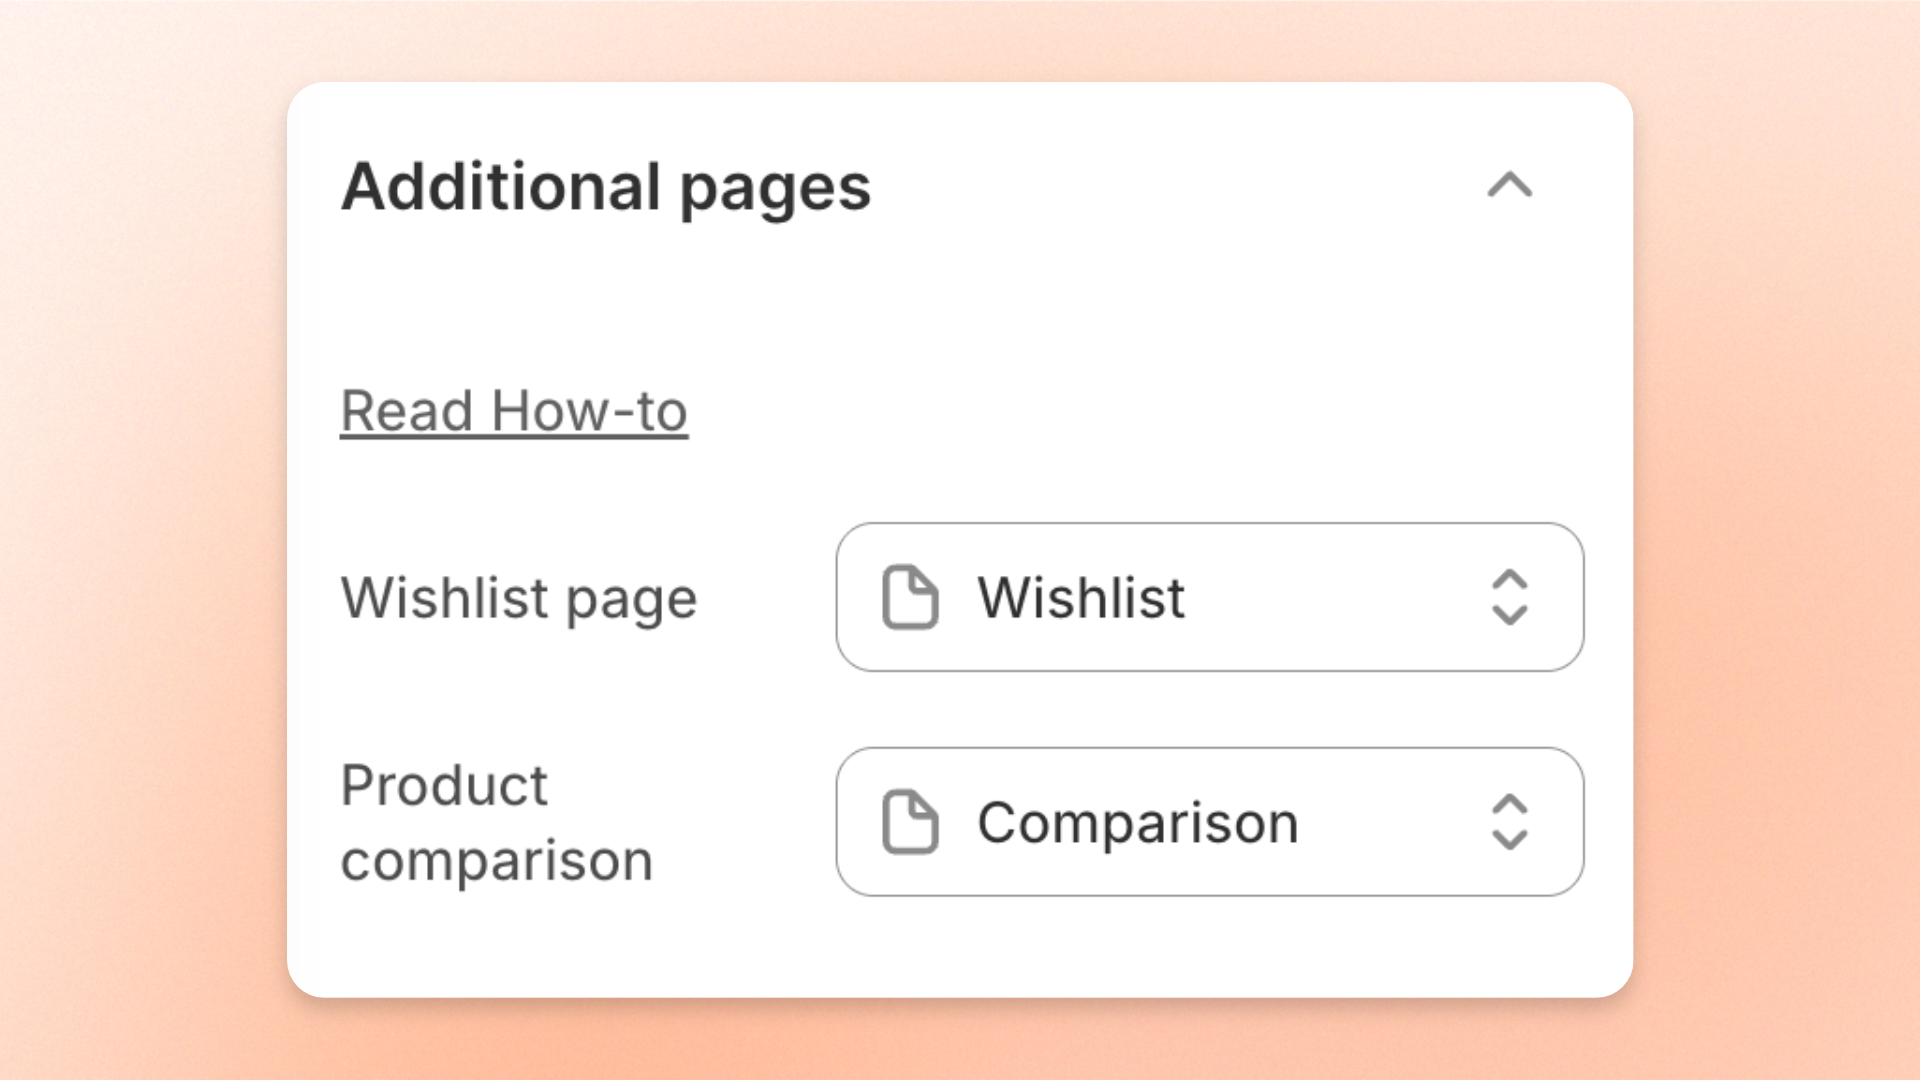
Give customers a page to see the products they saved, and a page to compare products side by side. The **Additional pages** settings tell the theme which of your store pages to use for the Wishlist and Product comparison.
## Before you start: set up the pages
Each page needs its matching theme template, so it can show wishlist or comparison content.
1. From your Shopify admin, go to **Online Store > Pages**.
2. Open your Wishlist page. To create one, click **Add page**.
3. Under **Template**, select **wishlist**.
4. Click **Save**.
5. Repeat these steps for your Product comparison page, and select the **product-compare** template.
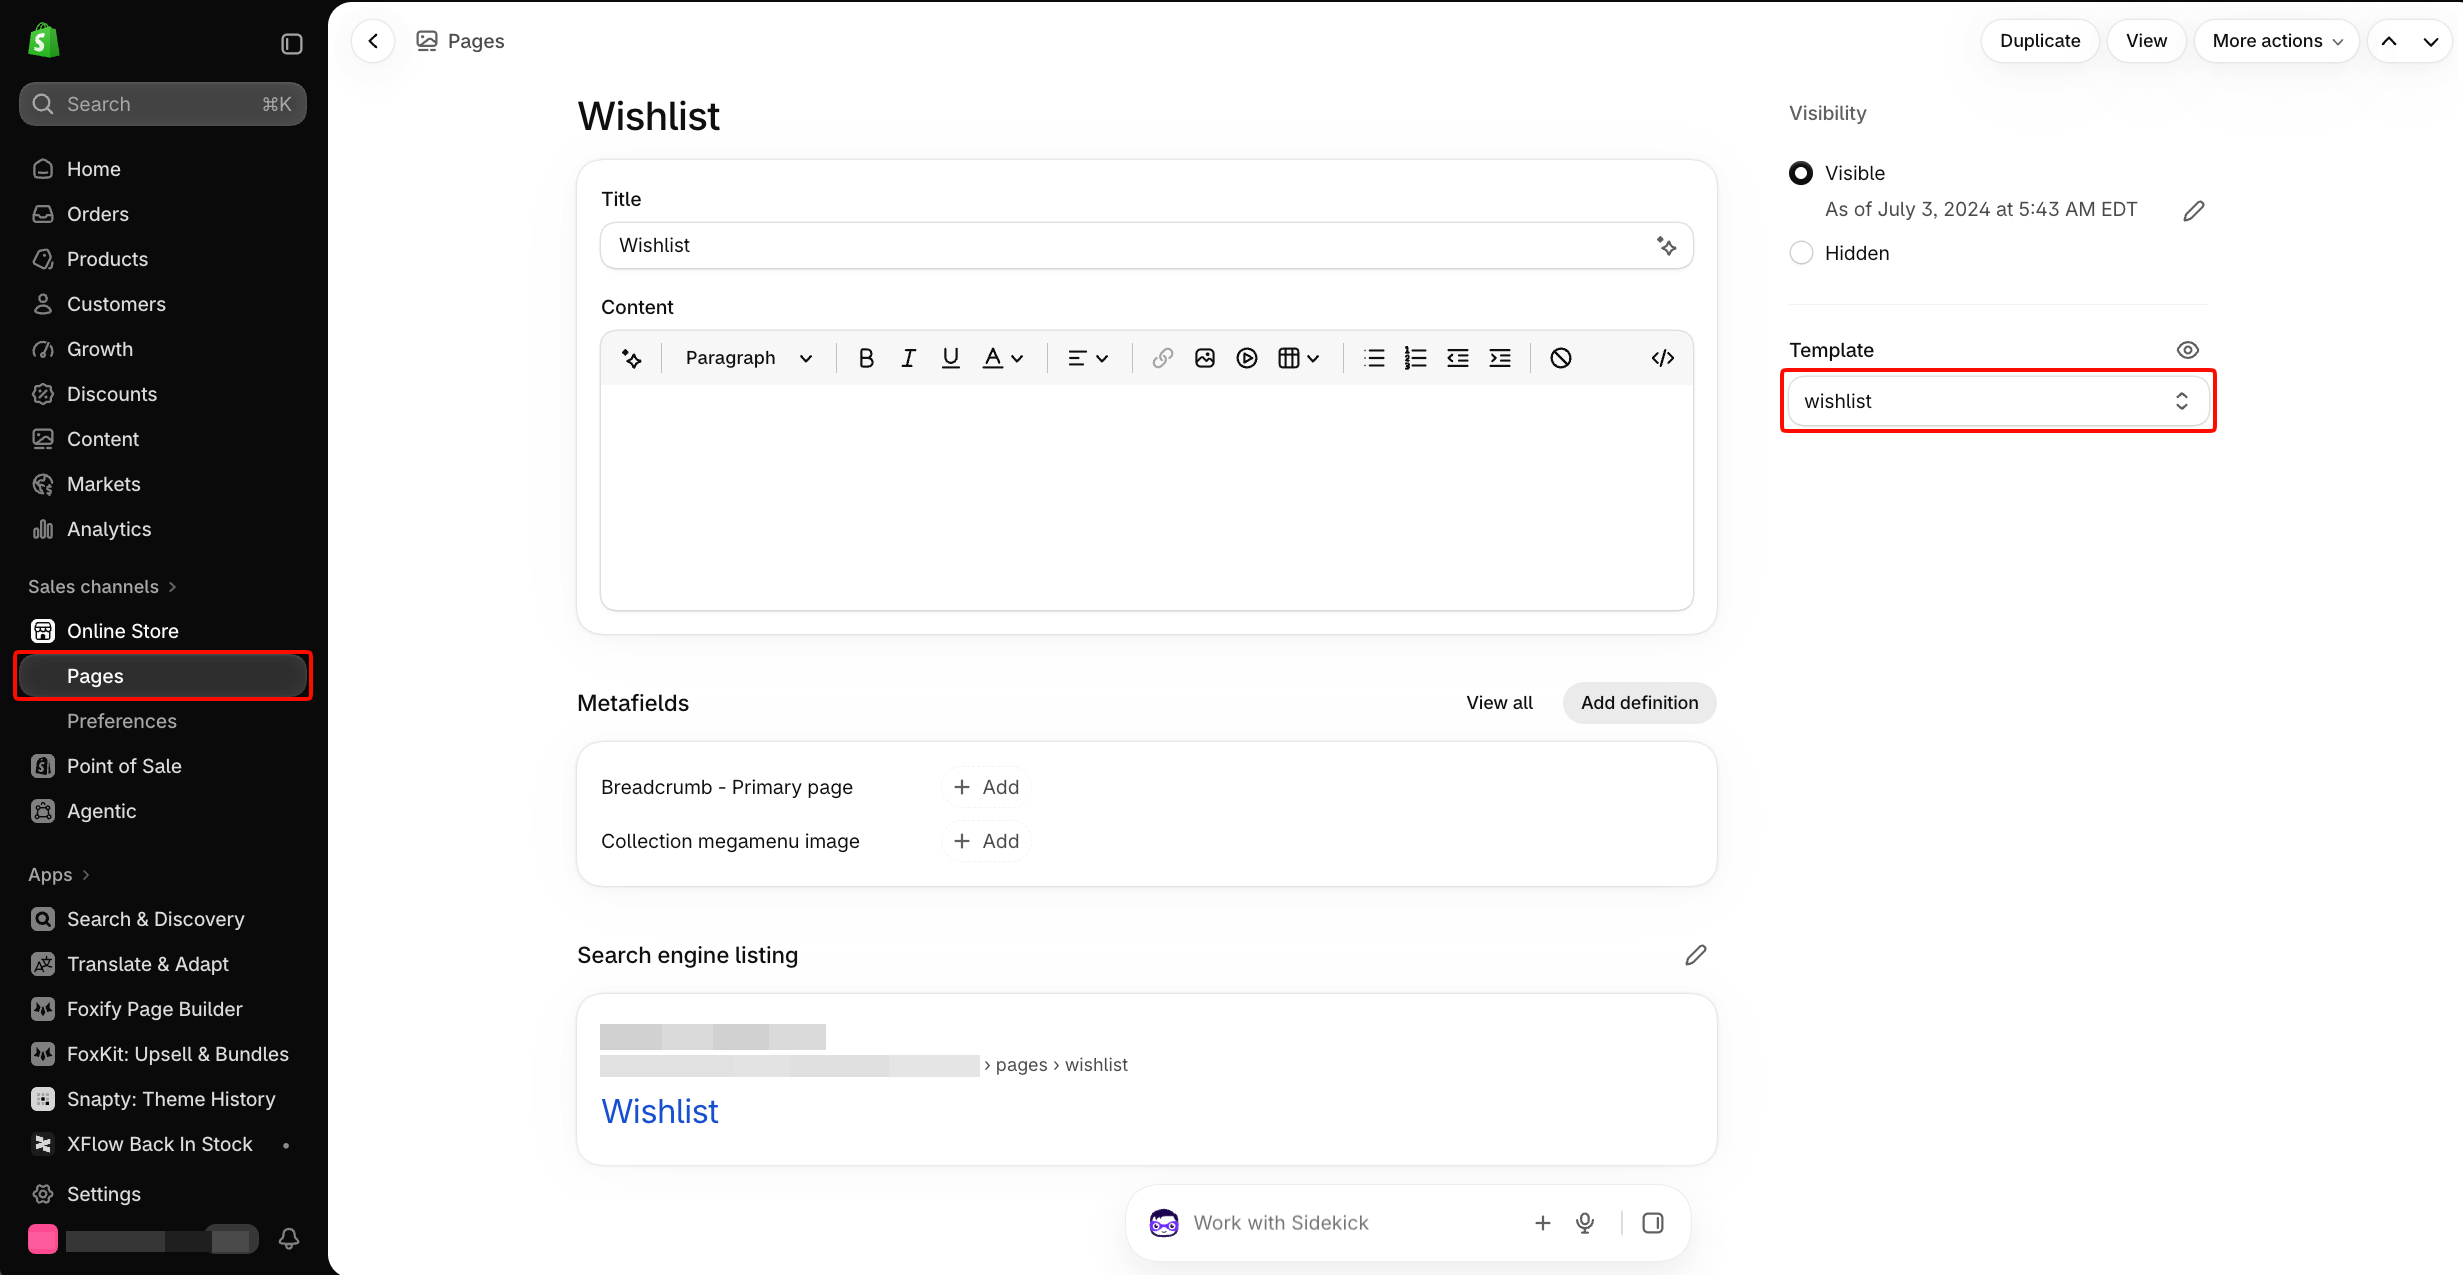
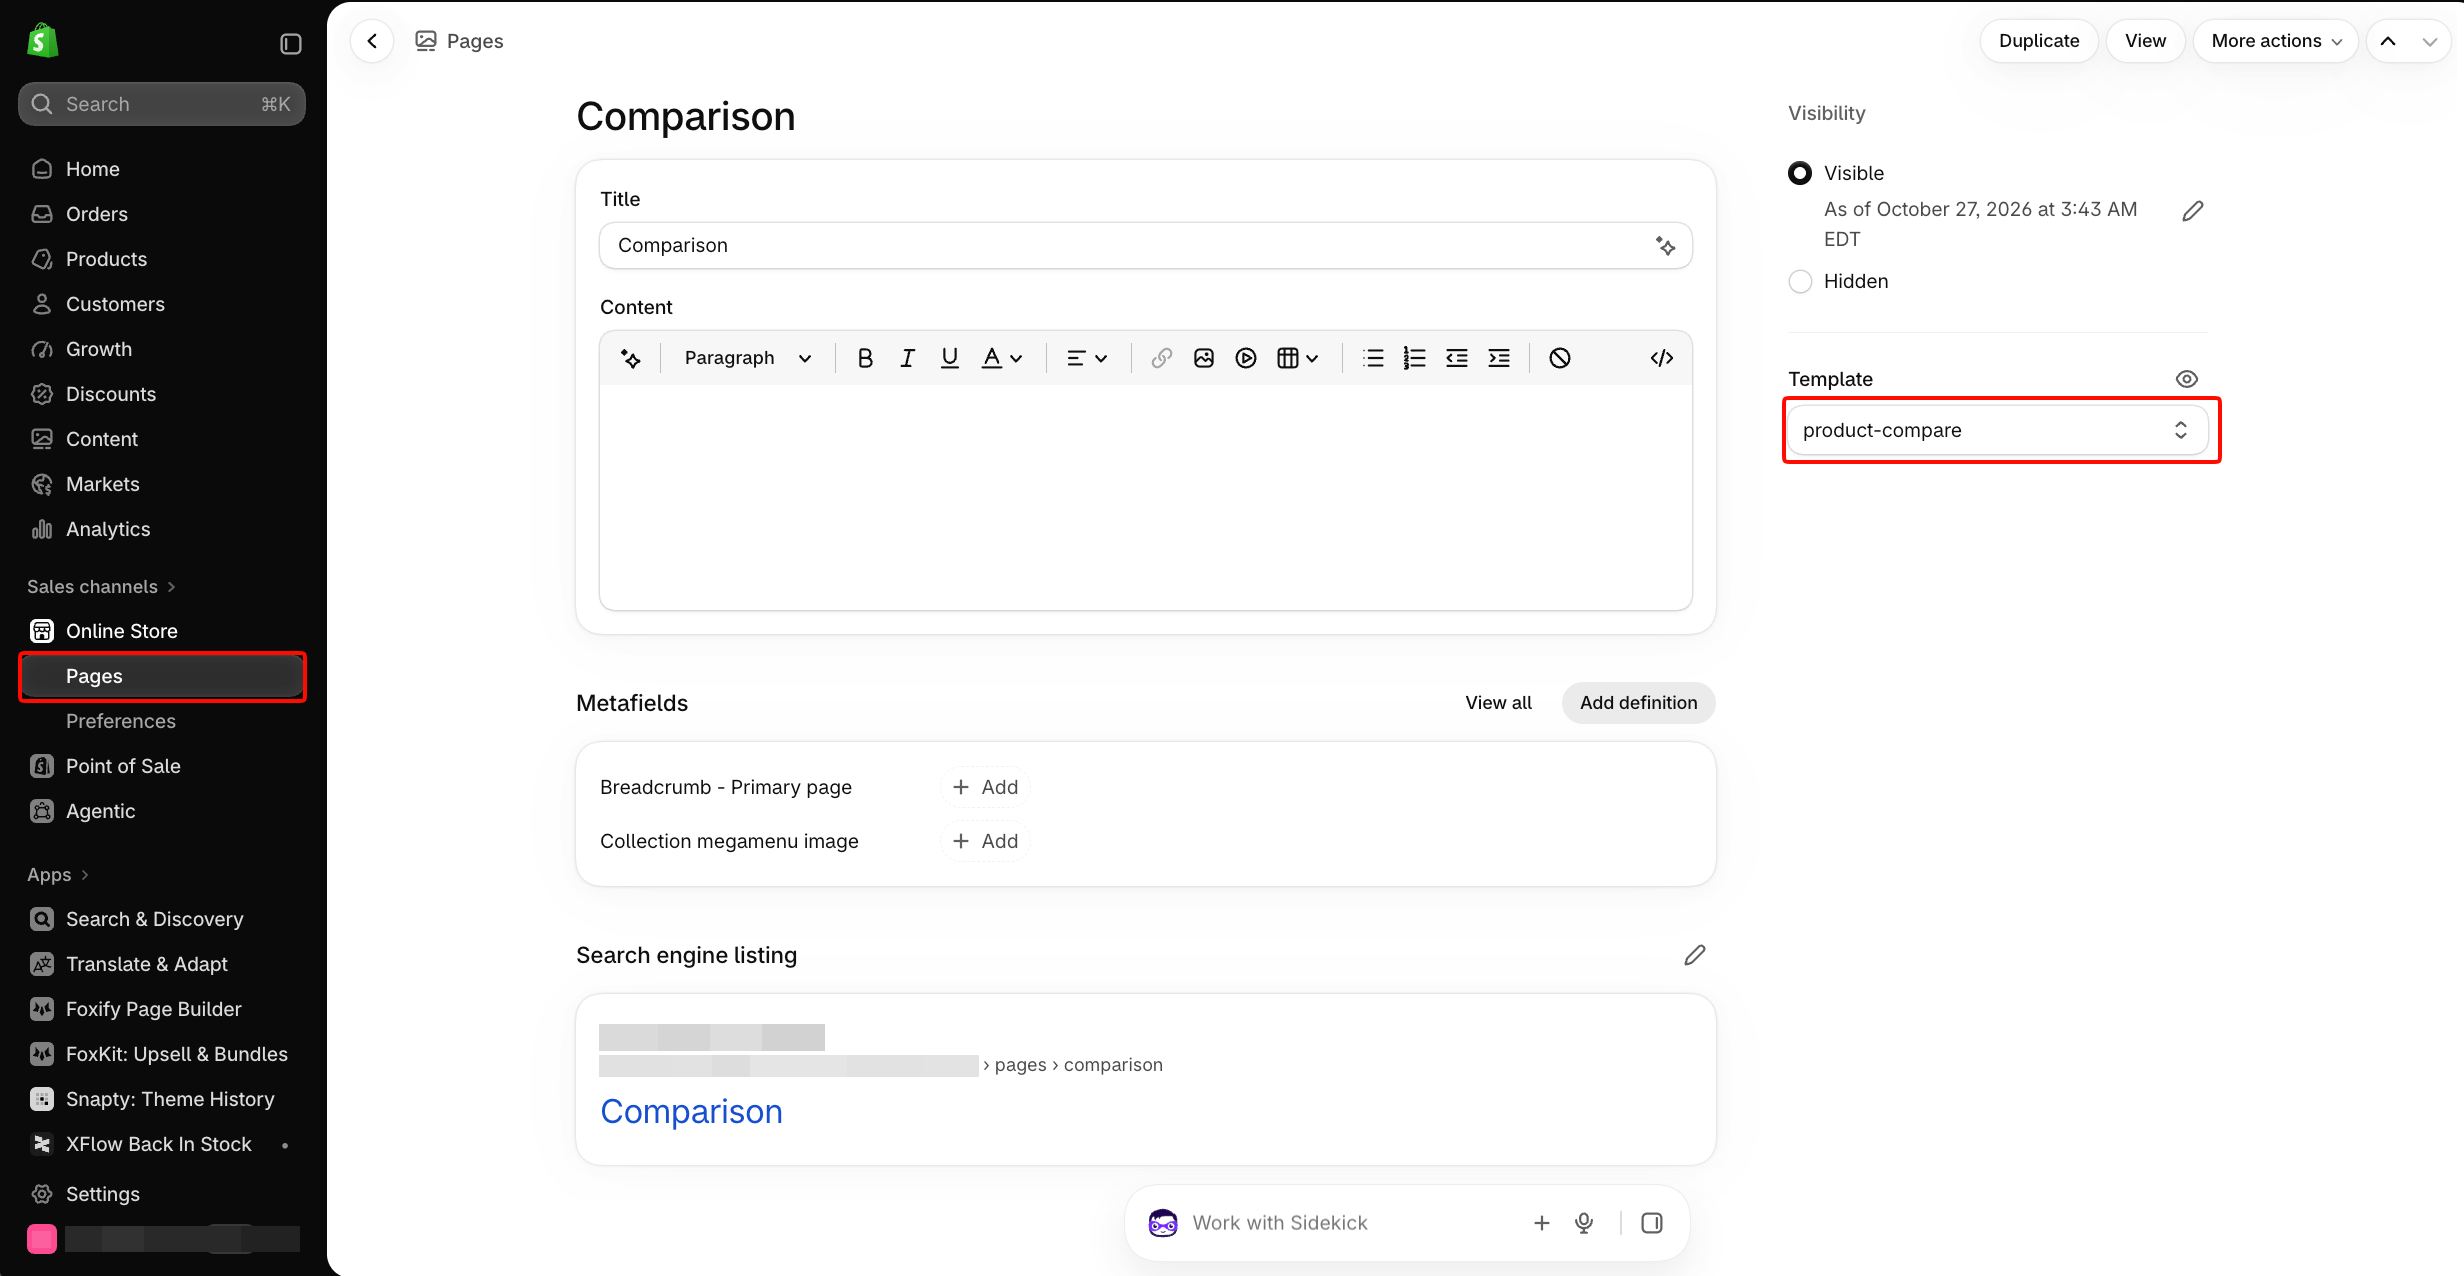
You can only select templates from your published theme. Publish Minimog first if the **wishlist** or **product-compare** template doesn't appear.
## How to edit Additional pages
1. Open the theme editor (**Edit theme**) and go to **Theme settings**.
2. Open **Additional pages**.
3. Adjust the settings described below.
4. Click **Save**.
## Settings
| Setting | Description | Options |
| ---------------------- | ----------------------------------------------------------------------------------------------------------------- | ------------------------------------------------------------------------ |
| **Wishlist page** | The page where customers' favorite products are added and showcased. | Click **Select** to choose the page that uses the **wishlist** template. |
| **Product comparison** | The page that shows the products customers add to compare, side by side, with their similarities and differences. | Click **Select** to choose the page that uses the **compare** template. |
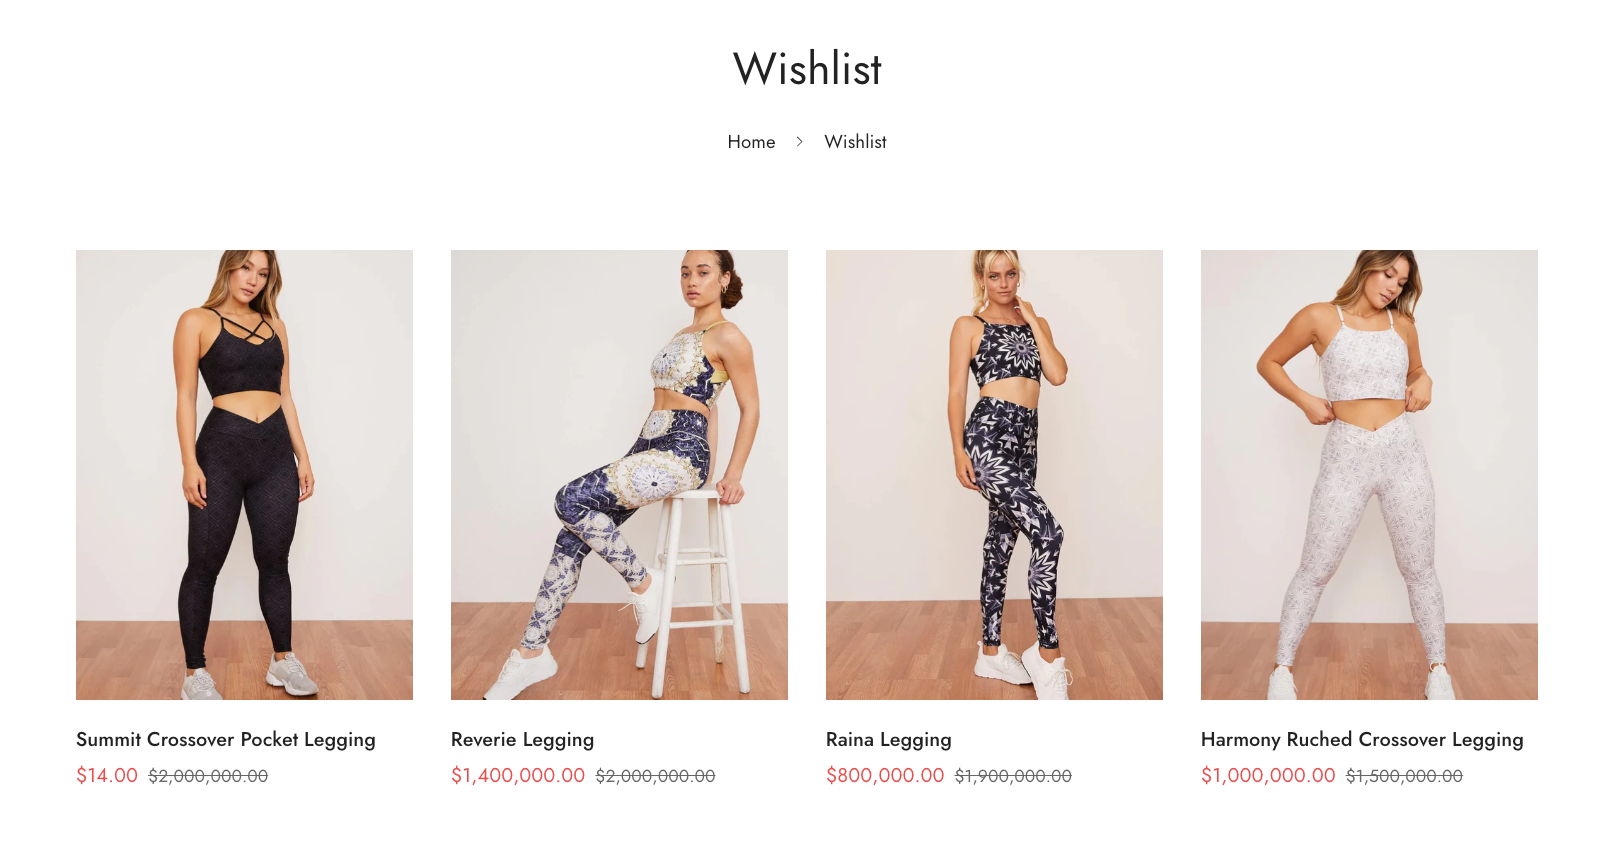
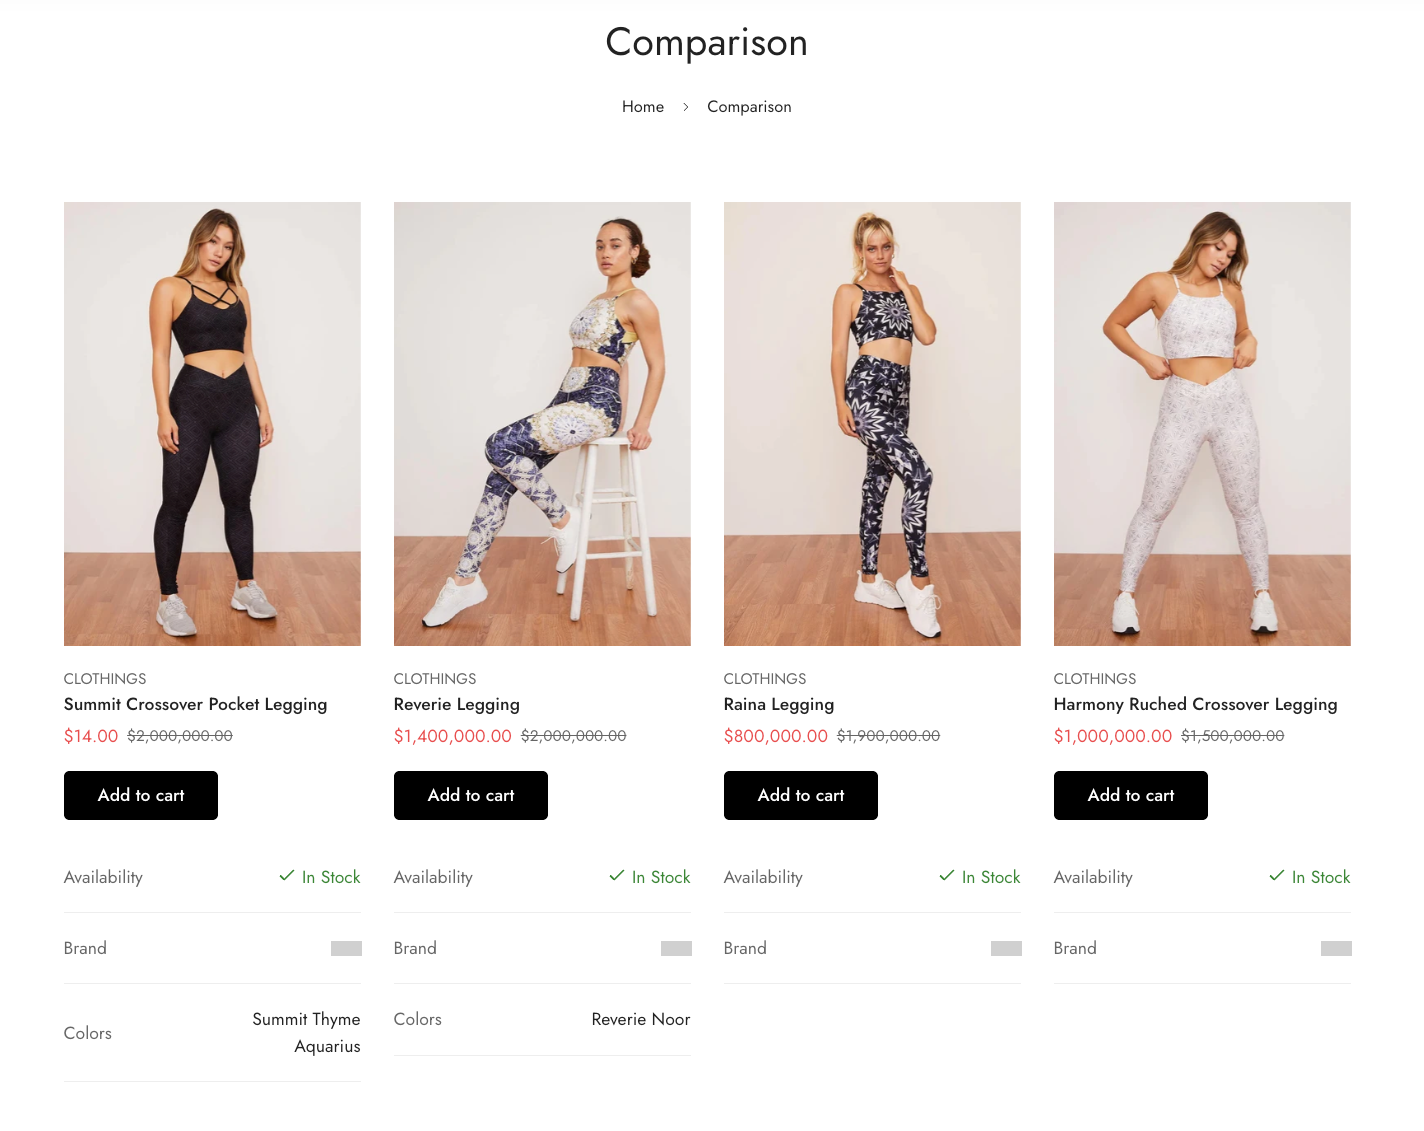
Both settings show your pages, and opening each page in the theme editor preview shows your wishlist or product comparison.
## Tips and best practices
These two pages are the only ones you need to set in **Additional pages**.