
Theme Sections
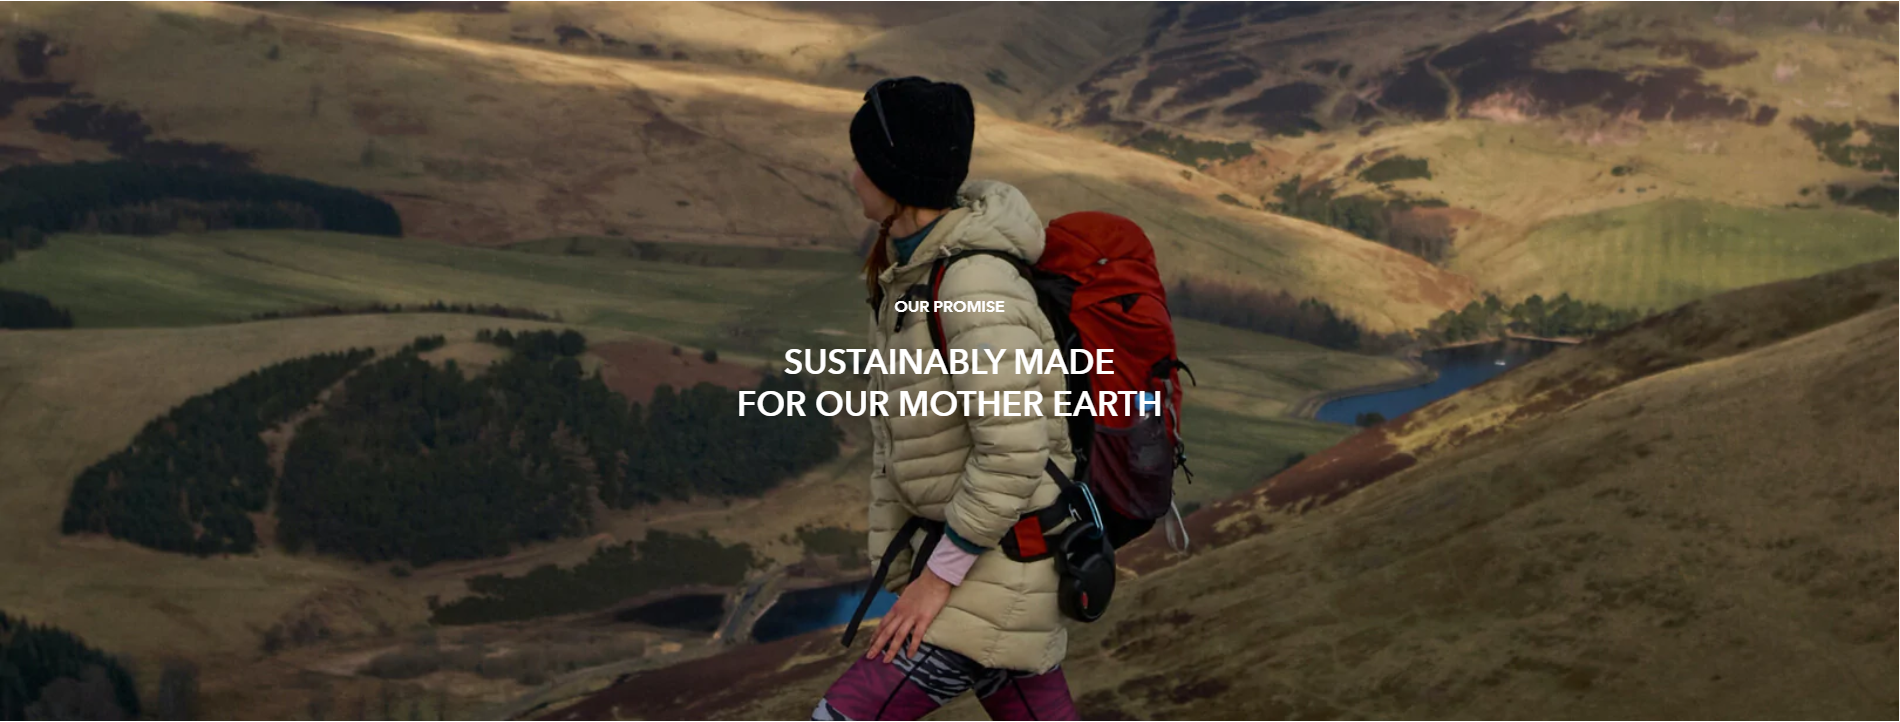
Image with text overlay
2 min read
How to add an Image with text overlay section
- In the theme editor (Customize), click Add section.
- Locate Image with text overlay.
- Make necessary changes.
- Save.
How to edit an Image with text overlay section
Section settings
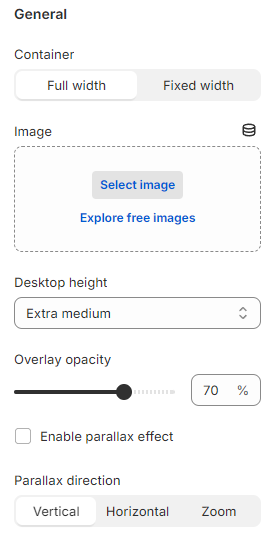
General settings
- Container: Set the image to be in full-width or fixed-width mode.
- Image: Capture attention with a stunning image or lifestyle photo that set the scene.
- Desktop height: Control the height of the image on desktop.
- Overlay opacity: Adjust the opacity between 0 and 100% (multiple of 5) to create various levels of transparency.
- Enable parallax effect: Make the background image scroll at a different speed than the foreground text as visitors scroll down the page.
- Parallax direction: Vertical/ Horizontal/ Zoom.
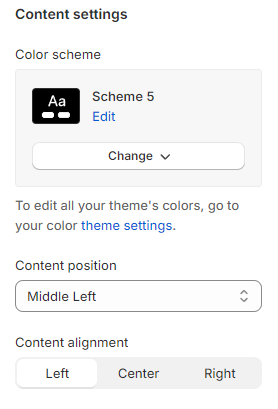
Content settings
- Color scheme: Select a set of predefined colors for your text. Edit your colors any time in Theme settings > Colors.
- Content position: Control where the content is displayed over the image.
- Content alignment: Control whether the content is left-aligned, center-aligned, or right-aligned.
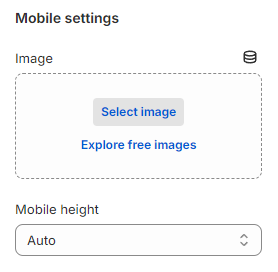
Mobile settings
- Image: You can select an image for mobile view separately. Leave the option blank if you want to use the same image as desktop.
- Mobile height: Control the height of the image on mobile.
Block settings
- Heading - This will serve as the subject or title of your section. For this one, we suggest using a short, but clear title that will allow your customers to easily understand the message you're trying to convey.
- Subheading - This will serve as the subtitle of your section.
- Text - This is displayed below the heading. This offers a set of rich text functions that allow formatting of the text like adding styles, links, or lists. To learn more, see Shopify's Rich Text Editor guide.
- Button - This is a call-to-action button allowing you to select a page or paste any link of your choice.
Last updated