Quick order list 🔥
This section is available on ✨
Sleek version 1.8.0 onwards . See our
Changelog The Quick order list section is designed to enhance B2B store functionality , making it easier for wholesale customers to browse and add multiple product variants to their cart quickly. This feature saves time and streamlines the purchasing process, improving efficiency and user experience.
In this article, we will show you how to add a Quick order list section.
Shopify B2B is available only to stores on the Shopify Plus plan.
Learn more # How it works
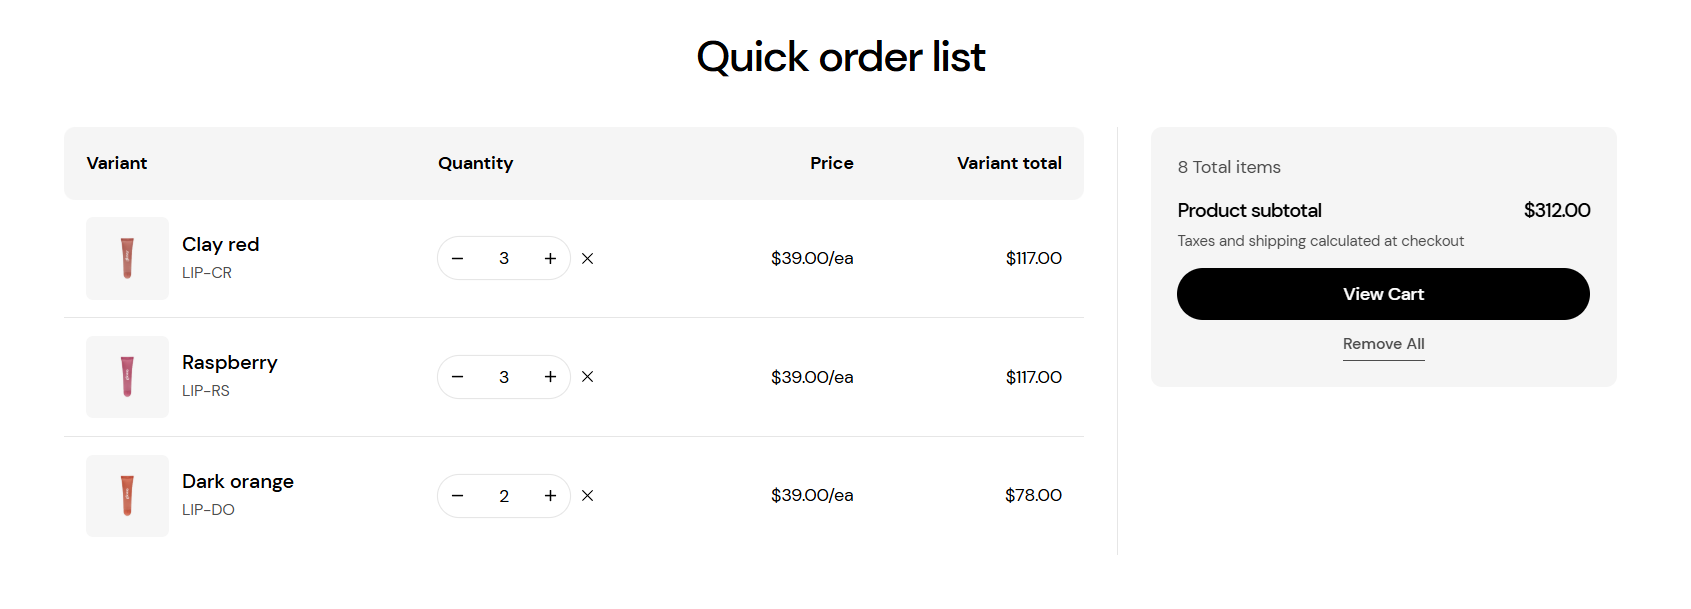
The Quick order list displays all available sizes, colors, and other variations of a product in an easy-to-read table.
When you adjust the quantity , the item is automatically added to your cart, no need to click an extra button.
If you set the quantity to 0 or click the X icon, the item will be removed from your cart.
Click Remove all to reset all quantities to 0 in the Quick order list, removing all selected variants from your cart.
Once you've adjusted all quantities, simply click View cart to review all selected variants and proceed to checkout, no need for extra steps.
# Benefits✅ Instant cart updates : Items are added or removed automatically.
✅ Flexible quantity removal : Choose to remove specific variants or clear all.
✅ Efficient bulk ordering: Saves time for wholesale buyers.
# How to add a Quick order list section to your Shopify storeSteps
In the theme editor (Customize ) > open the template selector
Select Products , then Default product.
On the left-side bar, add Quick order list.
Make necessary changes > Save.
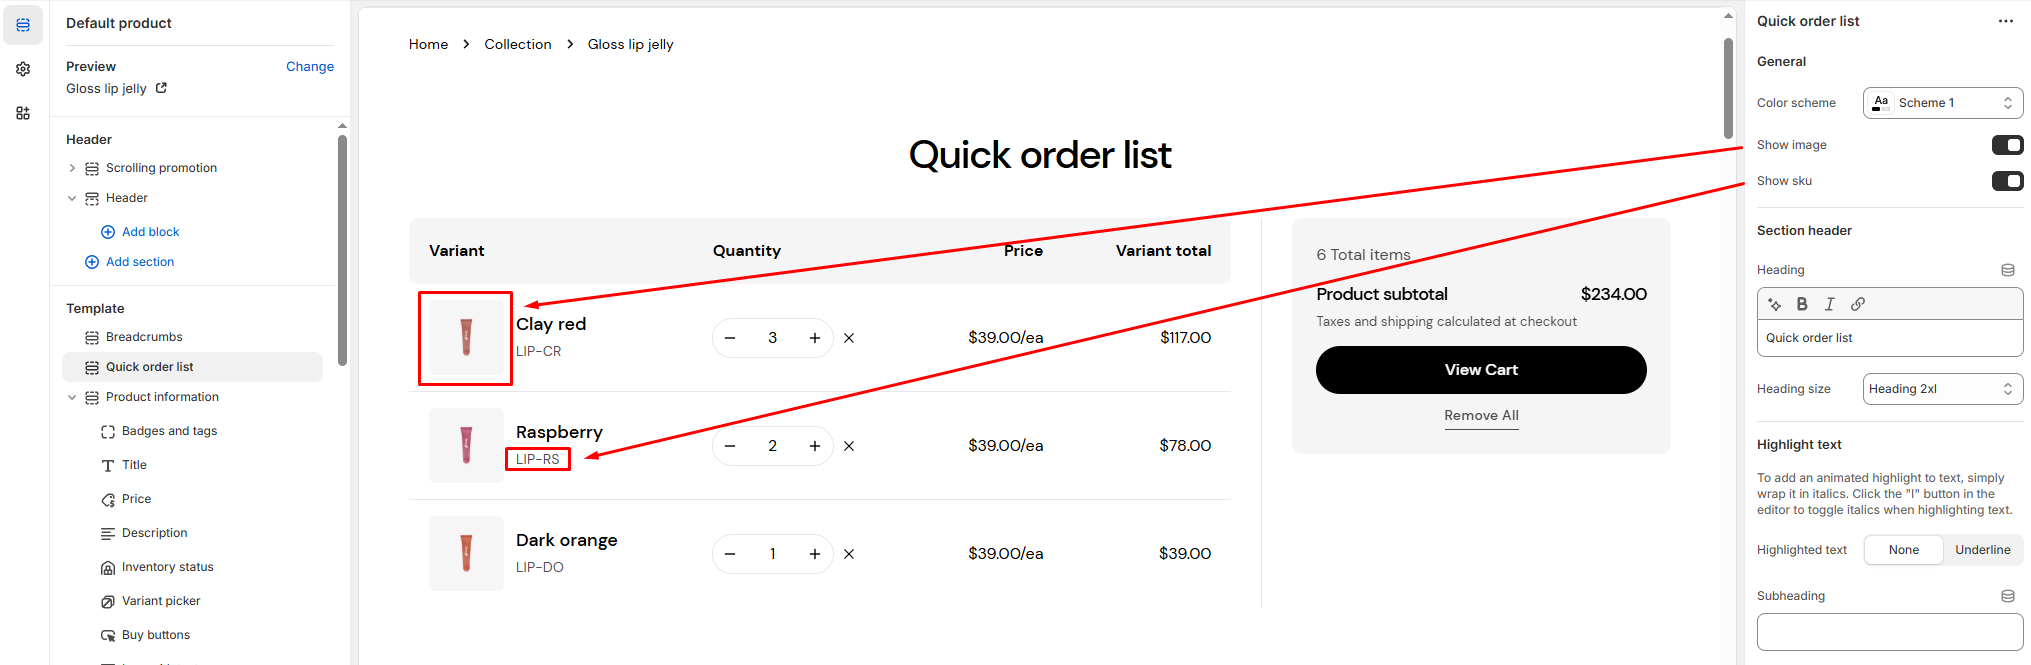
# How to edit a Quick order list section # Section settings# General You can enable/disable the Show image and Show sku options to display/hide the image and sku of the variant.
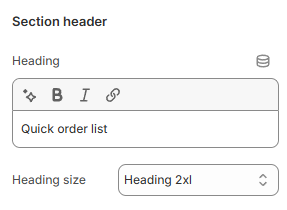
Add the content you want in the Heading to attract customers' attention
Leave it blank if you do not want to display it
You can also change the Heading size to make the content look balanced on your website.
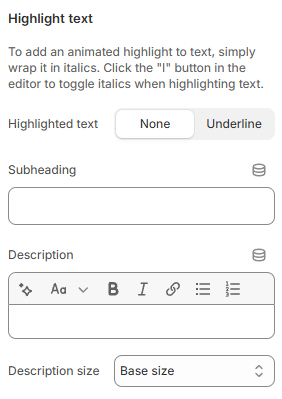
# Highlight textUse the provided text fields to add a suitable Subheading and Description .
Leave them blank if you do not want to display them
You can also change the Description size to Small/ Base size/ Large/ Inherit to make the content look balanced on your website.
# Section padding# Section divider Last updated about 1 month ago