# Countdown timer

A countdown clock for promotion/new collection release can bring excitement to customers that have been waiting for the event.
## How to add a Countdown timer
Steps
1. In the theme editor **(Customize)**, click **Add section.**
2. Locate **Countdown timer.**
3. Make necessary changes.
4. **Save.**
## How to edit a Countdown timer
### Section settings
#### General
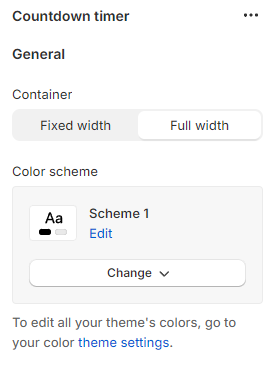
Adjust the **Container** (Fixed width/Small) and **Color scheme** for this section.
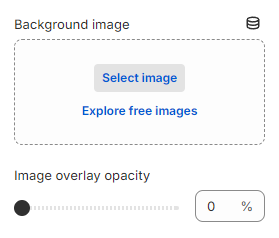
Moreover, you can also pick a **Background image** for the timer and set the opacity for it in the **Image overlay opacity** range.
#### Content settings
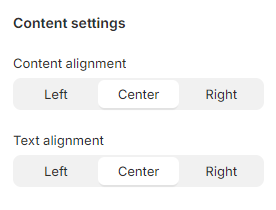
Change the **Content alignment** (Left/Center/Right) and then align the text inside - **Text alignment** (Left/Center/Right).
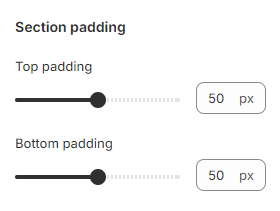
#### **Section padding**
You can modify the spacing above and below the section by adjusting the slider to change the values of the **Top padding** and **Bottom padding**.
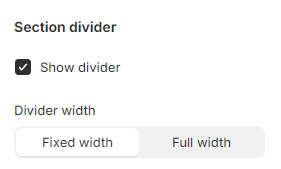
#### Section divider
This divider line provides a clear boundary between the current section and the above.
To activate the divider line, enable the ✅ **Show divider** checkbox.
You can choose a suitable **Divider width** for it (Fixed width/ Full width).
### Block settings
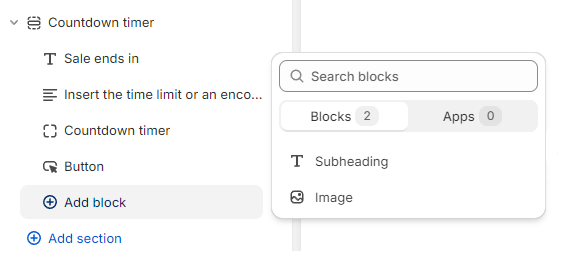
You can choose to add more elements to the Countdown timer section by selecting **(+) Add block**.
#### Heading
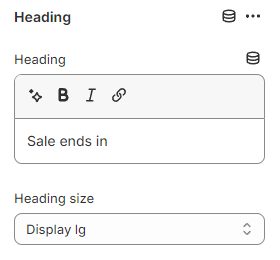
Add the **Heading** of the event to attract customers' attention.
* Leave it blank if you do not want to display it.
You can also change the **Heading size** to:
* Heading xs
* Heading sm
* Heading md
* Heading lg
* Heading xl
* Heading 2xl
* Display md
* Display lg
* Display xl
#### Subheading
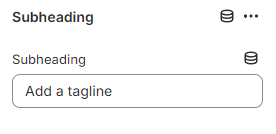
Add the **Subheading** of the event.
* Leave it blank if you do not want to display it.
#### Description
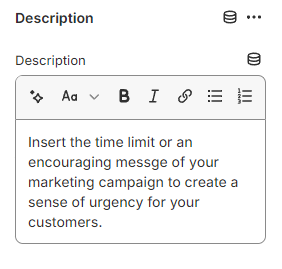
Add the **Description** to describe the event.
* Leave it blank if you do not want to display it.
#### Button
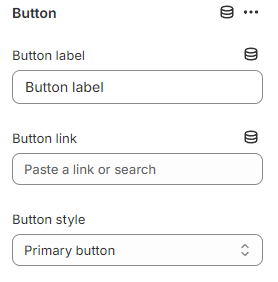
You can also display a call-to-action button to redirect customers to your desired pages.
Add a **Label** and **Link** for one or both, then choose a **Button style** (Primary button/ Secondary button/ Underline button)**.**
#### Countdown timer
Add a countdown timer and adjust the end time of the event.
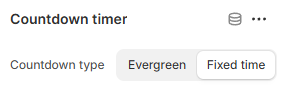
The **Countdown type** offers two modes:
* **Evergreen**: A repeating countdown that resets after a specified duration (e.g., every month).
* This is useful for recurring sales, daily deals, or subscription cycles.
The Evergreen setting is only available in Sleek **version 1.8.0 and above**. ✨
See [Changelog](/sleek-theme/changelog).
* **Fixed time**: A one-time countdown that ends at a specific date and time.
* Ideal for limited-time promotions, event registrations, or product launches.
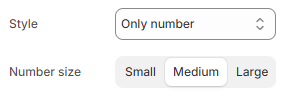
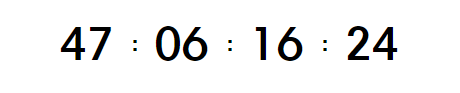
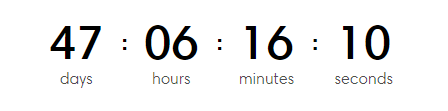
You can also choose a **Style** for the timer and change the **Number size** to Small/ Medium/ Large.
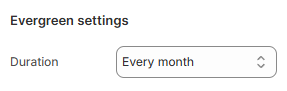
If you choose the **Evergreen** countdown, you must specify the **Duration** for when the timer should reset.
**Duration** determines how often the countdown restarts.
If you choose the **Fixed time** countdown, you need to specify when the countdown should end.
Enter the exact date and time in the **Ends time** field when the countdown should stop.
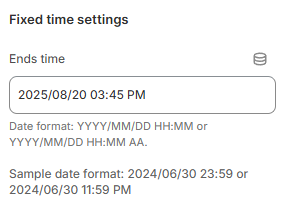
*Date formats accepted:*
| Name | Format | Example |
| -------------- | ------------------- | ------------------- |
| 24 hour format | `YYYY/MM/DD HH:MM` | 2023/10/04 23:30 |
| 12 hour format | `YYYY/MM/DD HH:MM` aa | 2023/10/04 11:30 PM |
#### Image
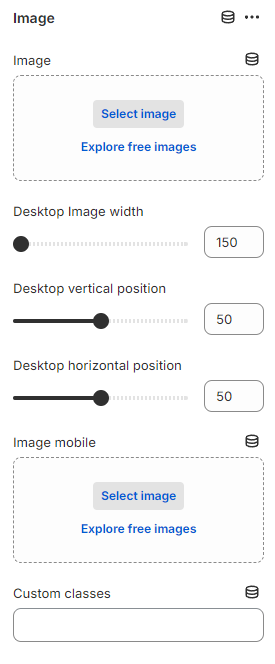
You can add multiple **Image** blocks in the Countdown timer section on both desktop and mobile screens to attract customers' attention.
Adjust the **Desktop Image width** between 150px and 350px.
Especially, you are able to change the **Desktop vertical position** and **Desktop horizontal position** for the Image blocks.