A blog acts as your brand’s direct voice to the outside world. It helps build, reaffirm, and strengthen your brand name online while attracting more traffic to your website.
This article will show you how to add and customize your blog posts section in Sleek.
# How to add a Blog postSteps
In the theme editor (Customize) , click the Add section
Locate Blog posts
Save To know more about how to add a blog to your online store, see
Blogs .
This article shows you how to display your blog posts on your website using Sleek theme.
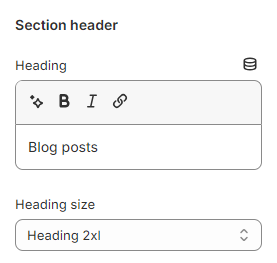
# How to edit a Blog postUse the provided text fields to add a suitable Heading .
Leave it blank if you do not want to display it
You can also change the Heading size to:
Heading xs
Heading sm
Heading md
Heading lg
Heading xl
Heading 2xl
Display md
Display lg
Display xl
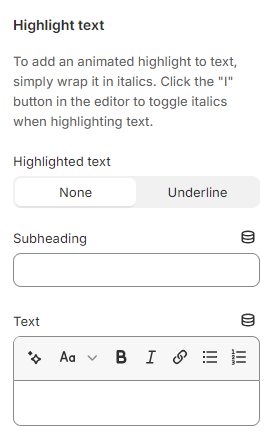
# Highlight textUse the provided text fields to add a suitable Subheading and Text .
Leave them blank if you do not want to display them
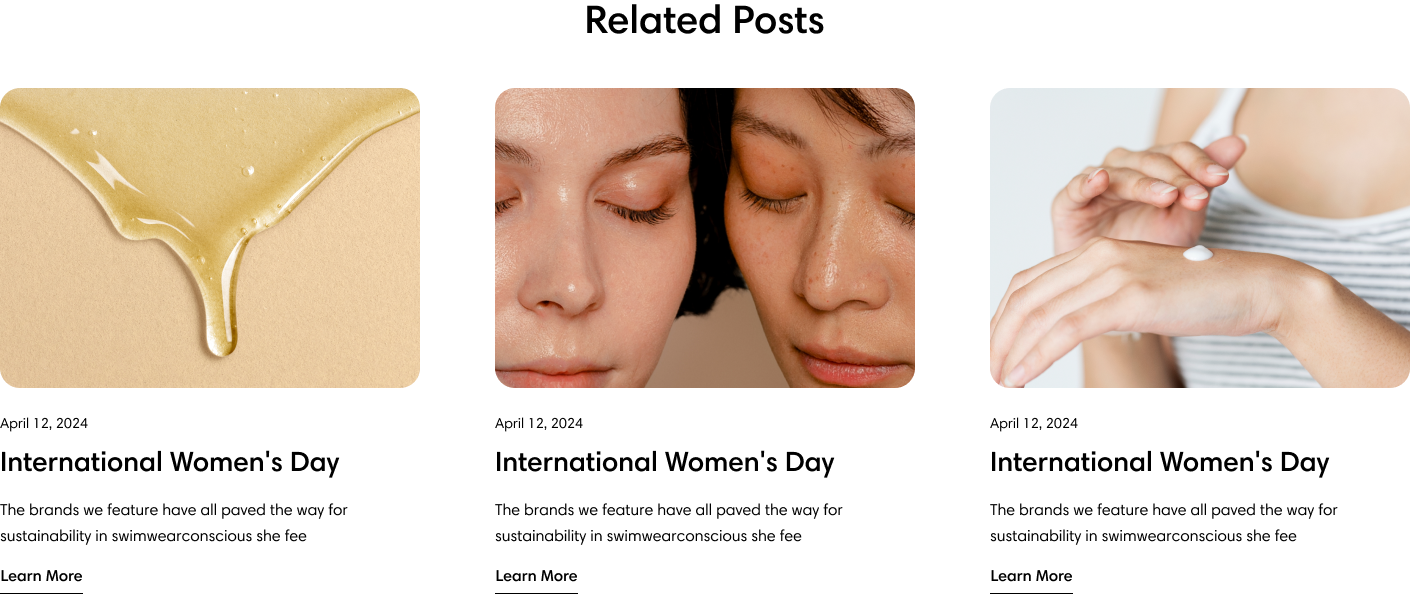
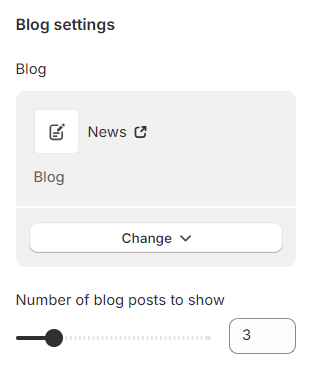
# Blog settings This section is for adding preferable blog posts. You can use the slider to adjust the Number of blog posts to show (between 2 and 8).
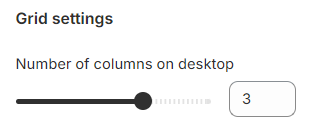
# Grid settings Use the slider to adjust the Number of columns on desktop (between 1 and 4).
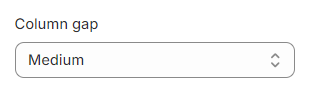
You can also modify the Column gap as Extra large/ Large/ Medium/ Small/ Extra small/ None.
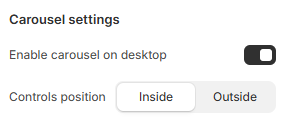
# Carousel settings Toggle the option Enable carousel on desktop to display blog posts in the carousel layout.
To use a carousel, the number of blog posts to show must be larger than the number of columns.
You can also control the position of the arrow navigation.
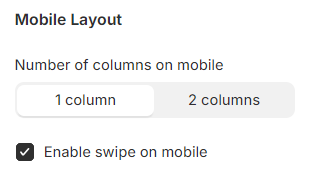
# Mobile layout You can adjust the Number of columns on mobile to 1 column or 2 columns.
If you are not into the grid layout, you can use the carousel layout by selecting the Enable swipe on mobile .
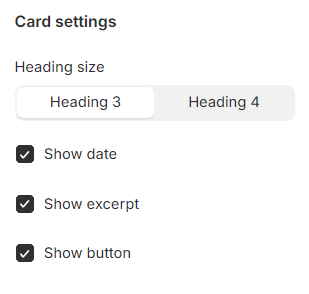
# Card settings Change the Heading size of the card to Heading 3 / Heading 4 . Furthermore, you can also enable/disable the card elements if needed:
Show date : Display the date that the blog is issuedShow excerpt : Display a short summary of the postShow button : Lead the customers to the full blog post