Email signup
Encourage customers to get their latest deals, new collection release updates, etc. via the Email sign-up section.
In this article, we will show you how to add an Email sign-up section.
# How to add an Email sign-up section to your Shopify storeSteps :
In the theme editor (Customize) ,> click Add section
Select Email sign-up.
Make necessary changes.
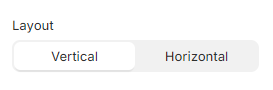
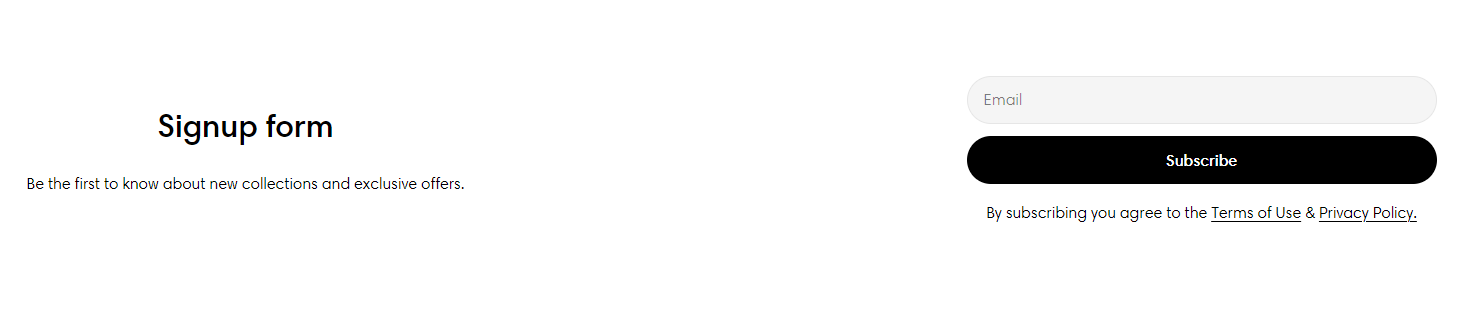
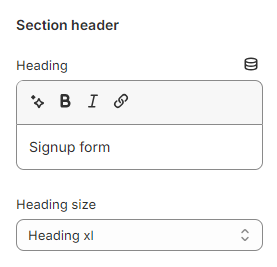
Save the settings. # How to edit an Email sign-up section# GeneralYou can choose your preferred section Layout (Vertical/ Horizontal).
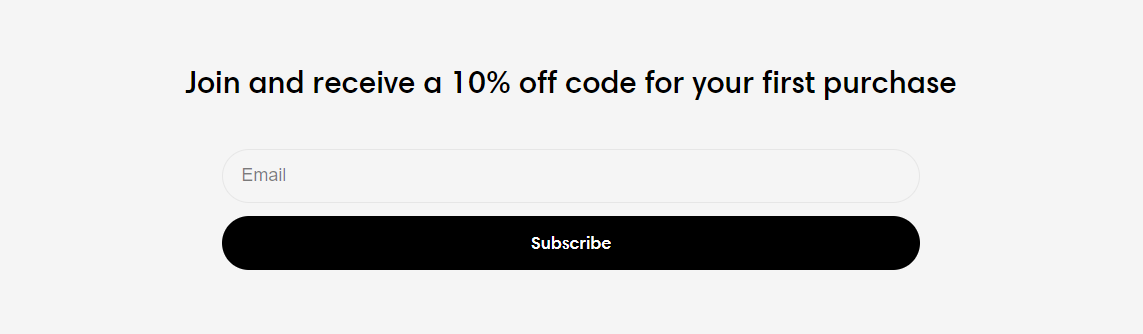
Use the provided text field to add a suitable Heading .
Leave it blank if you do not want to display it
You can also change the Heading size to:
Heading xs
Heading sm
Heading md
Heading lg
Heading xl
Heading 2xl
Display md
Display lg
Display xl
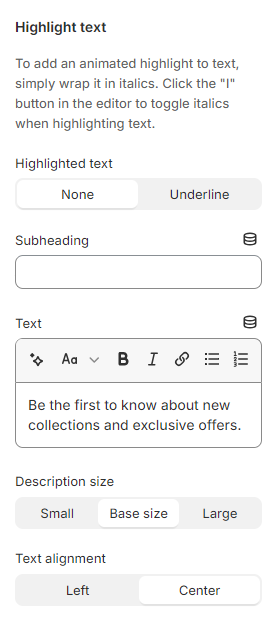
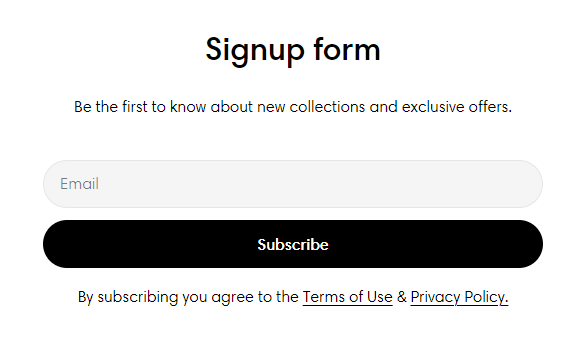
# Highlight textUse the provided text fields to add a suitable Subheading and Text .
Leave them blank if you do not want to display them
You can also change the Description size to Small/ Base size/ Large and the Text alignment to Left/ Center to make the content look balanced on your website.
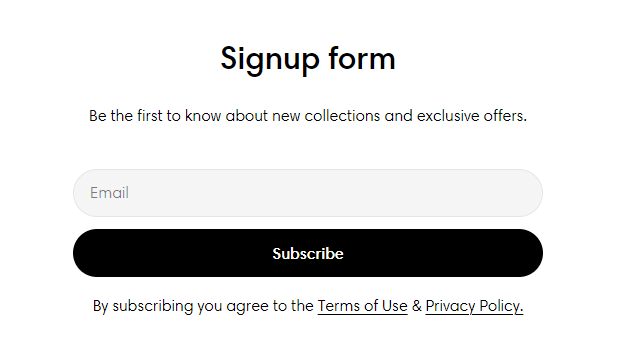
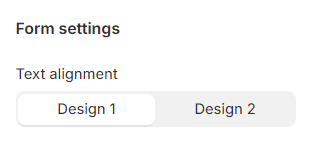
You can choose the different designs for the Email signup section by changing the Text alignment value (Design 1/Design 2).
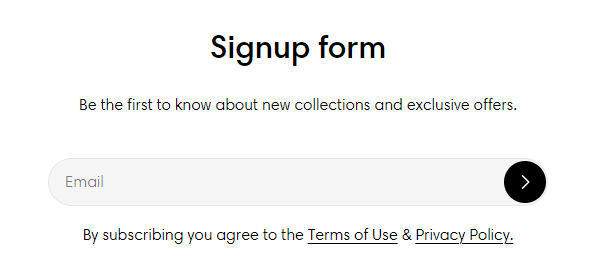
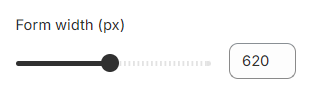
You can also use the slider to adjust the Form width (px) from 450px to 800px.
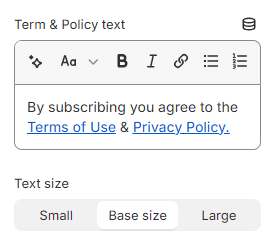
Provide the appropriate Term & Policy text for the Email sign-up section if needed and adjust the Text size to Small/ Base size/ Large.
Moreover, you can change the Button style of the submit button to Primary button/ Secondary button/ Blank button.
Any customers who sign up will have an account created for them in Shopify Admin.
Last updated about 1 month ago