# Color swatches
## How to enable Color swatches
* Product page:
[Product information](https://docs.foxecom.com/sleek-theme/collections-and-products/product-page/product-information#color-swatches)
* Product cards:
[Color swatches](https://docs.foxecom.com/sleek-theme/theme-settings/product-cards#color-swatches)
## How to set up Color swatches
Steps
1. In the theme editor (**Customize**), click **Theme settings**
2. Locate **Color swatches**
3. Make necessary changes
4. **Save**
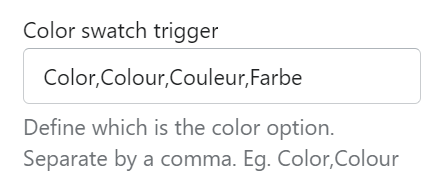
### Color swatch trigger
Define which is the color option and separate them by a comma.
### Color swatches
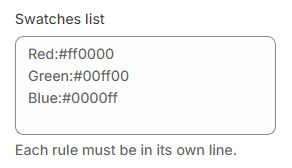
Choose the suitable **HEX color** codes and add them to the provided box.
Good practice ⭐
* List the colors by separate lines.
* Write the color name from the product option and separate options with the color HEX value.
#### You can also add color swatches to your product and collection pages using images:
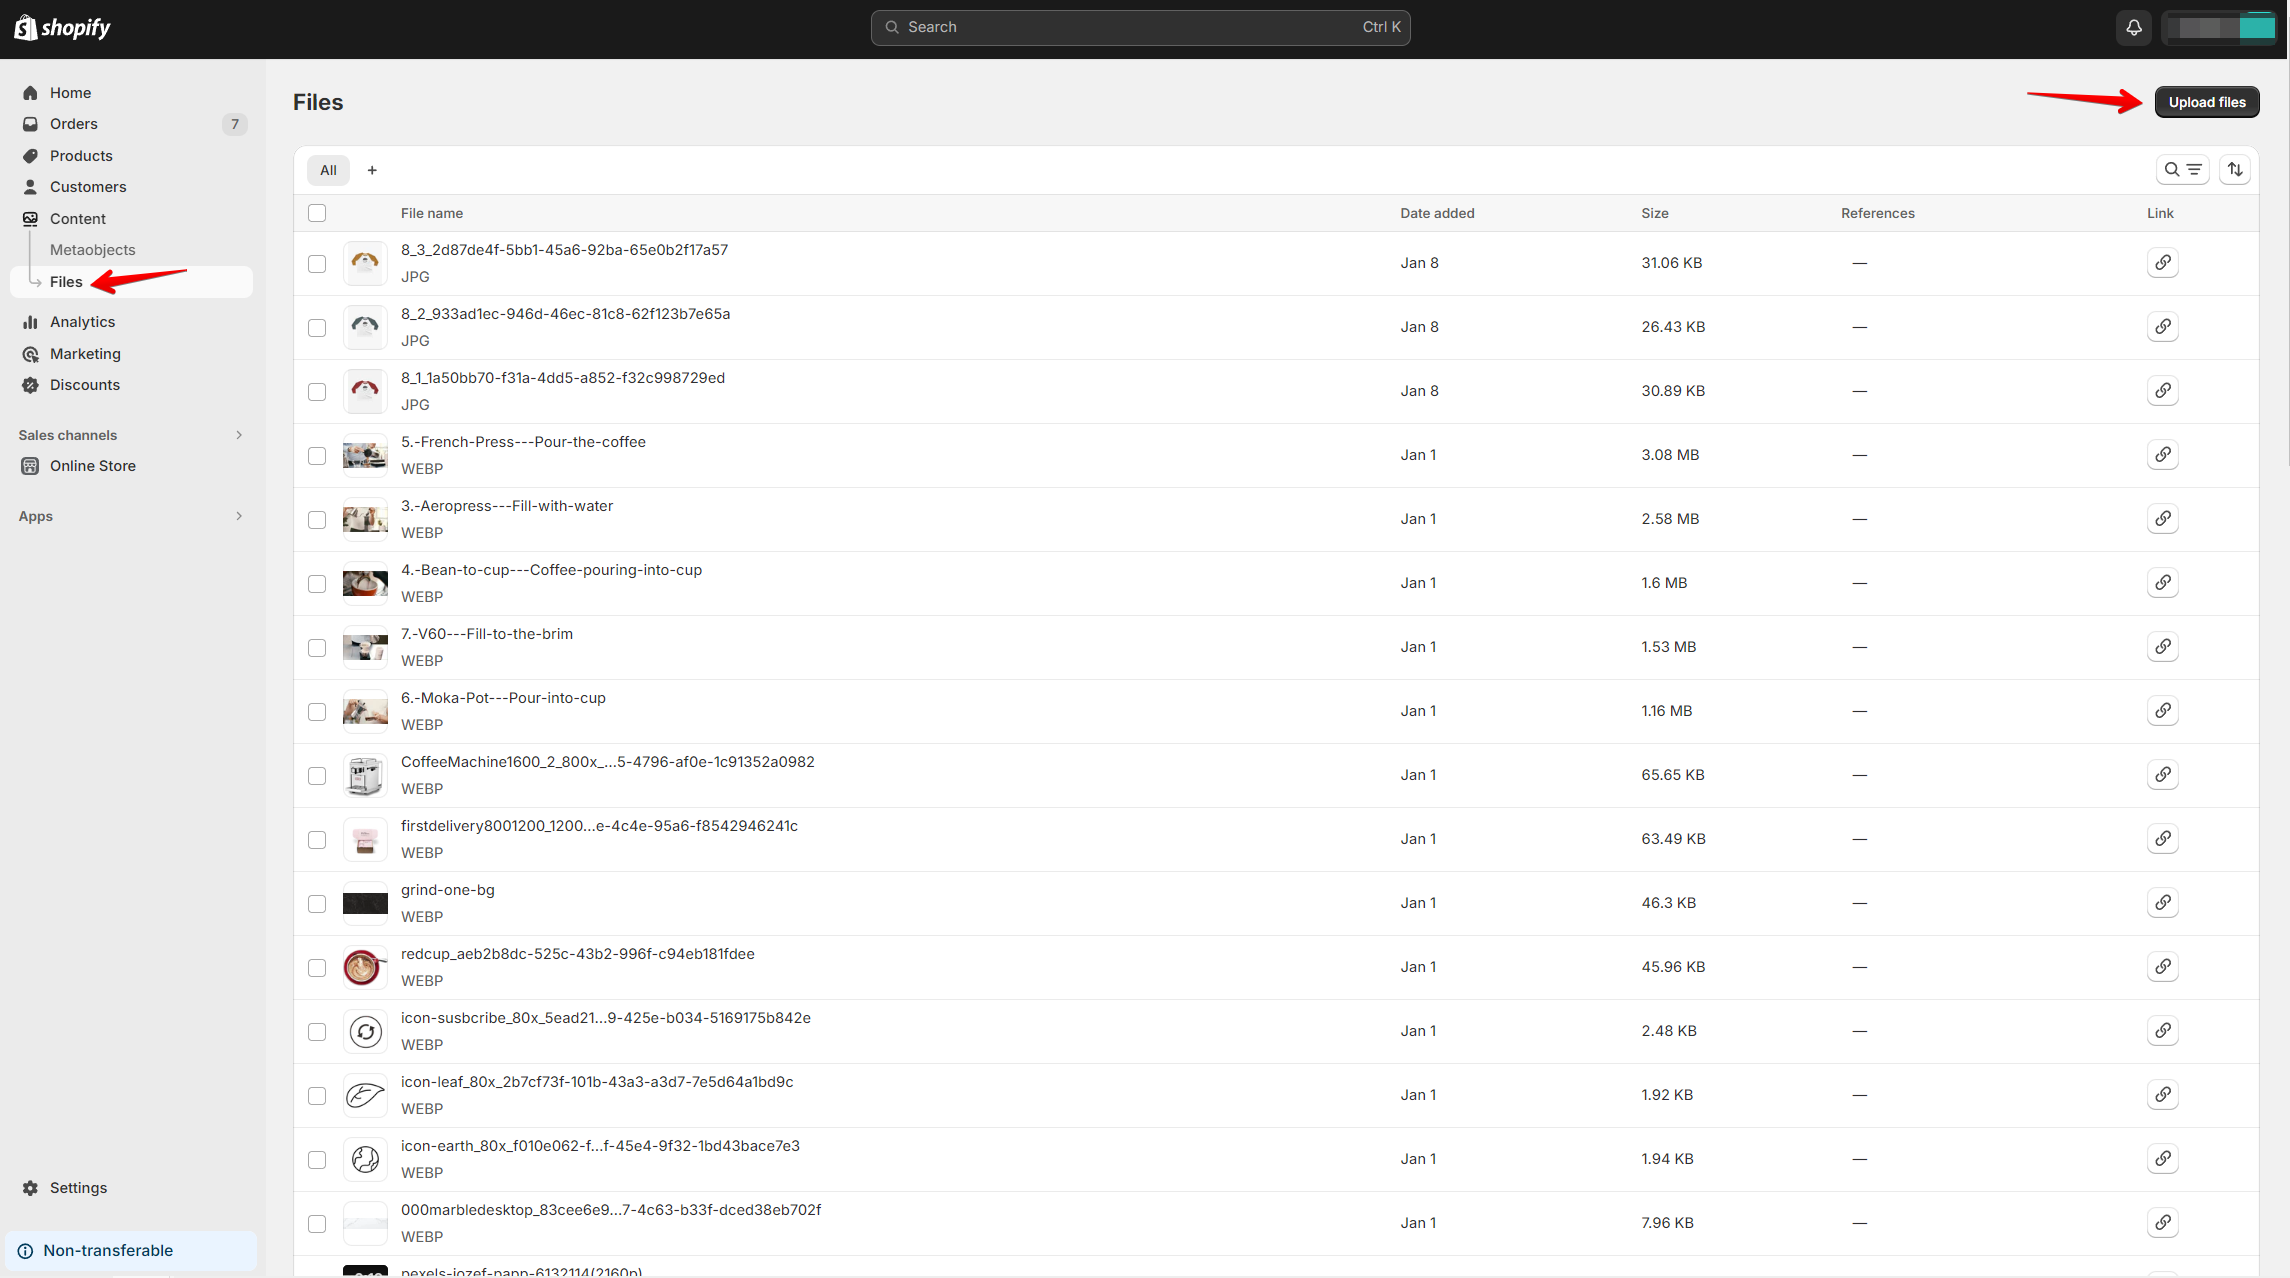
1. Go to **Shopify admin** > **Content** > **Files.**
2. Click **Upload files.**
#### 3. Naming your swatch files:
* **Orange** swatches would need to be named **orange.png** (capitals become lowercase).
* **Light blue** swatches would need to be named **light-blue.png** (capitals become lowercase, spaces and other special characters become hyphens).
Here are some sample images for color swatches: [light blue](https://cdn.shopify.com/s/files/1/0594/4190/5837/files/light-blue.png?v=1657771752),[ ](https://cdn.shopify.com/s/files/1/0594/4190/5837/files/orange.png?v=1657766980)[cyan](https://cdn.shopify.com/s/files/1/0594/4190/5837/files/cyan.png?v=1657766980).
.jpg files will not be shown, you must use .png