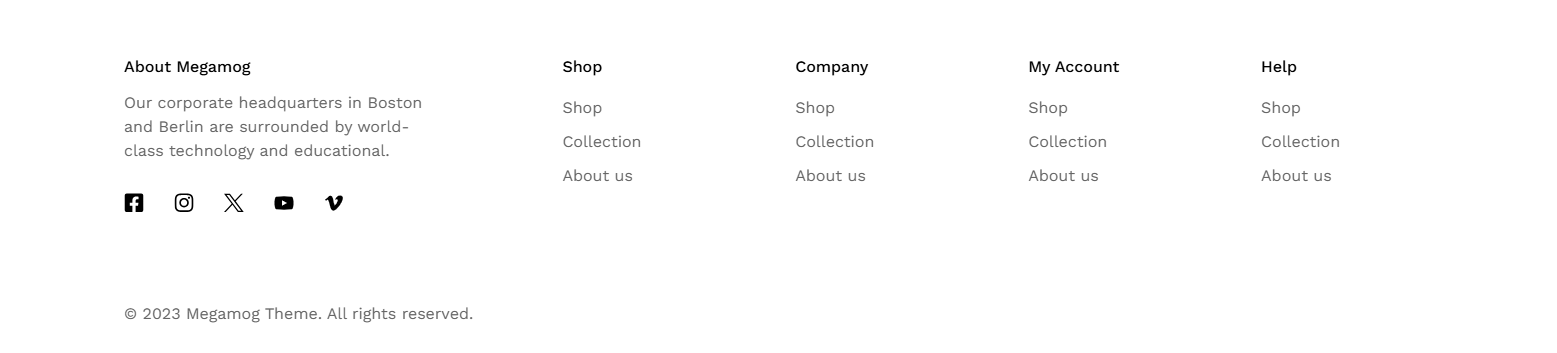
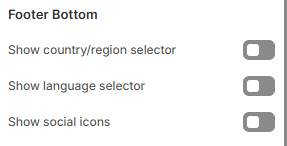
Like the header, this element provides extra information for the store footer such as social icons, language selector, etc. by enable the corresponding checkboxes.
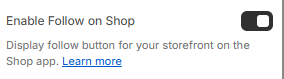
Follow on Shop:
Follow on Shop allows customers to follow your store on the Shop app. Customers who follow your store can receive personalized recommendations and notifications about your products. This helps you to create a more personalized shopping experience for your customers.
Follow on Shop button is available on Megamog version 1.3.0 and above (see Changelog).
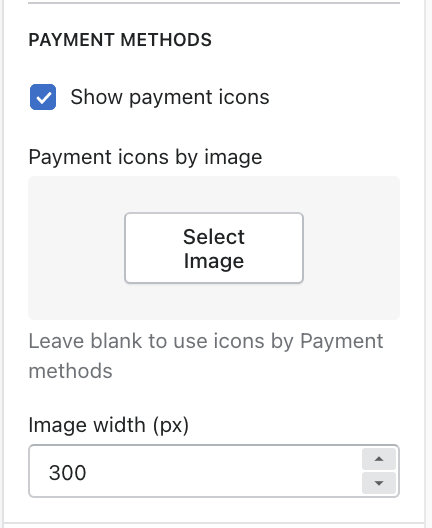
Providing various purchasing methods makes checkout easier for your customers and enhances your brand perception. To see how to set up alternative payment methods for your store, see Payments.
Enable/disable showing payment icons by ticking/unticking the checkbox. You can use payment icons by image or leave the option blank to show the original payment icons.
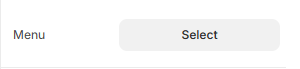
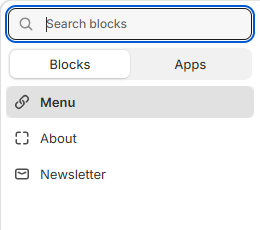
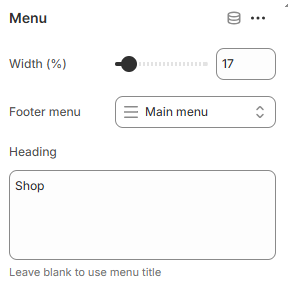
Menu
The Menu setting in the Footer Bottom section allows you to display a custom navigation menu in the footer of your store. This is commonly used to show links such as About Us, Contact, FAQ, and more.
Menus are managed in Online Store > Pages in Shopify Admin.
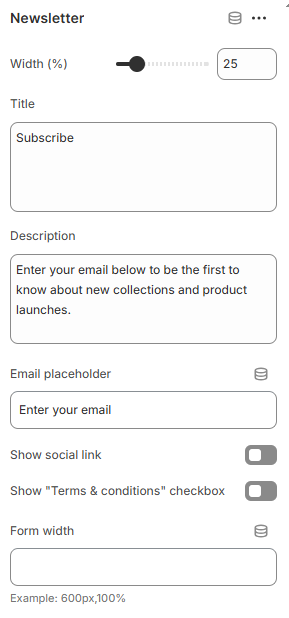
Use the newsletter signup form to collect your customers' email addresses for email marketing campaign purposes. Change the title, description, email placeholder, and form width if you wish to.
And enable the checkbox if you want to display social links and "Terms & Conditions".