A scrolling promotion section lets you display an eye-catching auto-scroll row of texts or images without any extra custom code. You will find it is really helpful in showcasing your promotion, brand lists, featured products, or any information.
In this article, we will show you how to add and customize a scrolling promotion section.
Steps:
In the theme editor (Customize) , click Add section.
Select Scrolling promotion.
Make necessary changes.
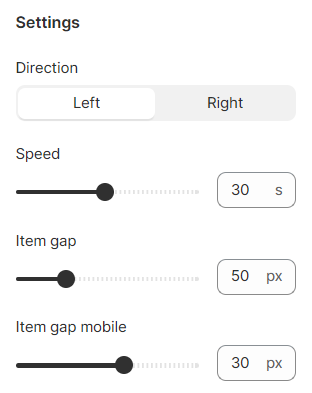
Save the settings. # Section settings# General settingsWith section settings, you can control the direction of the auto-scroll (Left/Right), its speed, and the gap between items.
To create a mobile-friendly storefront, this section lets you adjust the item gap overall (on both desktop and mobile view) or respectively.
The auto-scrolling speed can be set between 2s and 60s. The smaller the value, the faster the speed.
# Block settingsIn a scrolling promotion section, there are two kinds of blocks:
Image block: to add image and image link.Announcement block: to add text/icon and link.
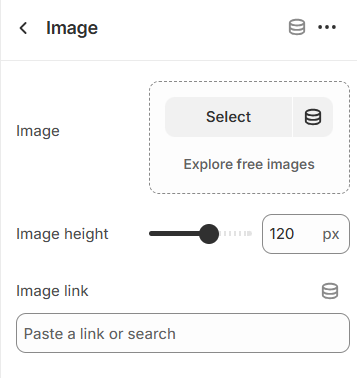
# Image block settingsSelect your image and adjust its height (between 0px and 200px).
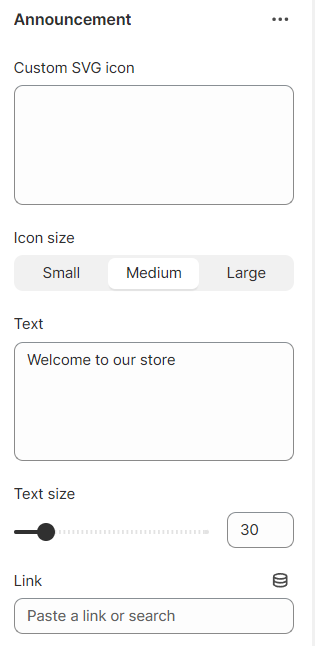
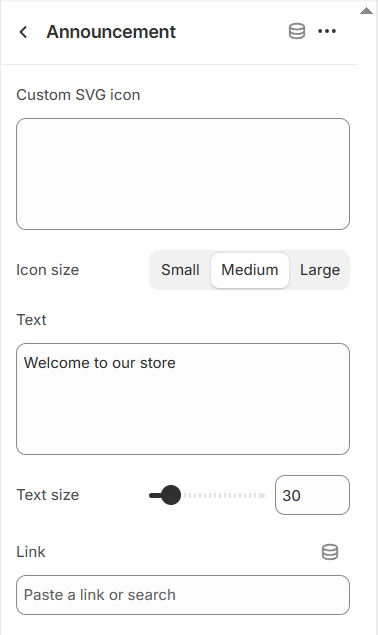
# Announcement block settingsThis block lets you display text and/or add an SVG icon to the scroll.
To add an SVG icon, add this custom code and insert the image link (from your Shopify files).
<div>
<img src="image_link" />
</div>
For example:
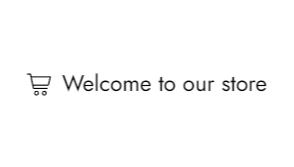
Annoucement block sample Block settings
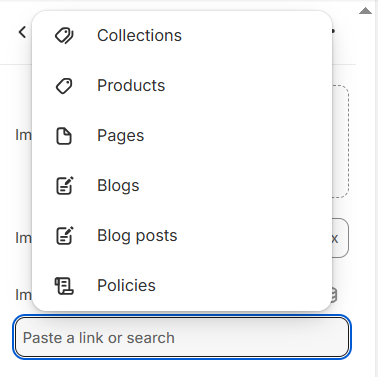
# Link an image/textSelect a page from your Shopify or add an external link to your image/announcement block to direct visitors to your desired destination.
If you are linking your button to an external site, you will need to include the full URL of that page, including the URL's HTTPS protocol.
💡Tip: simply copy the link right from the address bar of your browser.