# Blog posts
## Static sections
Merchants can click on the link to check out the instruction listed below.
Announcement bar
Age verifier pop-up
Header
Footer
Mobile sticky bar
## Dynamic sections
Merchants can add any section that is listed in [Theme sections](https://docs.foxecom.com/megamog-theme/theme-sections/before-after-image-slider). Nevertheless, there is a section designed specifically for the blog post.
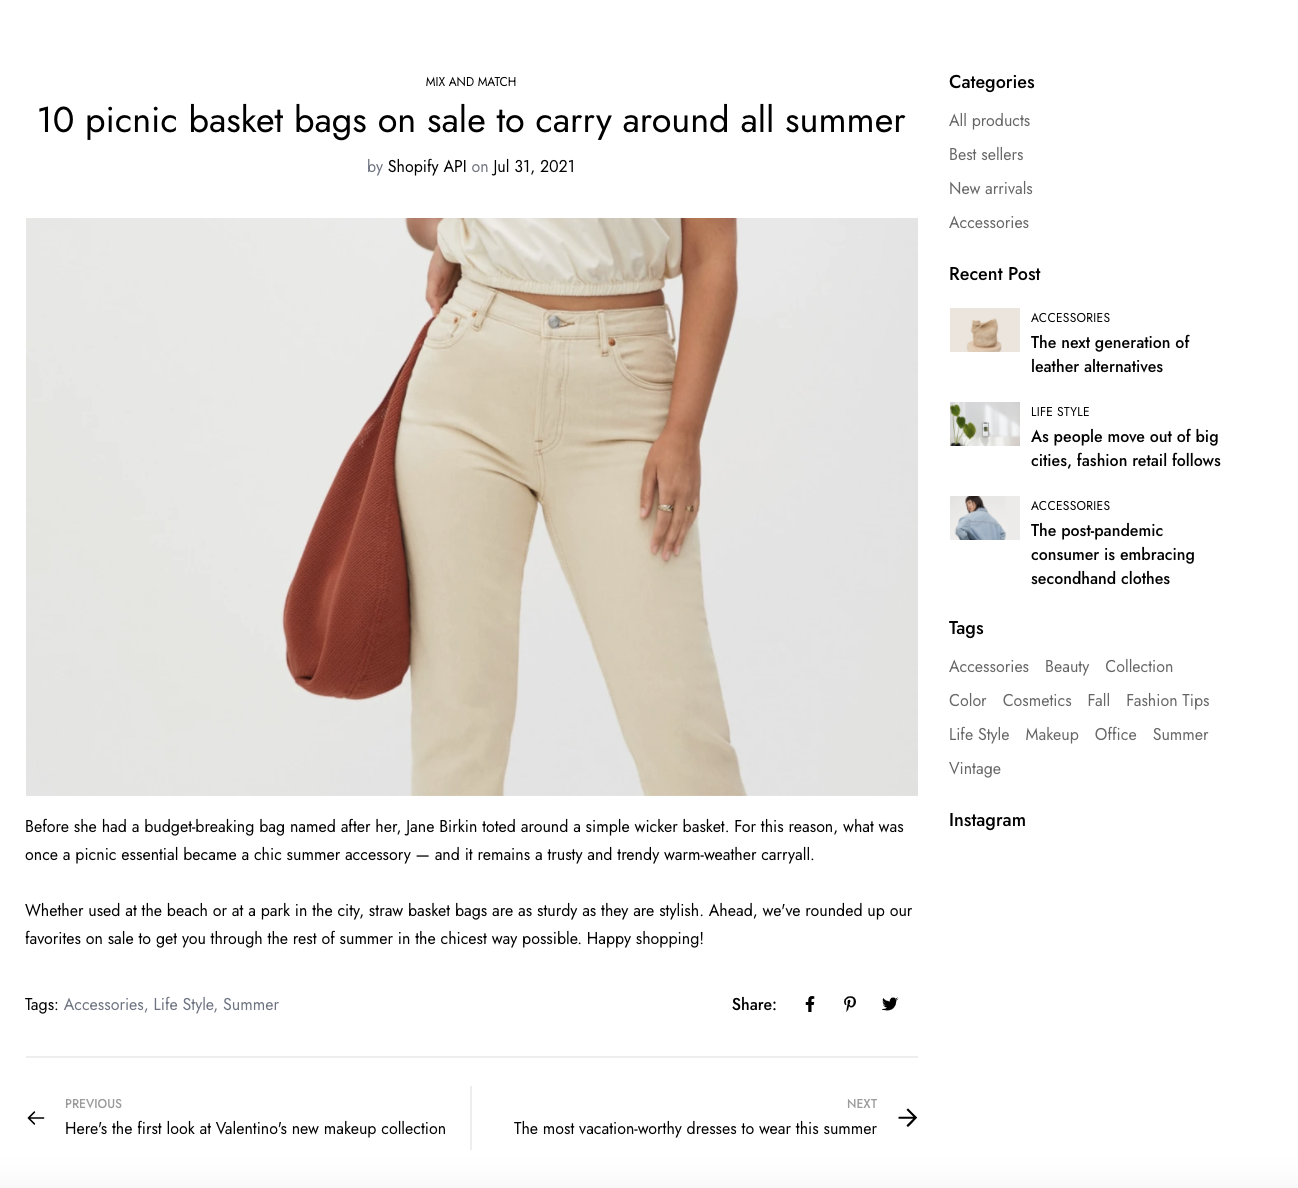
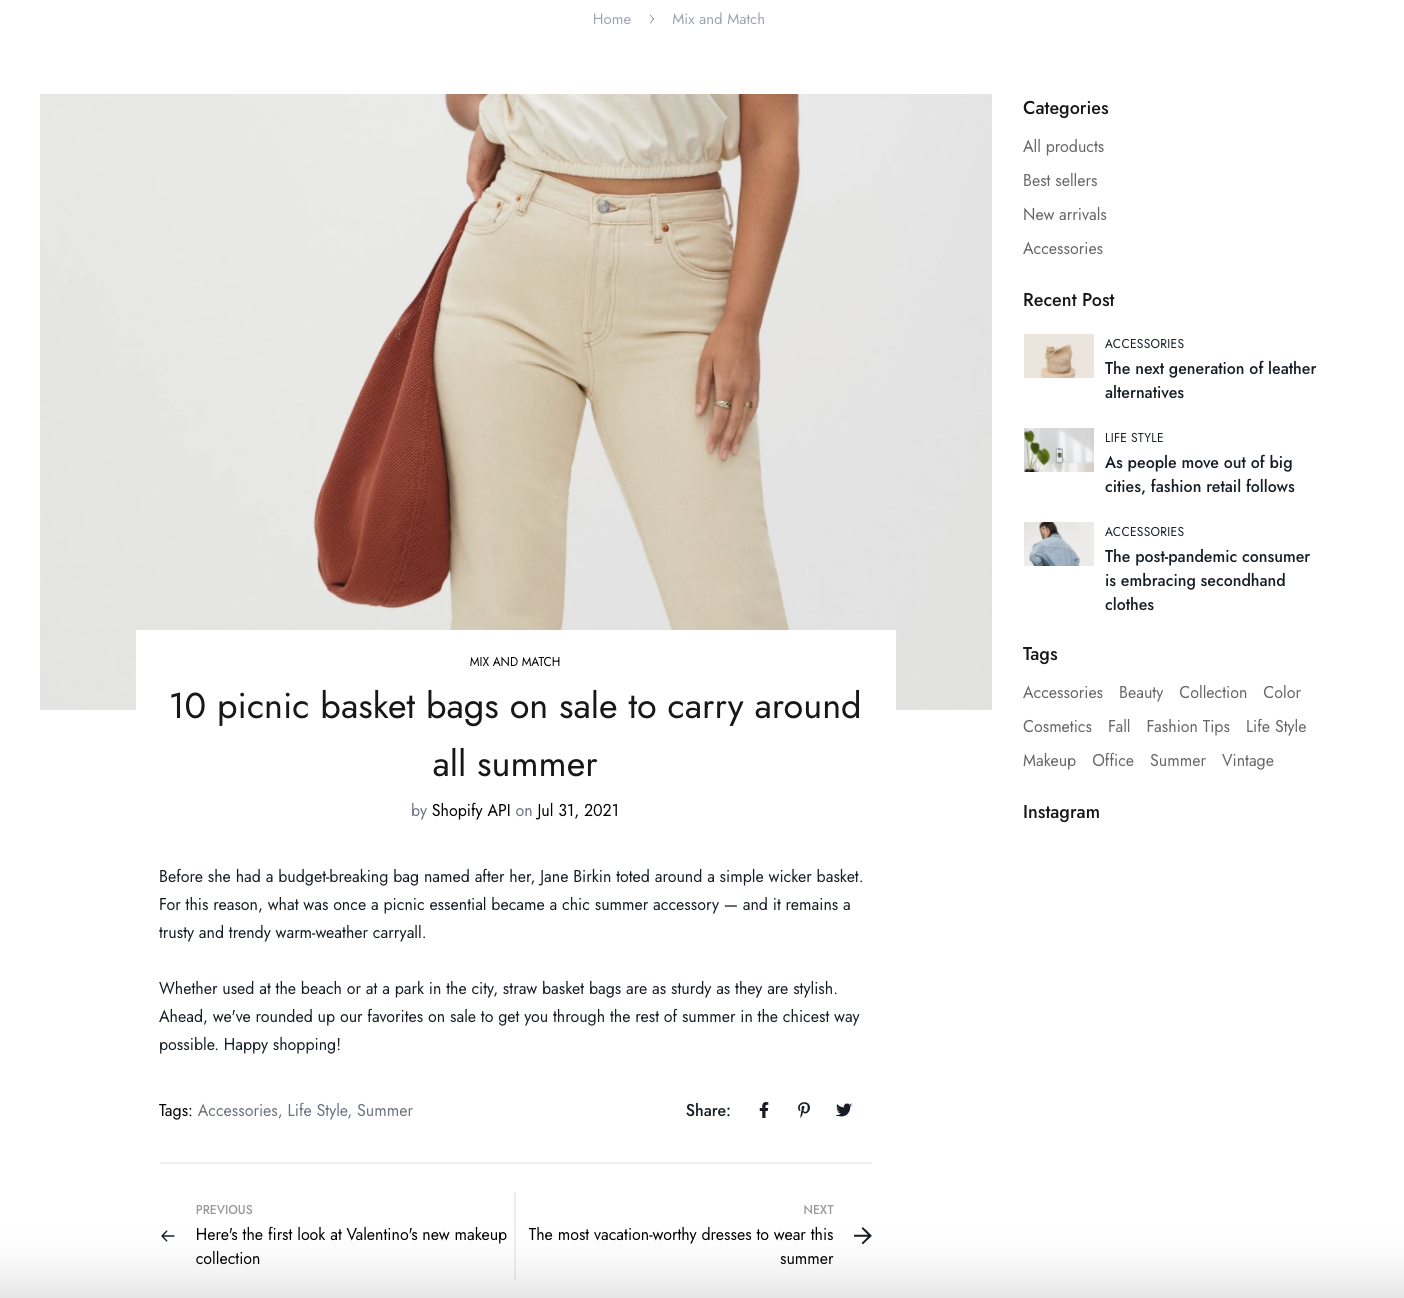
Steps
1. In the theme editor (**Customize**), open the template selector
2. Select **Blog posts**, then **Default blog posts.**
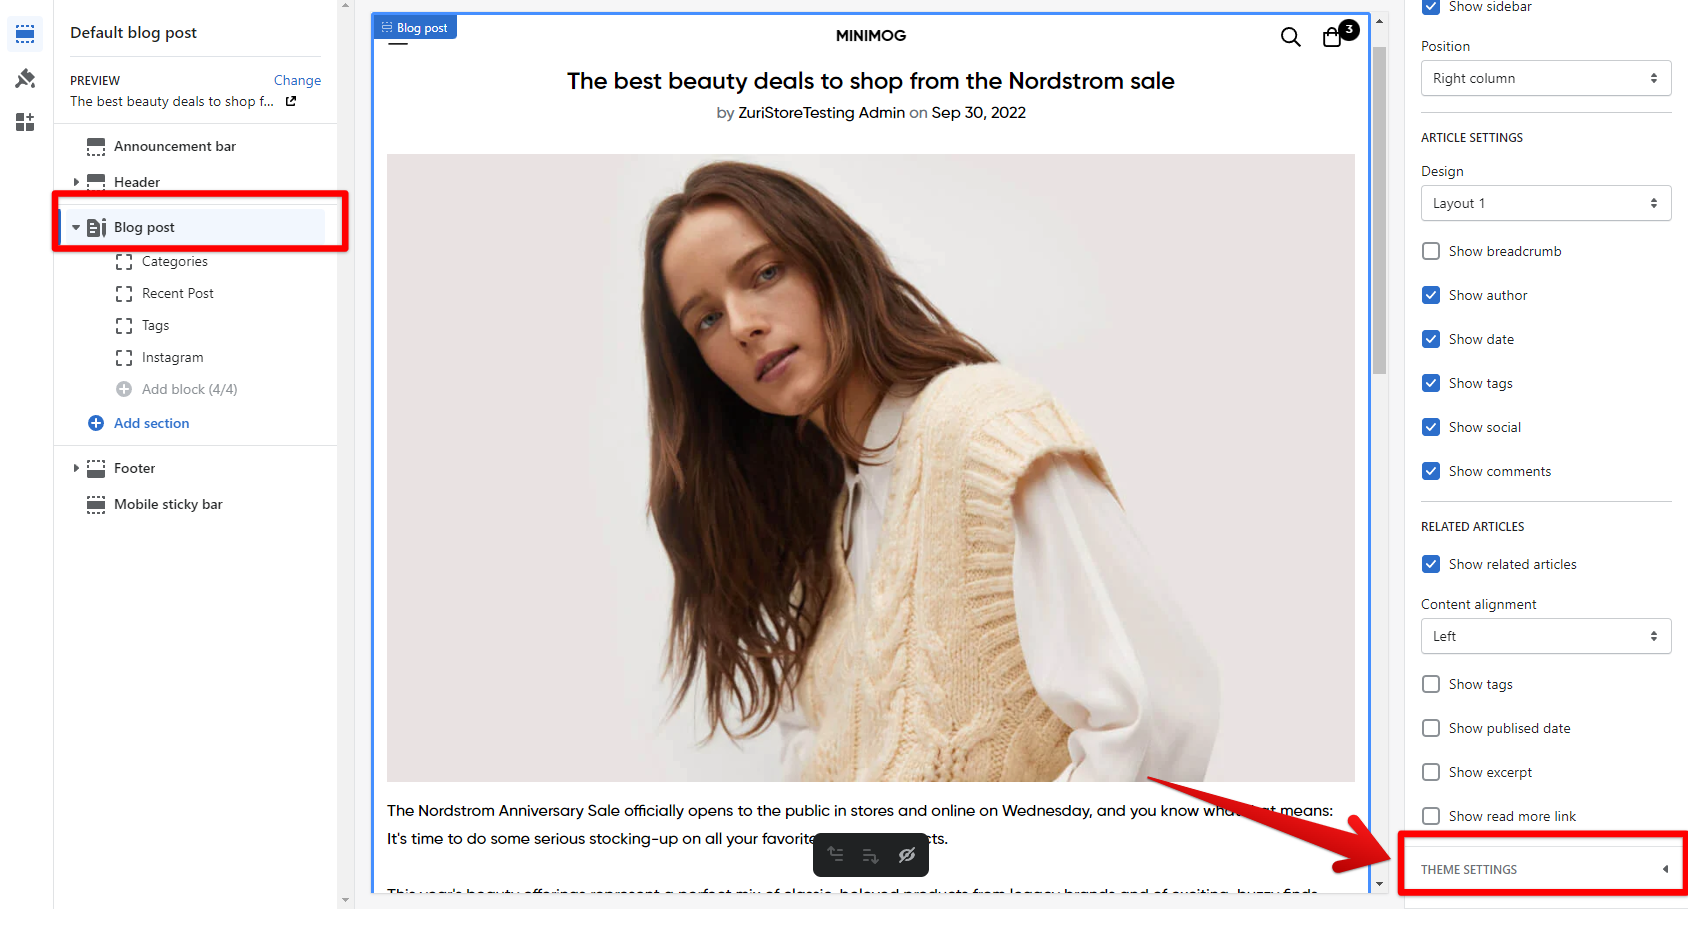
3. On the left-sidebar, select **Blog posts.**
## Section settings
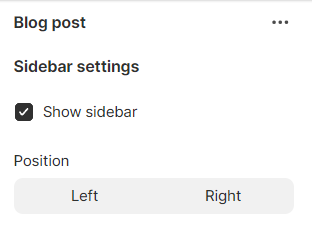
### **Sidebar settings**
Enable/disable the sidebar and its positions.
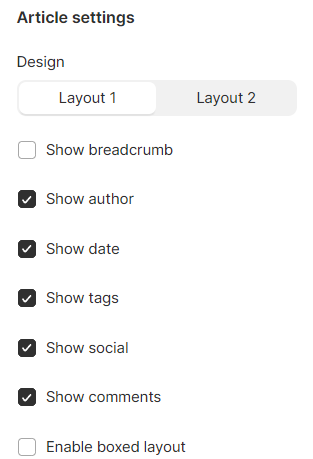
### Article settings
Control the layout of the post and its necessary elements such as show author, published date, related tags, etc. by checking the corresponding boxes.
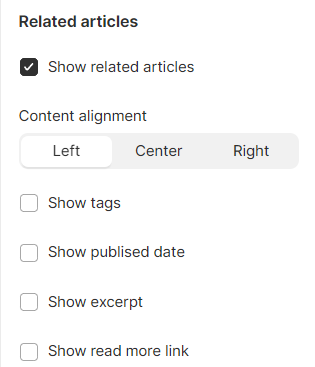
### Related articles
Enable/disable related articles and their alignment.
* Show tags: Display the relevant tags of the blog post.
* Show published date: Display the date that the blog is issued.
* Show excerpt: Display a short summary of the blog.
* Show read more link: Lead the customers to the full blog post.
### Theme settings
On the blog post section settings, click **Theme settings.**
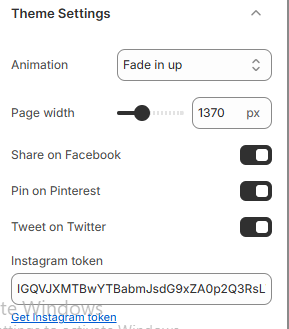
Theme settings of this section let you control the page animation, page width and the share buttons.
### Block settings
You can add blocks to your sidebar.
Learn more about the blocks here: [Block settings](https://docs.foxecom.com/megamog-theme/other-pages/blogs#block-settings)