# Brands

<figure><img src="https://content.gitbook.com/content/SnkJrgCgnPuM88XGWwwm/blobs/lMCbQBbUL3JJJSp3mxLx/image.png" alt=""><figcaption></figcaption></figure>

The logo list features the logos of your store's brands/vendors or partners. The brand list is the perfect way to create your brand validation.

In **Megamog** theme, you can add as many brand logos as you want, and all of the logos you add as individual blocks can be drag-and-drop reordered.

{% hint style="success" %}
Steps

1. In the theme editor **(Customize)**, click **Add section.**
2. Locate **Brands.**
3. **Save.**
   {% endhint %}

For the best results, upload all logo images in the same size or aspect ratio with transparent backgrounds, and link the images to the relevant pages or sites.&#x20;

## Section settings

### 1. General and layout

Use the color scheme to change the style for this section.

Additionally, enable the box layout and the color scheme to change the style of it.

<figure><img src="https://720269760-files.gitbook.io/~/files/v0/b/gitbook-x-prod.appspot.com/o/spaces%2FSnkJrgCgnPuM88XGWwwm%2Fuploads%2F3mCRL6TL9byQThN3O1bb%2Fimage.png?alt=media&#x26;token=90ff8ee1-4349-4991-8b2e-3ce94e8796b4" alt=""><figcaption></figcaption></figure>

### 2. **Section header**

Use the provided text fields to add a suitable heading, heading size. Leave any of them blank if you do not want to display them.&#x20;

Adjust the text alignment (left/center) along with the background color and container type.

Show and adjust a button that can link to a page&#x20;

<figure><img src="https://720269760-files.gitbook.io/~/files/v0/b/gitbook-x-prod.appspot.com/o/spaces%2FSnkJrgCgnPuM88XGWwwm%2Fuploads%2F1JwbeCZIMkaY4IQVJBvu%2Fbrand-header.png?alt=media&#x26;token=80d87b68-37b4-4f0a-991b-032f409b623a" alt=""><figcaption></figcaption></figure>

### **3. Grid settings &** Section padding

This section outlines the available layout controls for managing grid display and spacing within a content section of your Shopify store.<br>

<figure><img src="https://720269760-files.gitbook.io/~/files/v0/b/gitbook-x-prod.appspot.com/o/spaces%2FSnkJrgCgnPuM88XGWwwm%2Fuploads%2FXPCqB8QaqN9XvOn2GRmI%2FScreenshot_1.png?alt=media&#x26;token=3cd41e85-4671-4140-8361-3988b4536a78" alt=""><figcaption></figcaption></figure>

### **4. Mobile settings**

Change layout to show brand on mobile

**Enable swipe on mobile** to swipe the brand list images in mobile view.

<figure><img src="https://720269760-files.gitbook.io/~/files/v0/b/gitbook-x-prod.appspot.com/o/spaces%2FSnkJrgCgnPuM88XGWwwm%2Fuploads%2F1IXMUSkUc1FPul7WXXzV%2Fimage.png?alt=media&#x26;token=88635b05-84e4-49e6-b501-d5b90d3edda4" alt=""><figcaption></figcaption></figure>

## Block settings

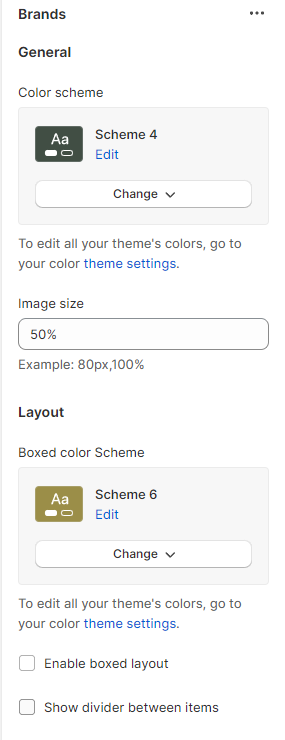
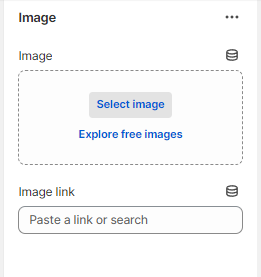
Each image block includes a place to add an image, an image link to redirect customers, and the image width. You can also use an image URL with an extension .svg, .png or .jpg.

<figure><img src="https://720269760-files.gitbook.io/~/files/v0/b/gitbook-x-prod.appspot.com/o/spaces%2FSnkJrgCgnPuM88XGWwwm%2Fuploads%2FSBN68aOeoWguqlAS5paa%2Fimage.png?alt=media&#x26;token=6caa2274-c110-42cd-bbd6-af177b312dff" alt=""><figcaption></figcaption></figure>
