# Blogs
### Static sections
Merchants can click on the link to check out the instruction listed below.
Announcement bar
Age verifier pop-up
Header
Footer
Mobile sticky bar
### Dynamic sections
Merchants can add any section that is listed in [Theme sections](https://docs.foxecom.com/megamog-theme/theme-sections/before-after-image-slider). Nevertheless, there is a section designed specifically for the blog page.

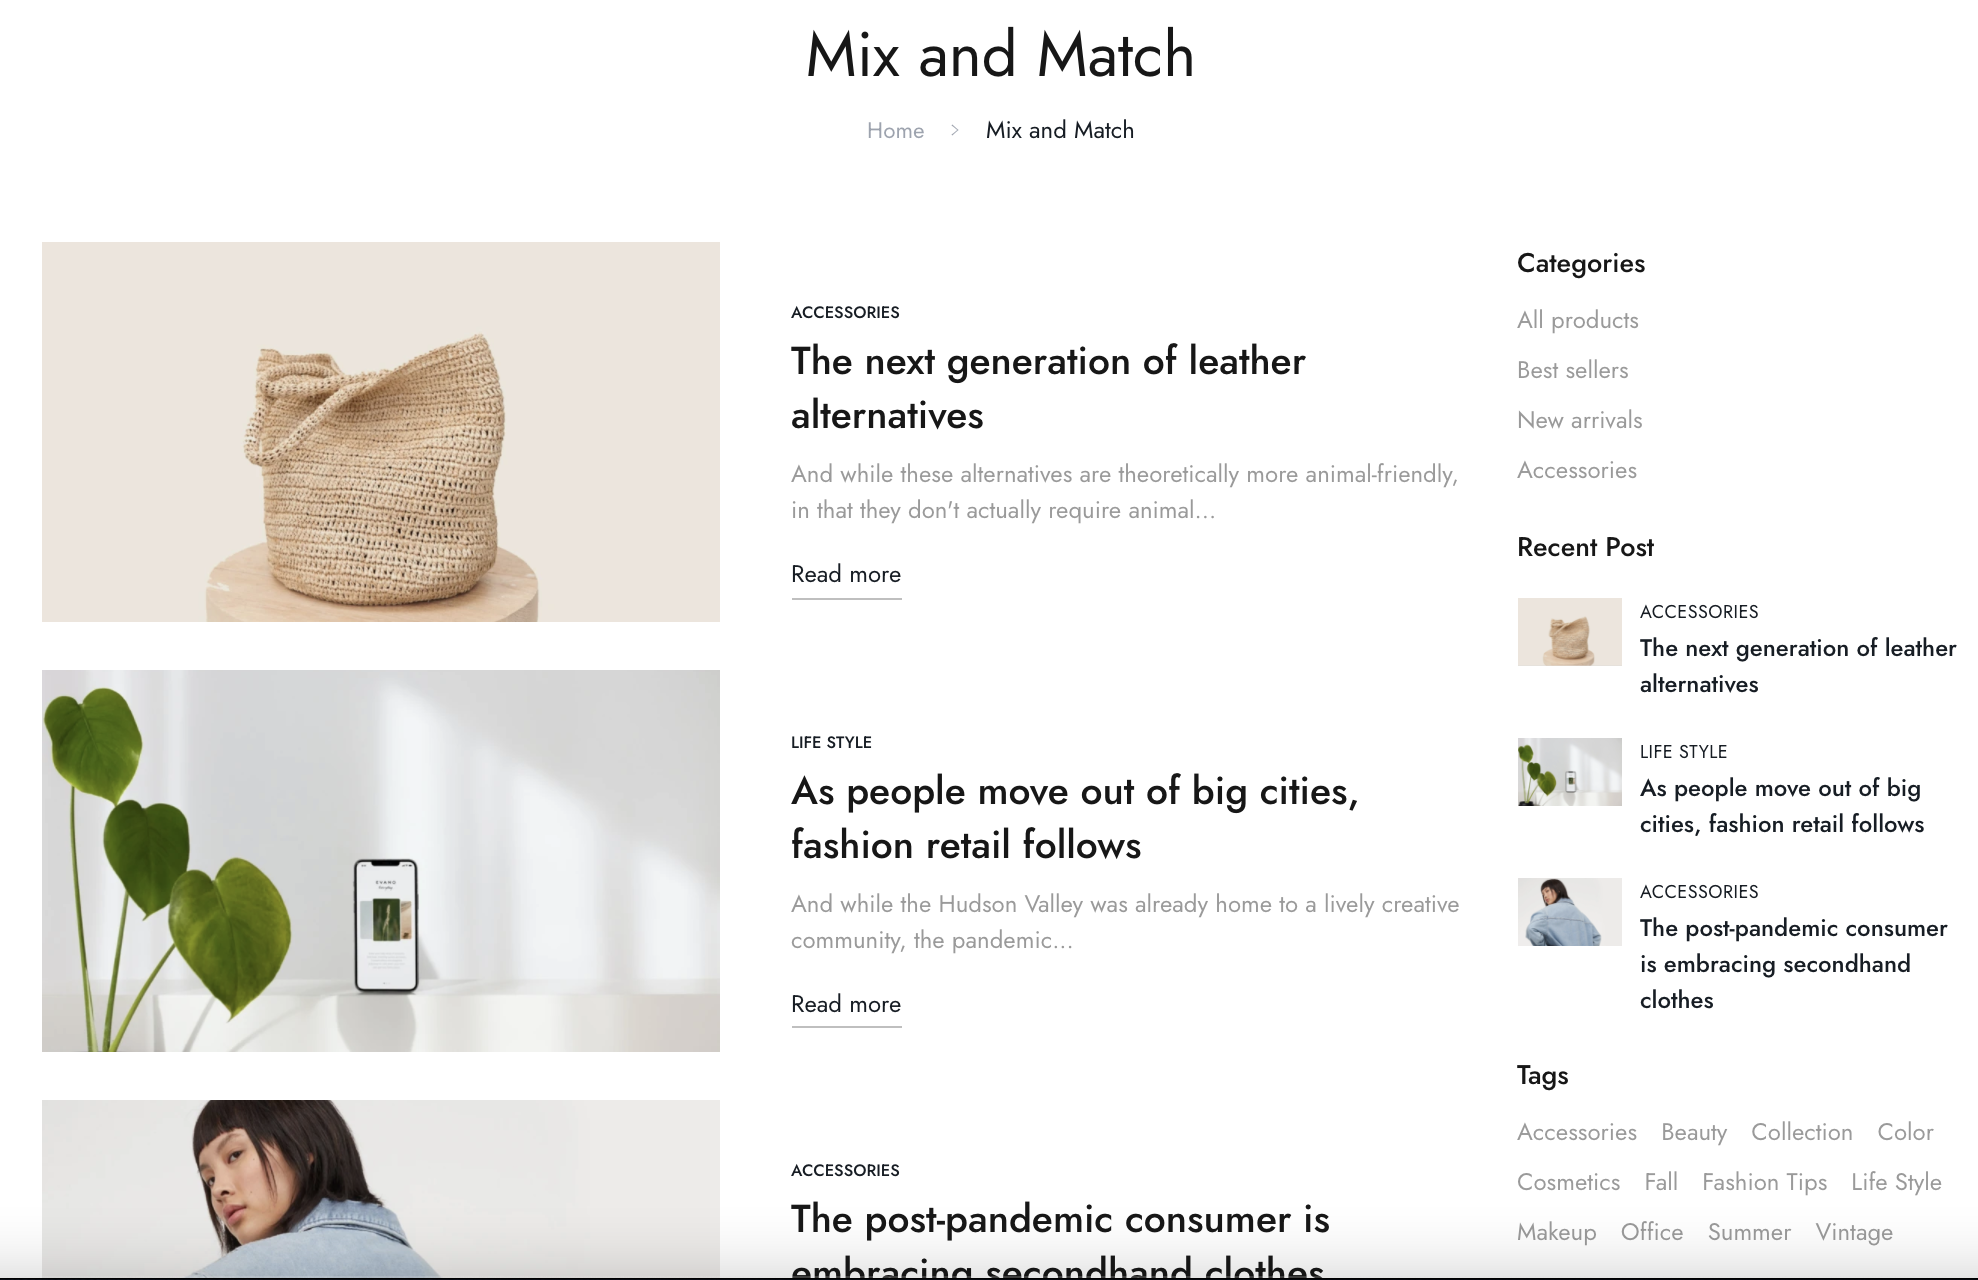
Steps
1. In the theme editor (**Customize**), open the template selector
2. Select **Blogs**, then **Default blog**
3. On the left sidebar, select **Blog pages.**
## Section settings
* Enable/disable the sidebar and its positions.
* Change the layout and the number of posts to show per page and per row.
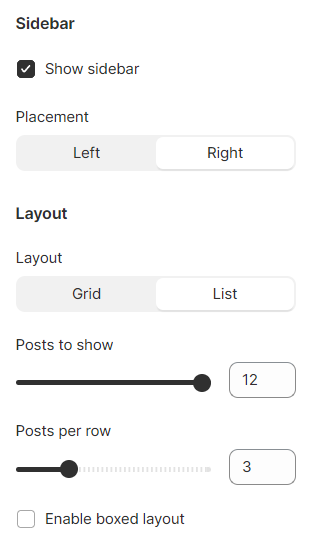
## Block settings
Add blocks to the sidebar of your blog page.
### Categories
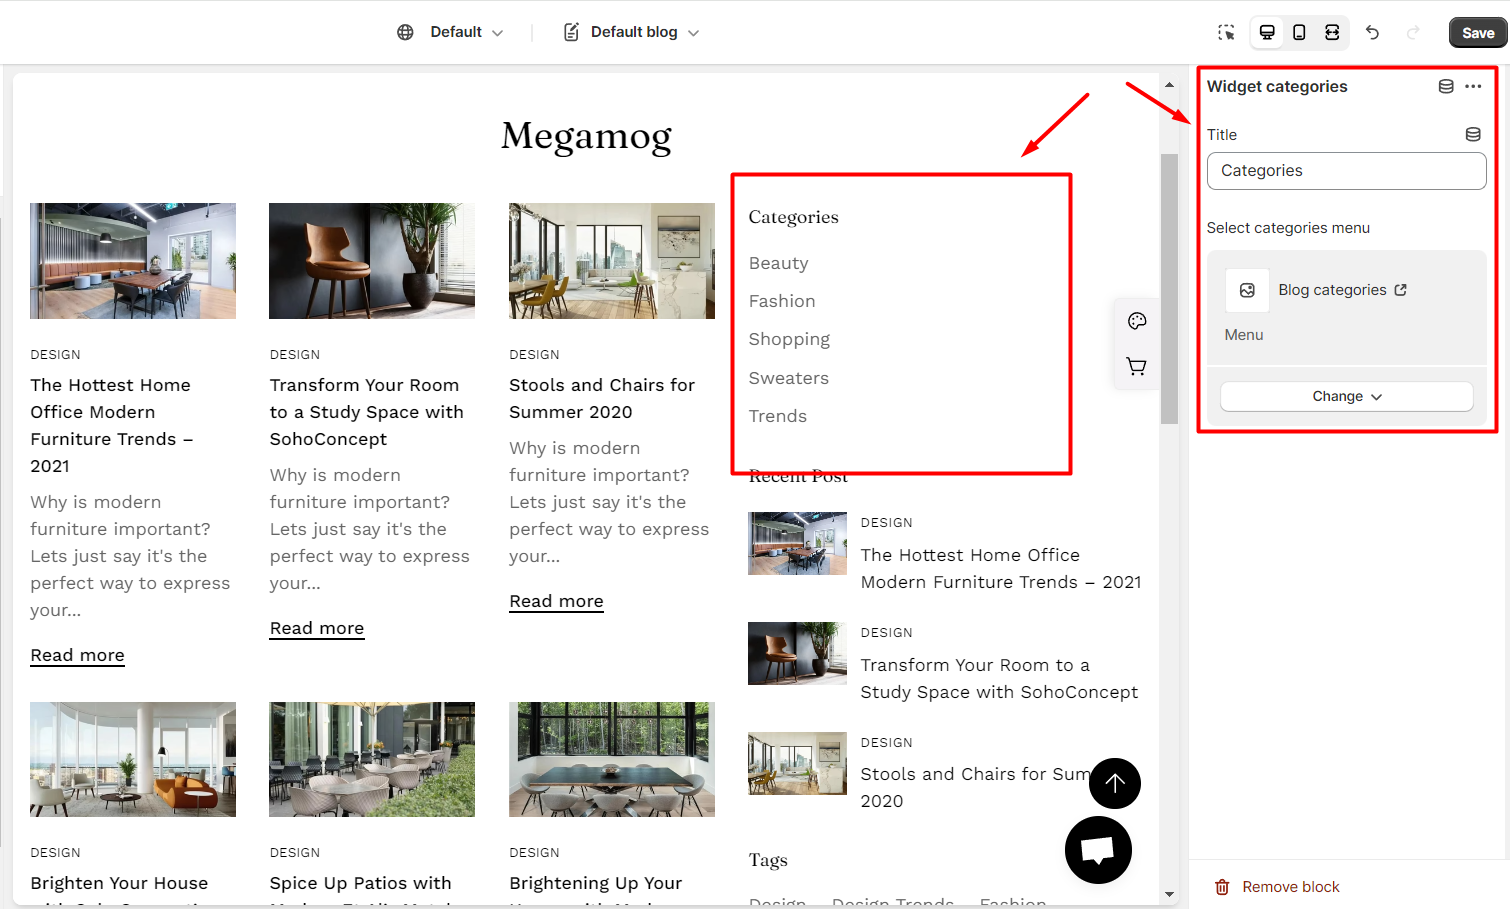
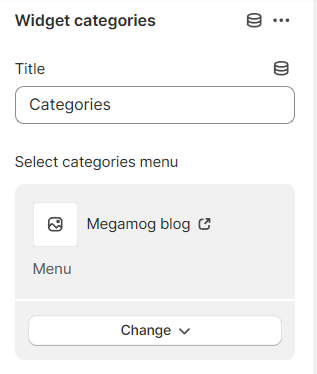
Add a categories menu to your blog page. The menu is created in Shopify Navigation and includes main menu items only (no nested menu items).
### Widget recent posts
Give the block a title and select the blog you want to display the posts.
Set the number of posts to show.
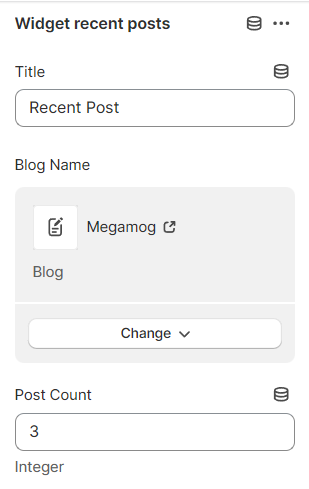
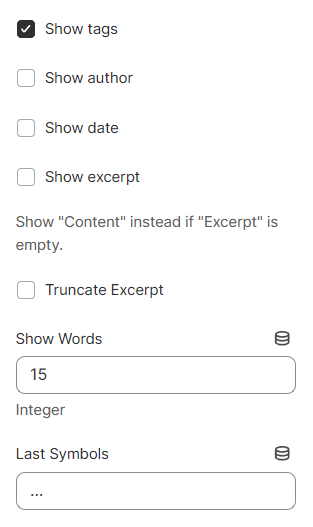
Control how each post is displayed in the widget:
* Show tags
* Show author
* Show published date
* Show excerpt
* Truncate excerpt or not
### Tags
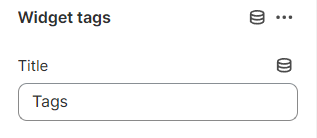
Show tags of the current blog.
### Widget Instagram
To show your Instagram image posts in the sidebar, make sure you [generate your IG token](https://docs.foxecom.com/megamog-theme/theme-sections/instagram#generate-your-instagram-token) and add it to the Theme settings >[Integration](https://docs.foxecom.com/megamog-theme/theme-settings/integration).
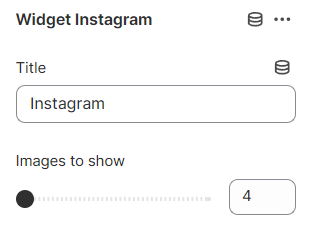
You can control the number of images to show in this widget (4-24 images).