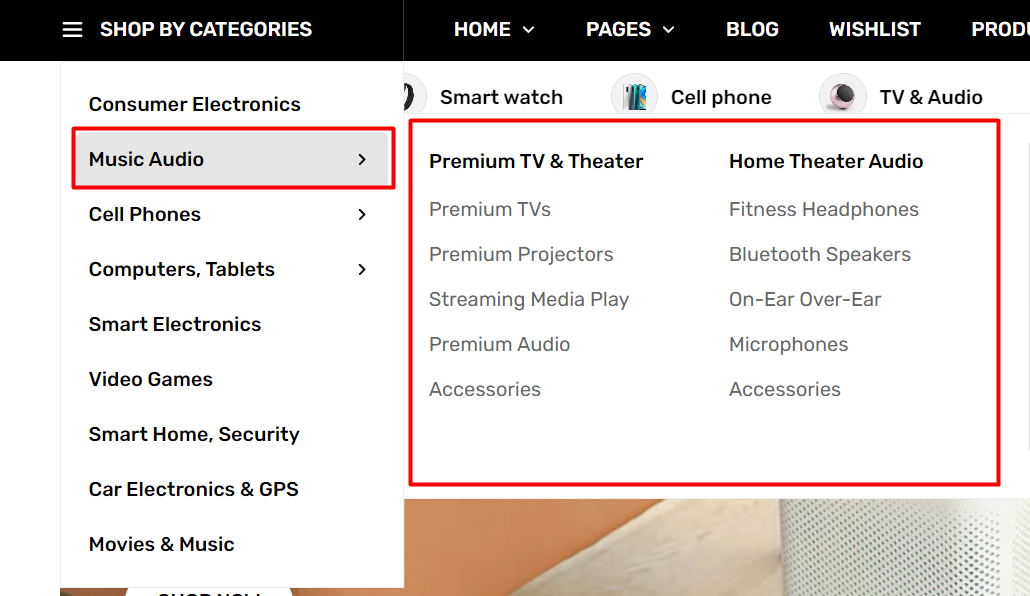
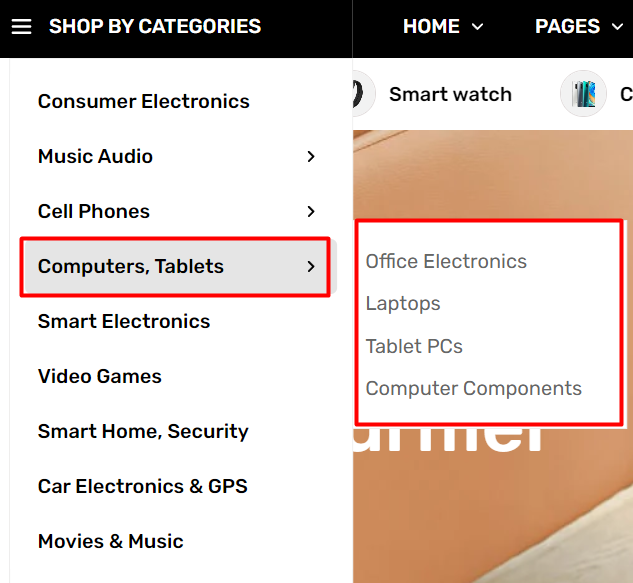
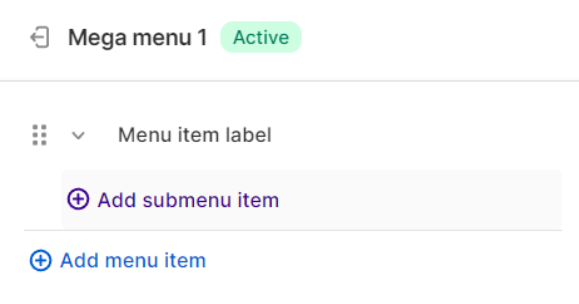
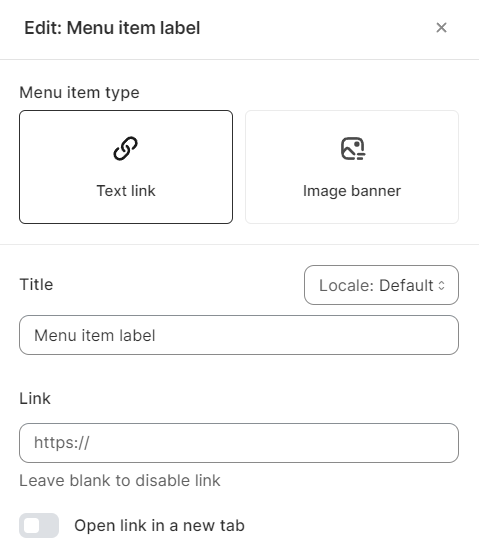
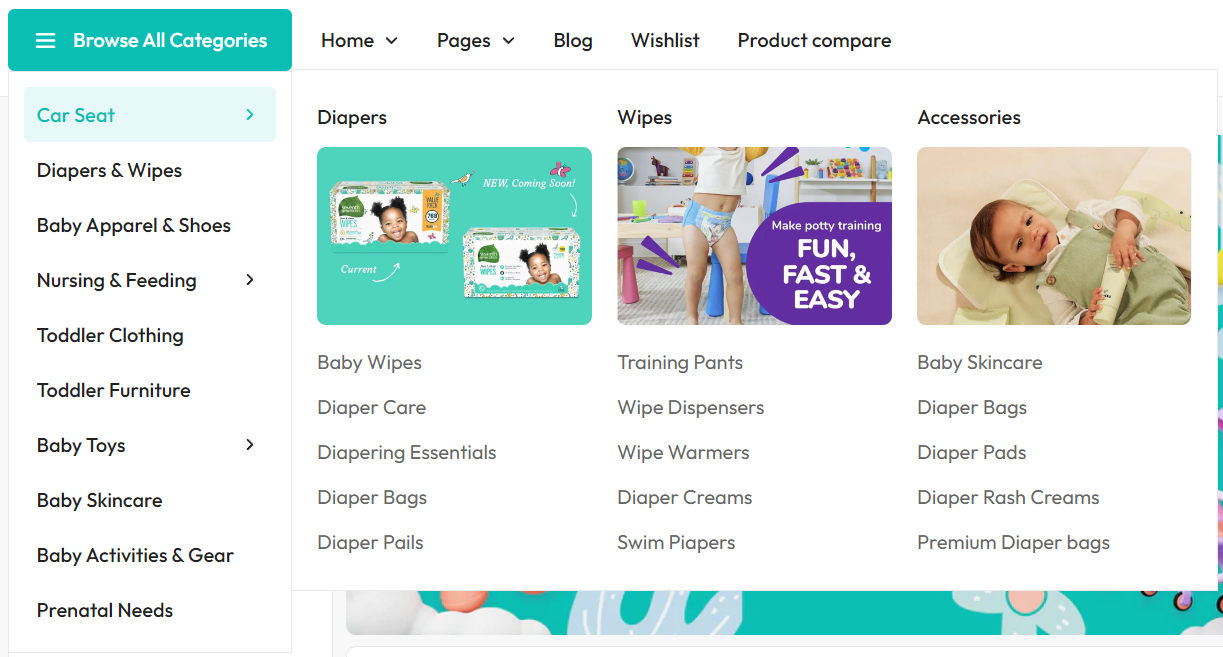
A mega menu is a drop-down menu in which the top-level item has 2 levels of nested drop-down menus.
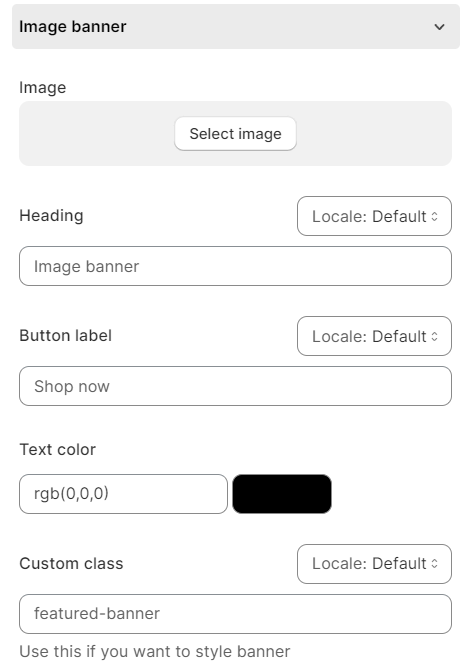
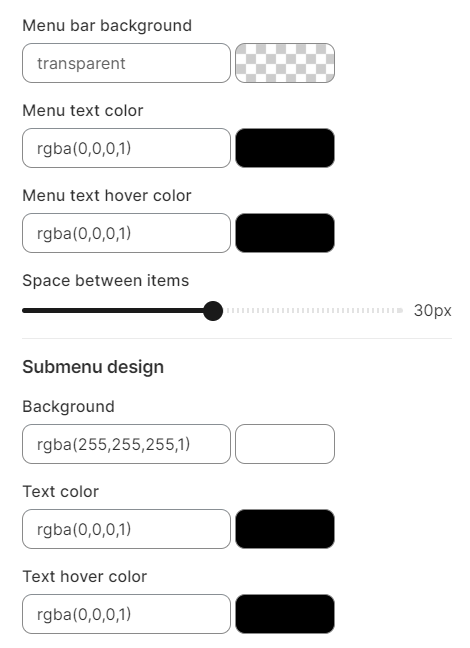
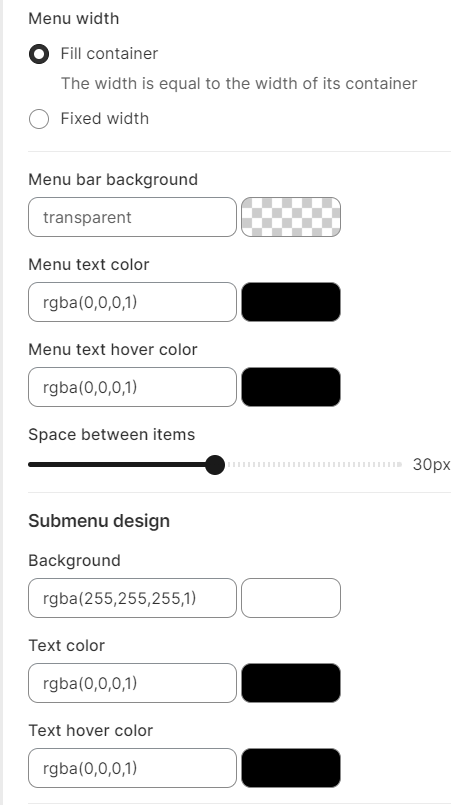
A mega menu affects how shoppers discover your product offerings and other information, which lets them browse easily and seamlessly. It is a perfect design choice when building a website with multiple categories and subcategories. The design also provides sufficient space for images (banners) and other rich content.
Different websites require different kinds of menus, depending on the size, nature, and objectives of your store. This article shows you how to create and customize your own suitable menu.
This article shows you how to create and add your Mega menu to Megamog theme.
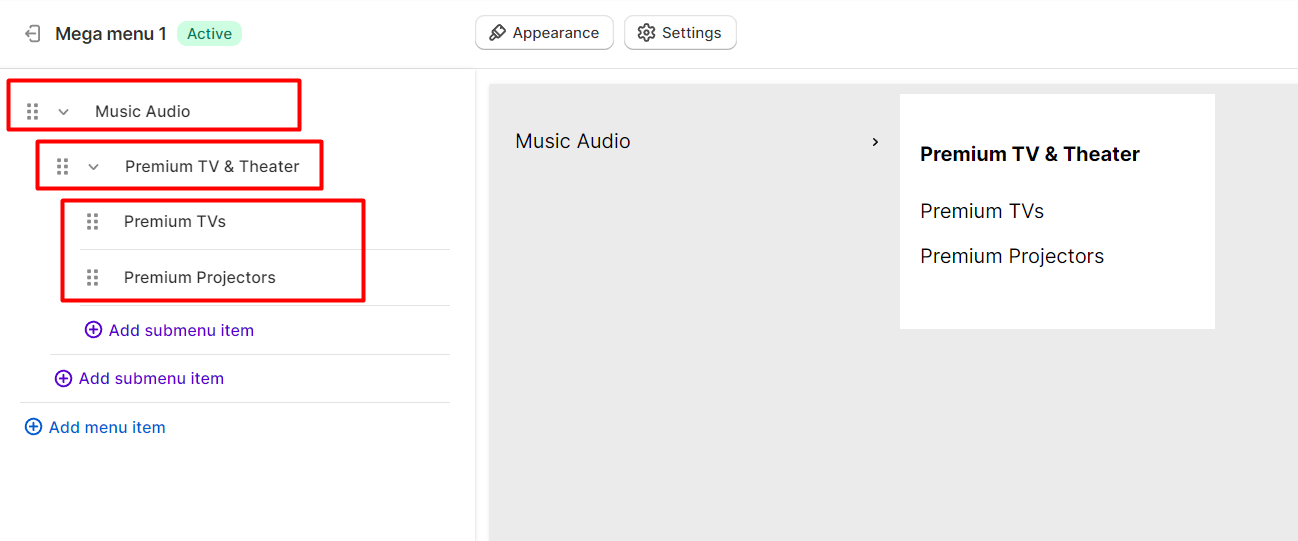
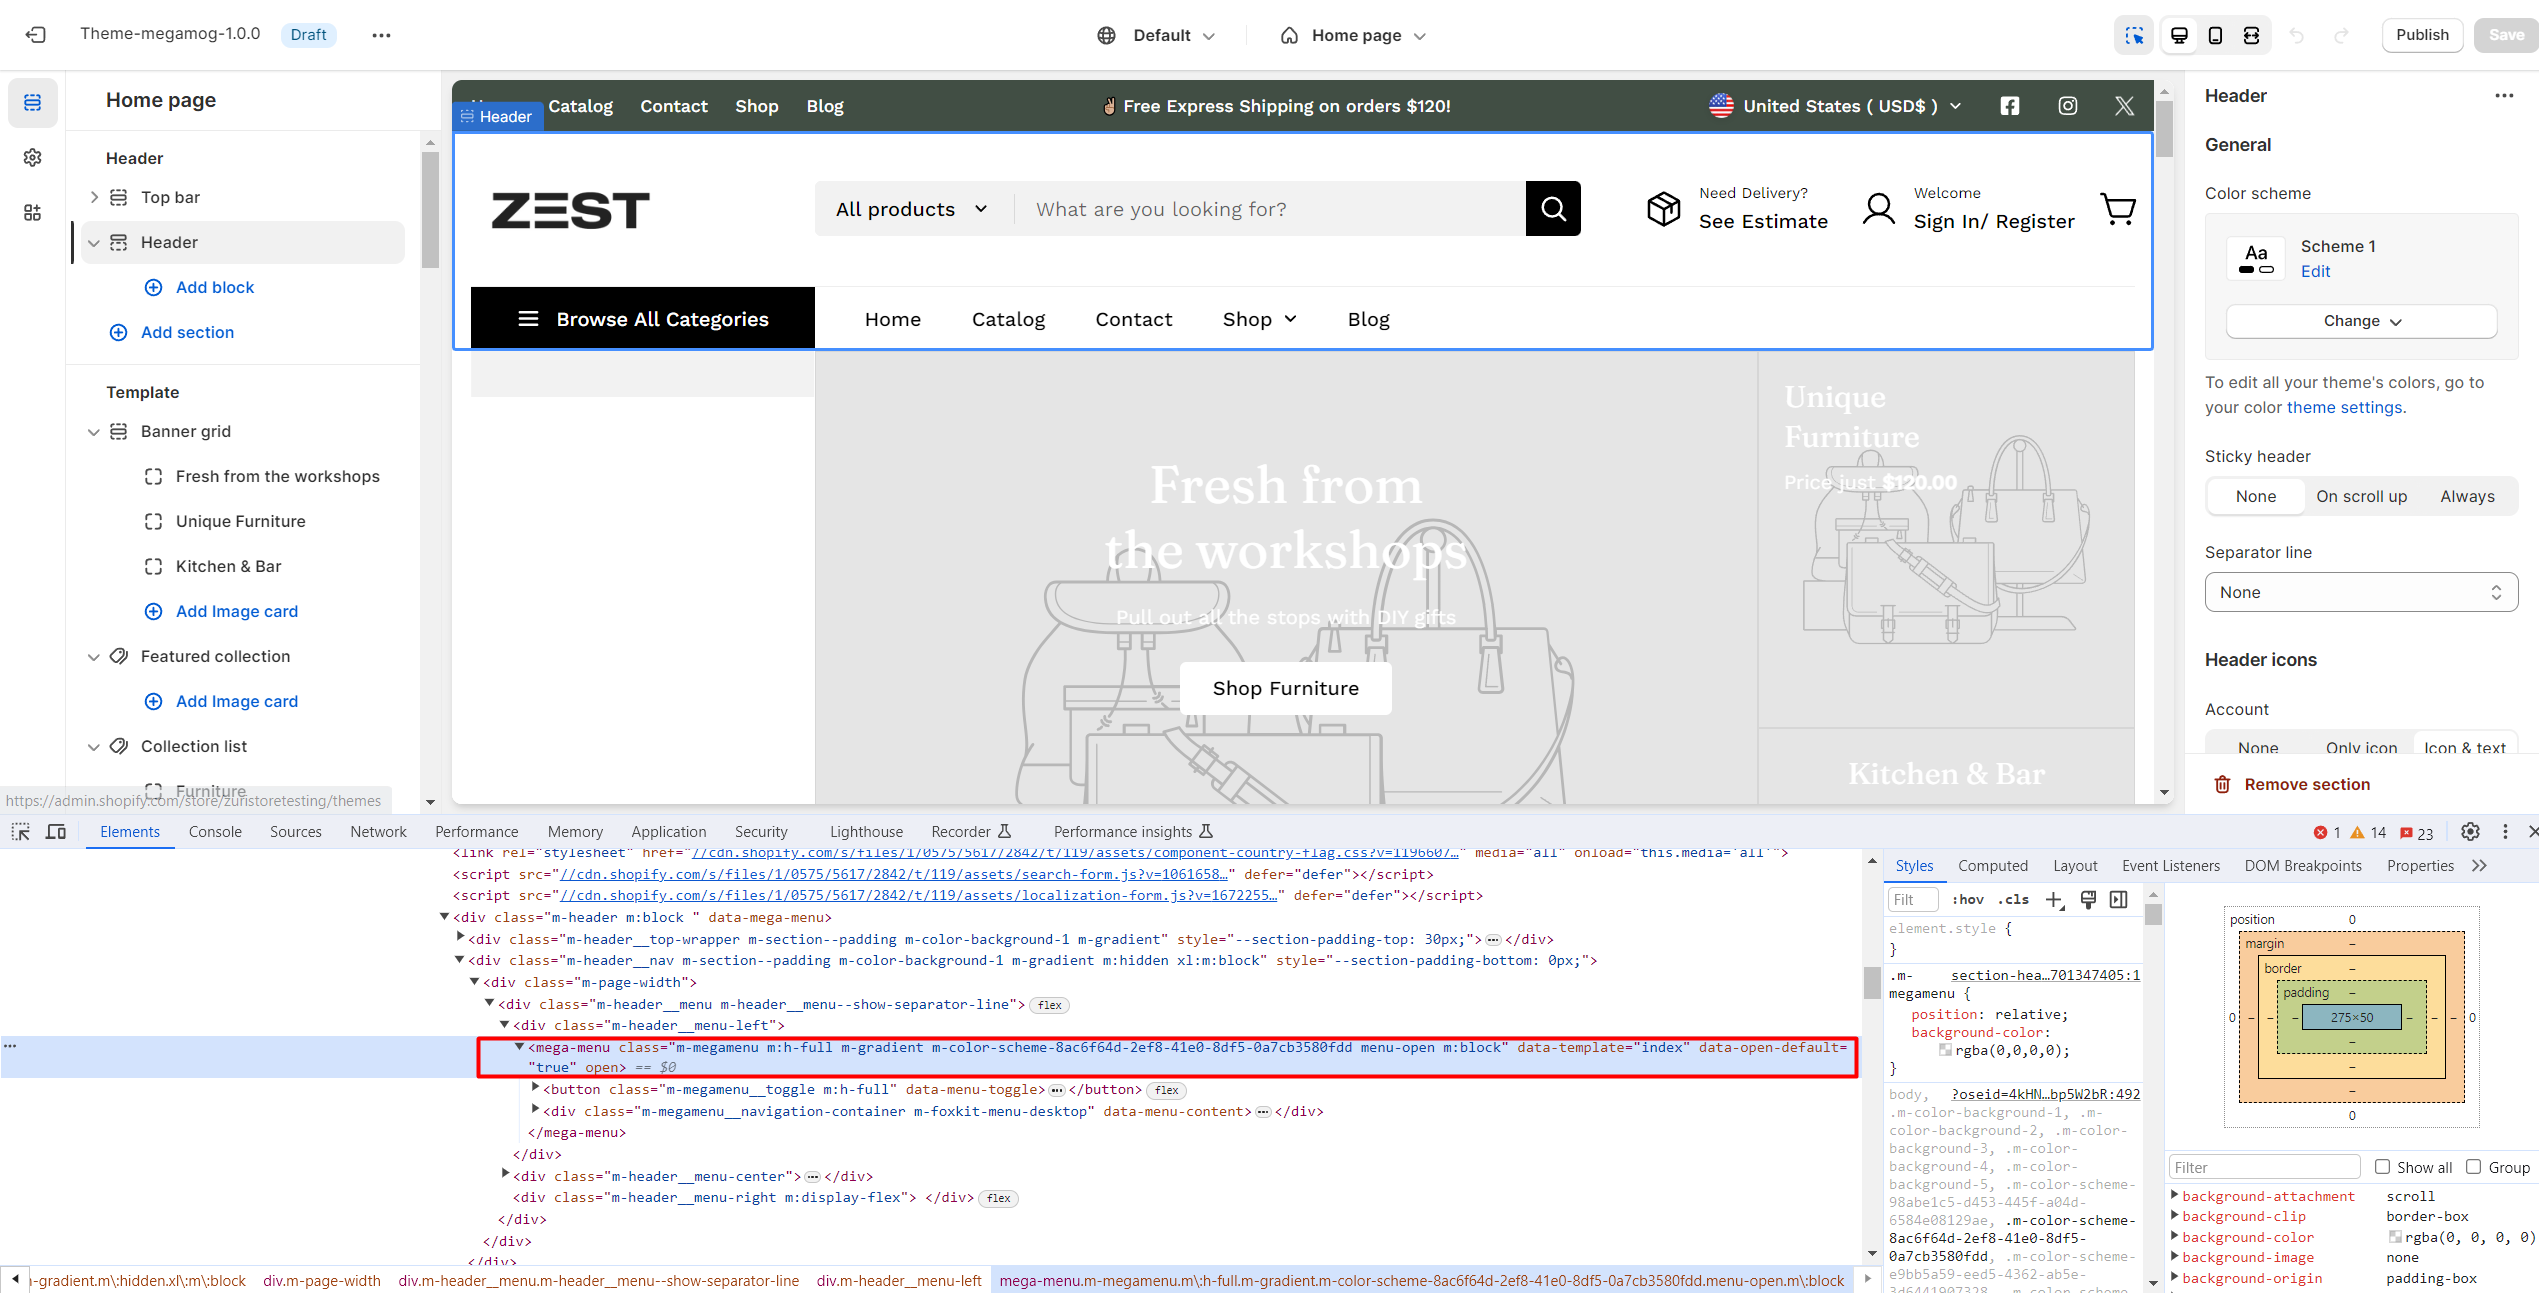
#1. Inspect your Mega menu element to get the menu id
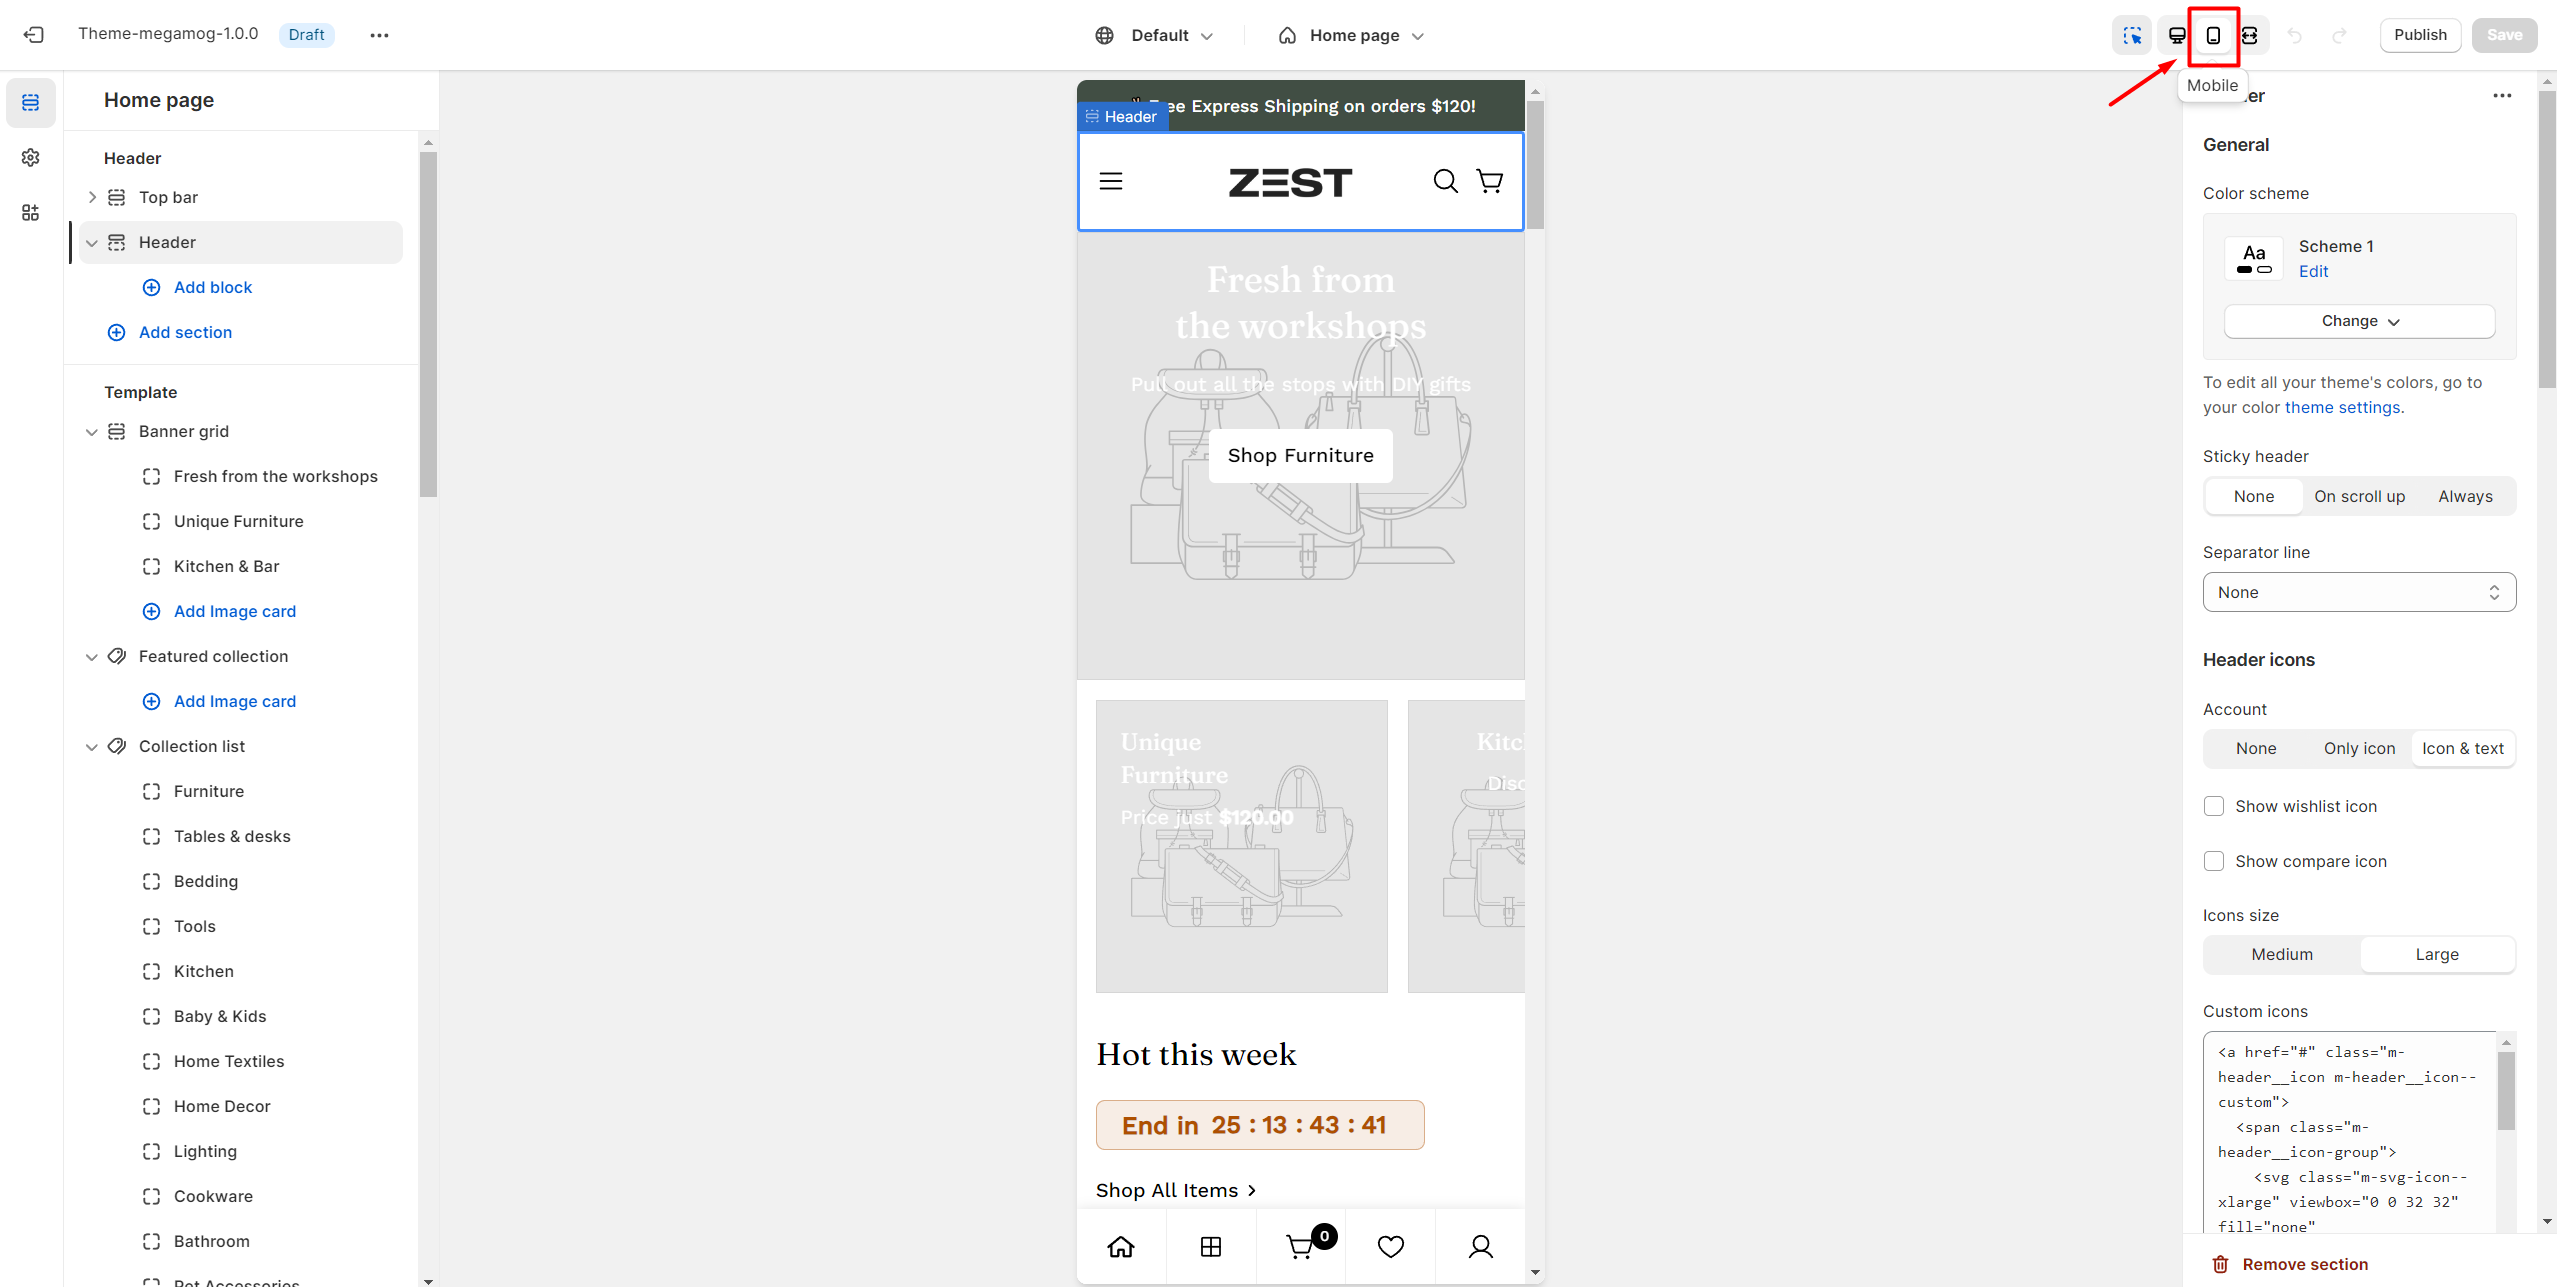
Change the theme editor to mobile view using the device selector.
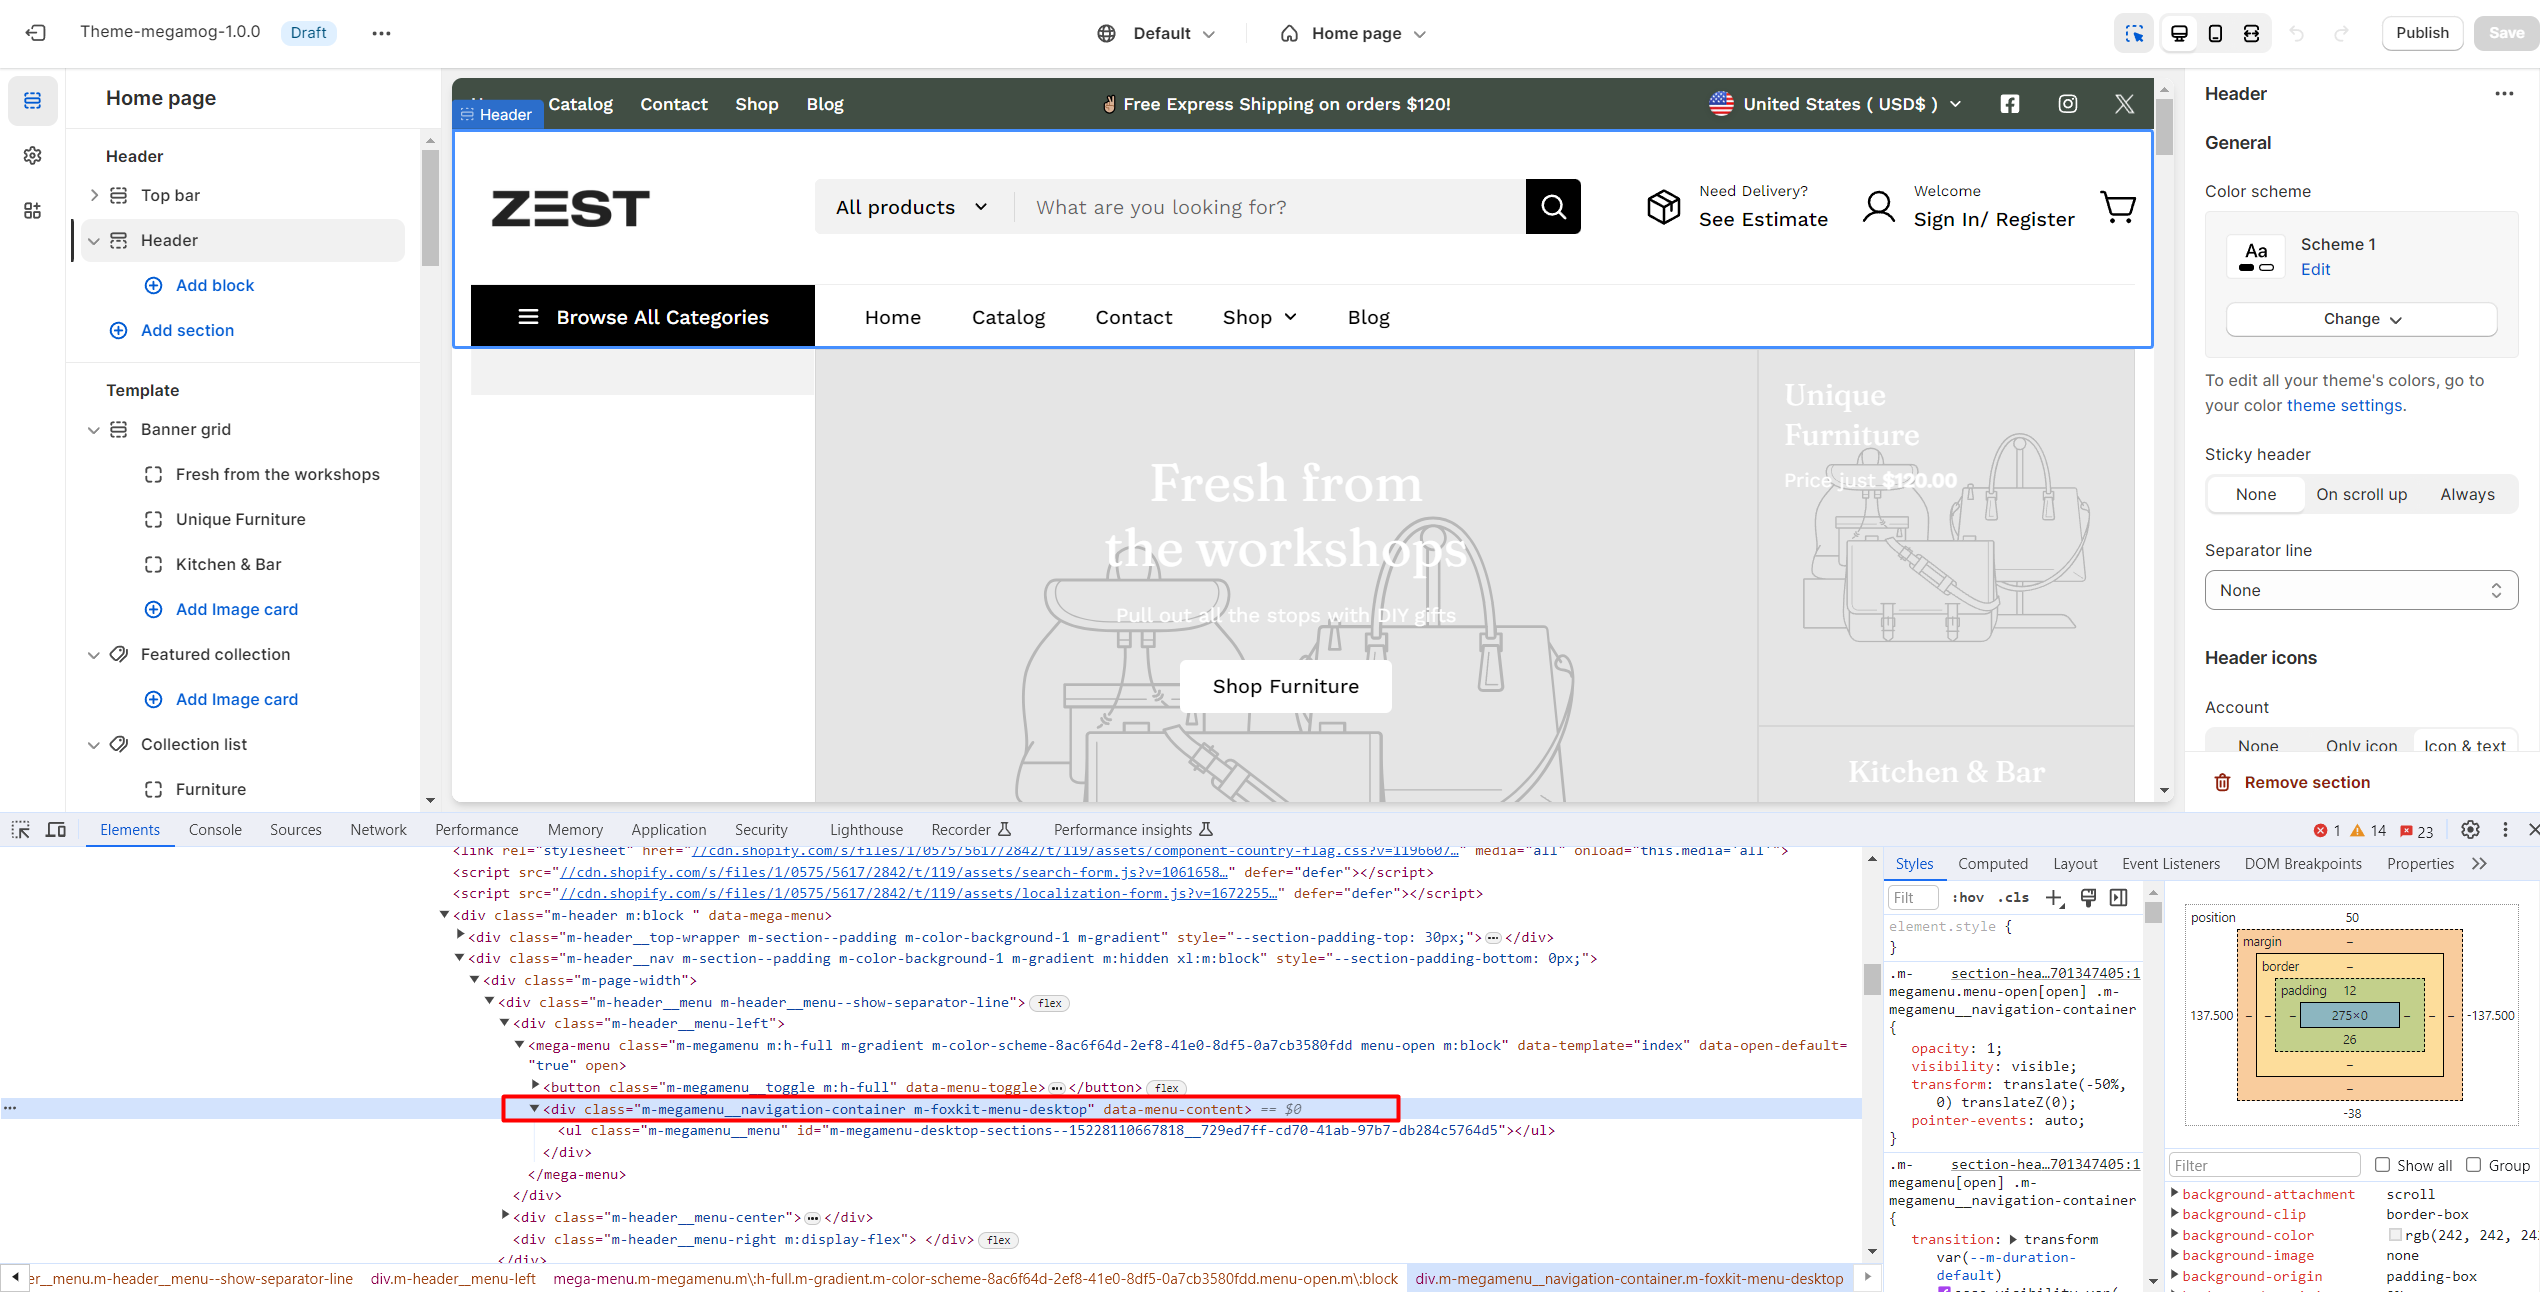
Click on the Mega menu element in the theme editor > Open the nested menu items.
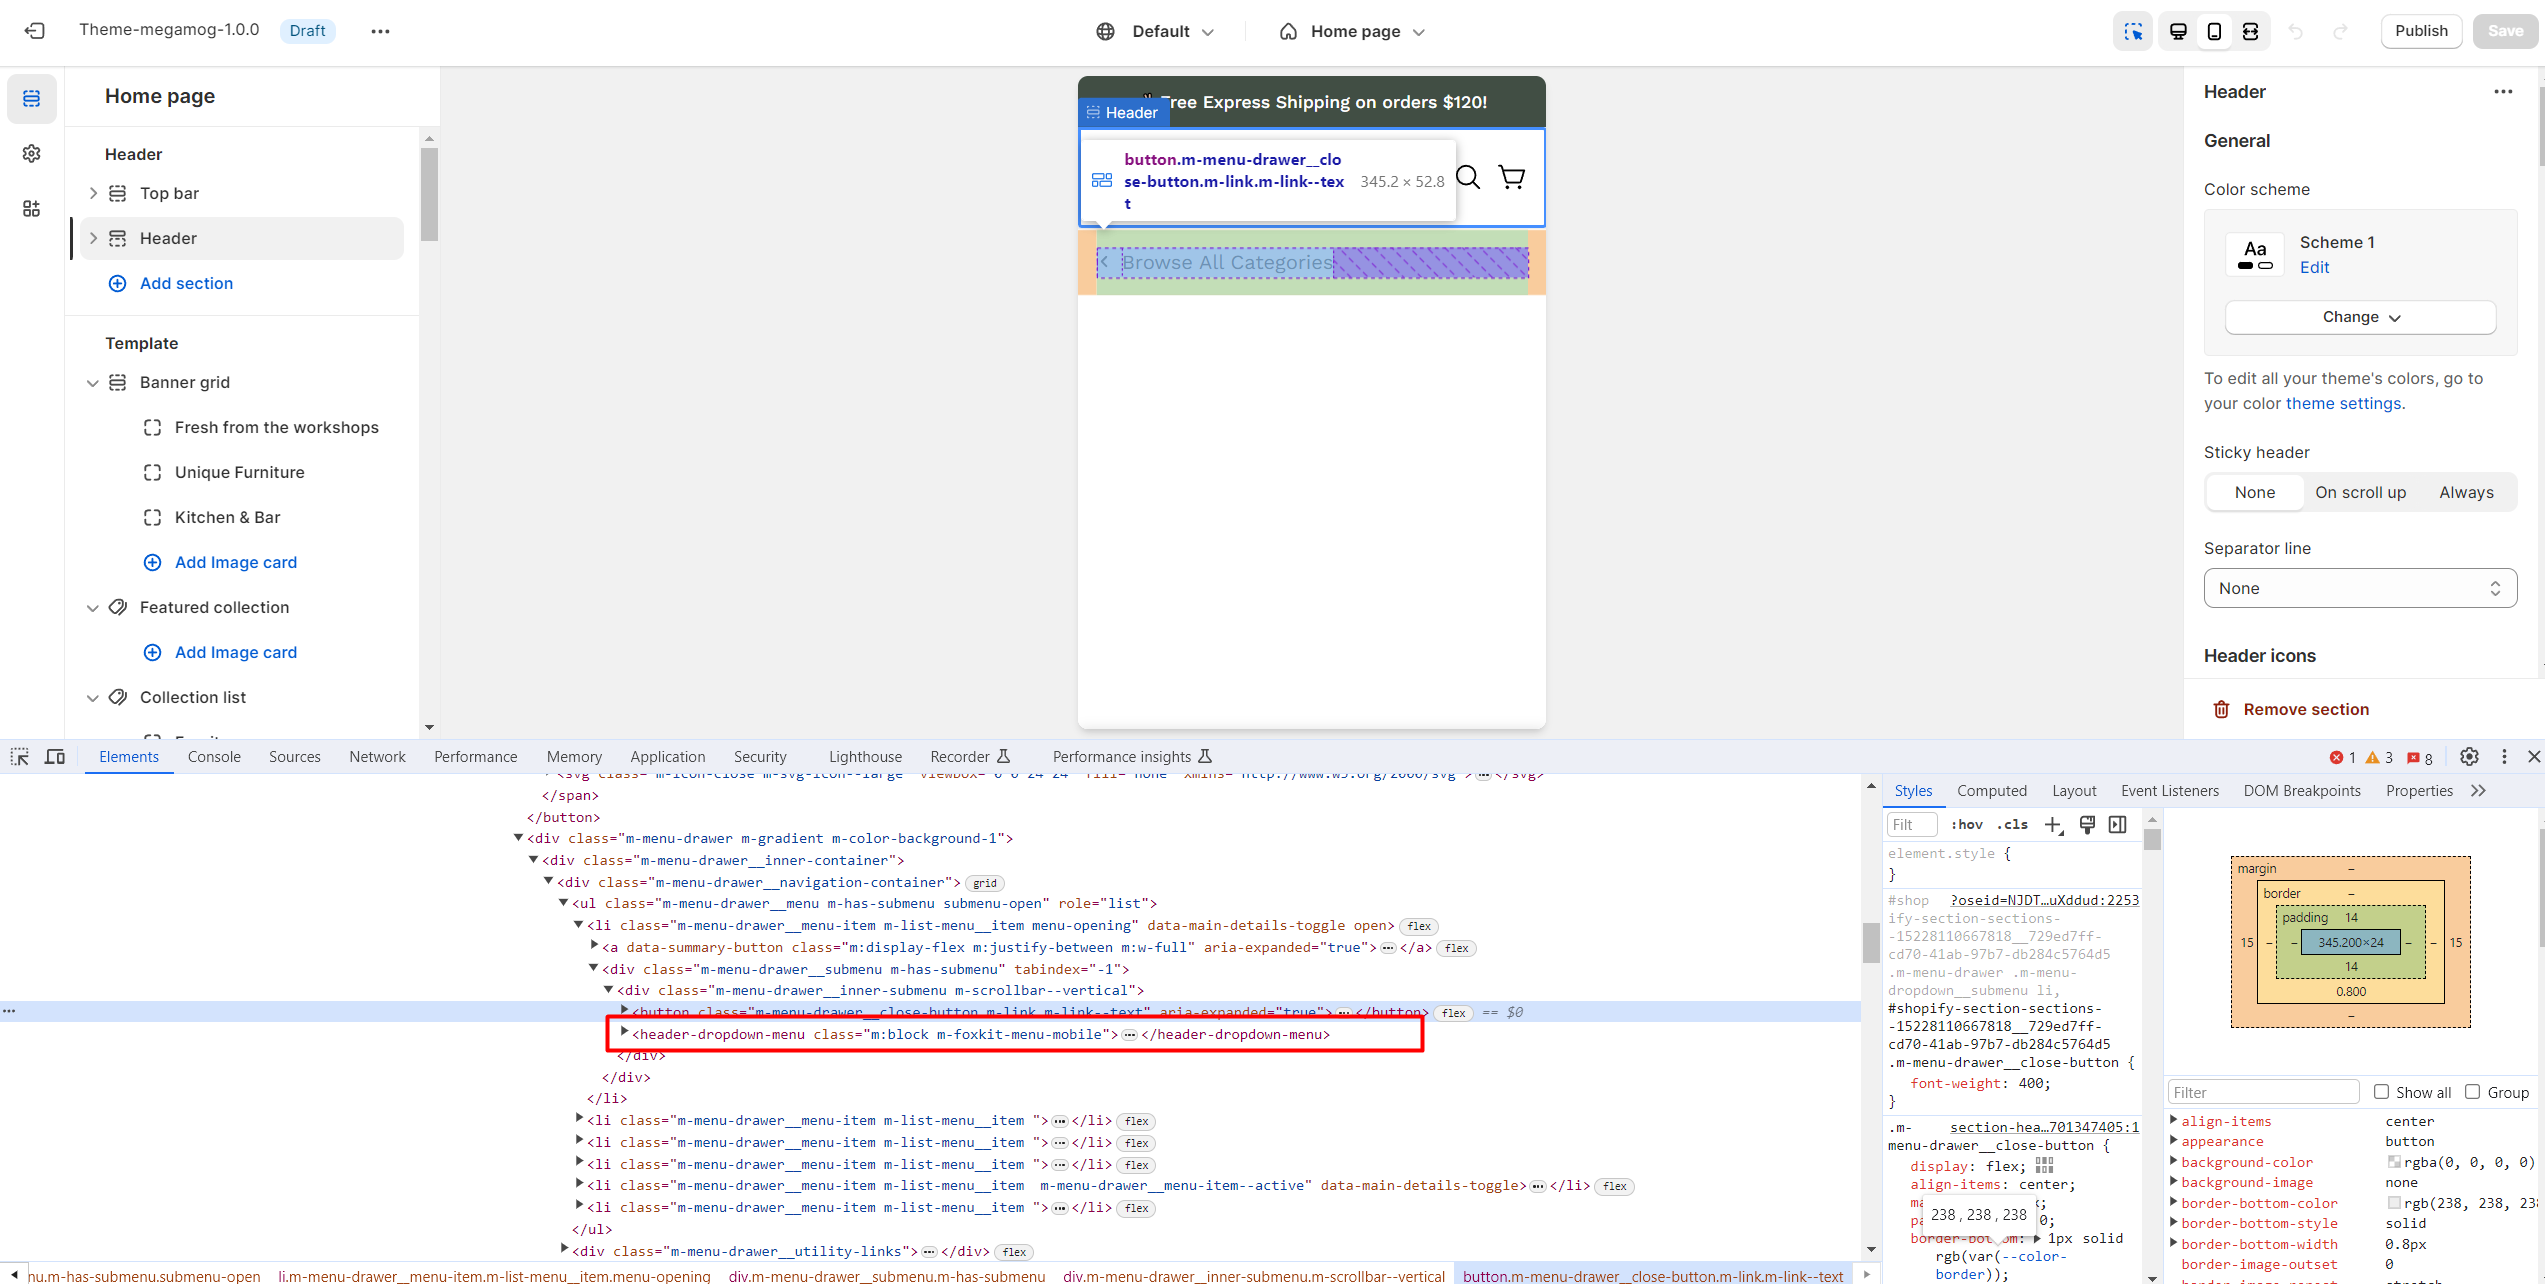
Then, right-click on it and select Inspect from the menu to access the Inspect window. Once you have opened the Inspect window, you will see the HTML and CSS code for the web page.
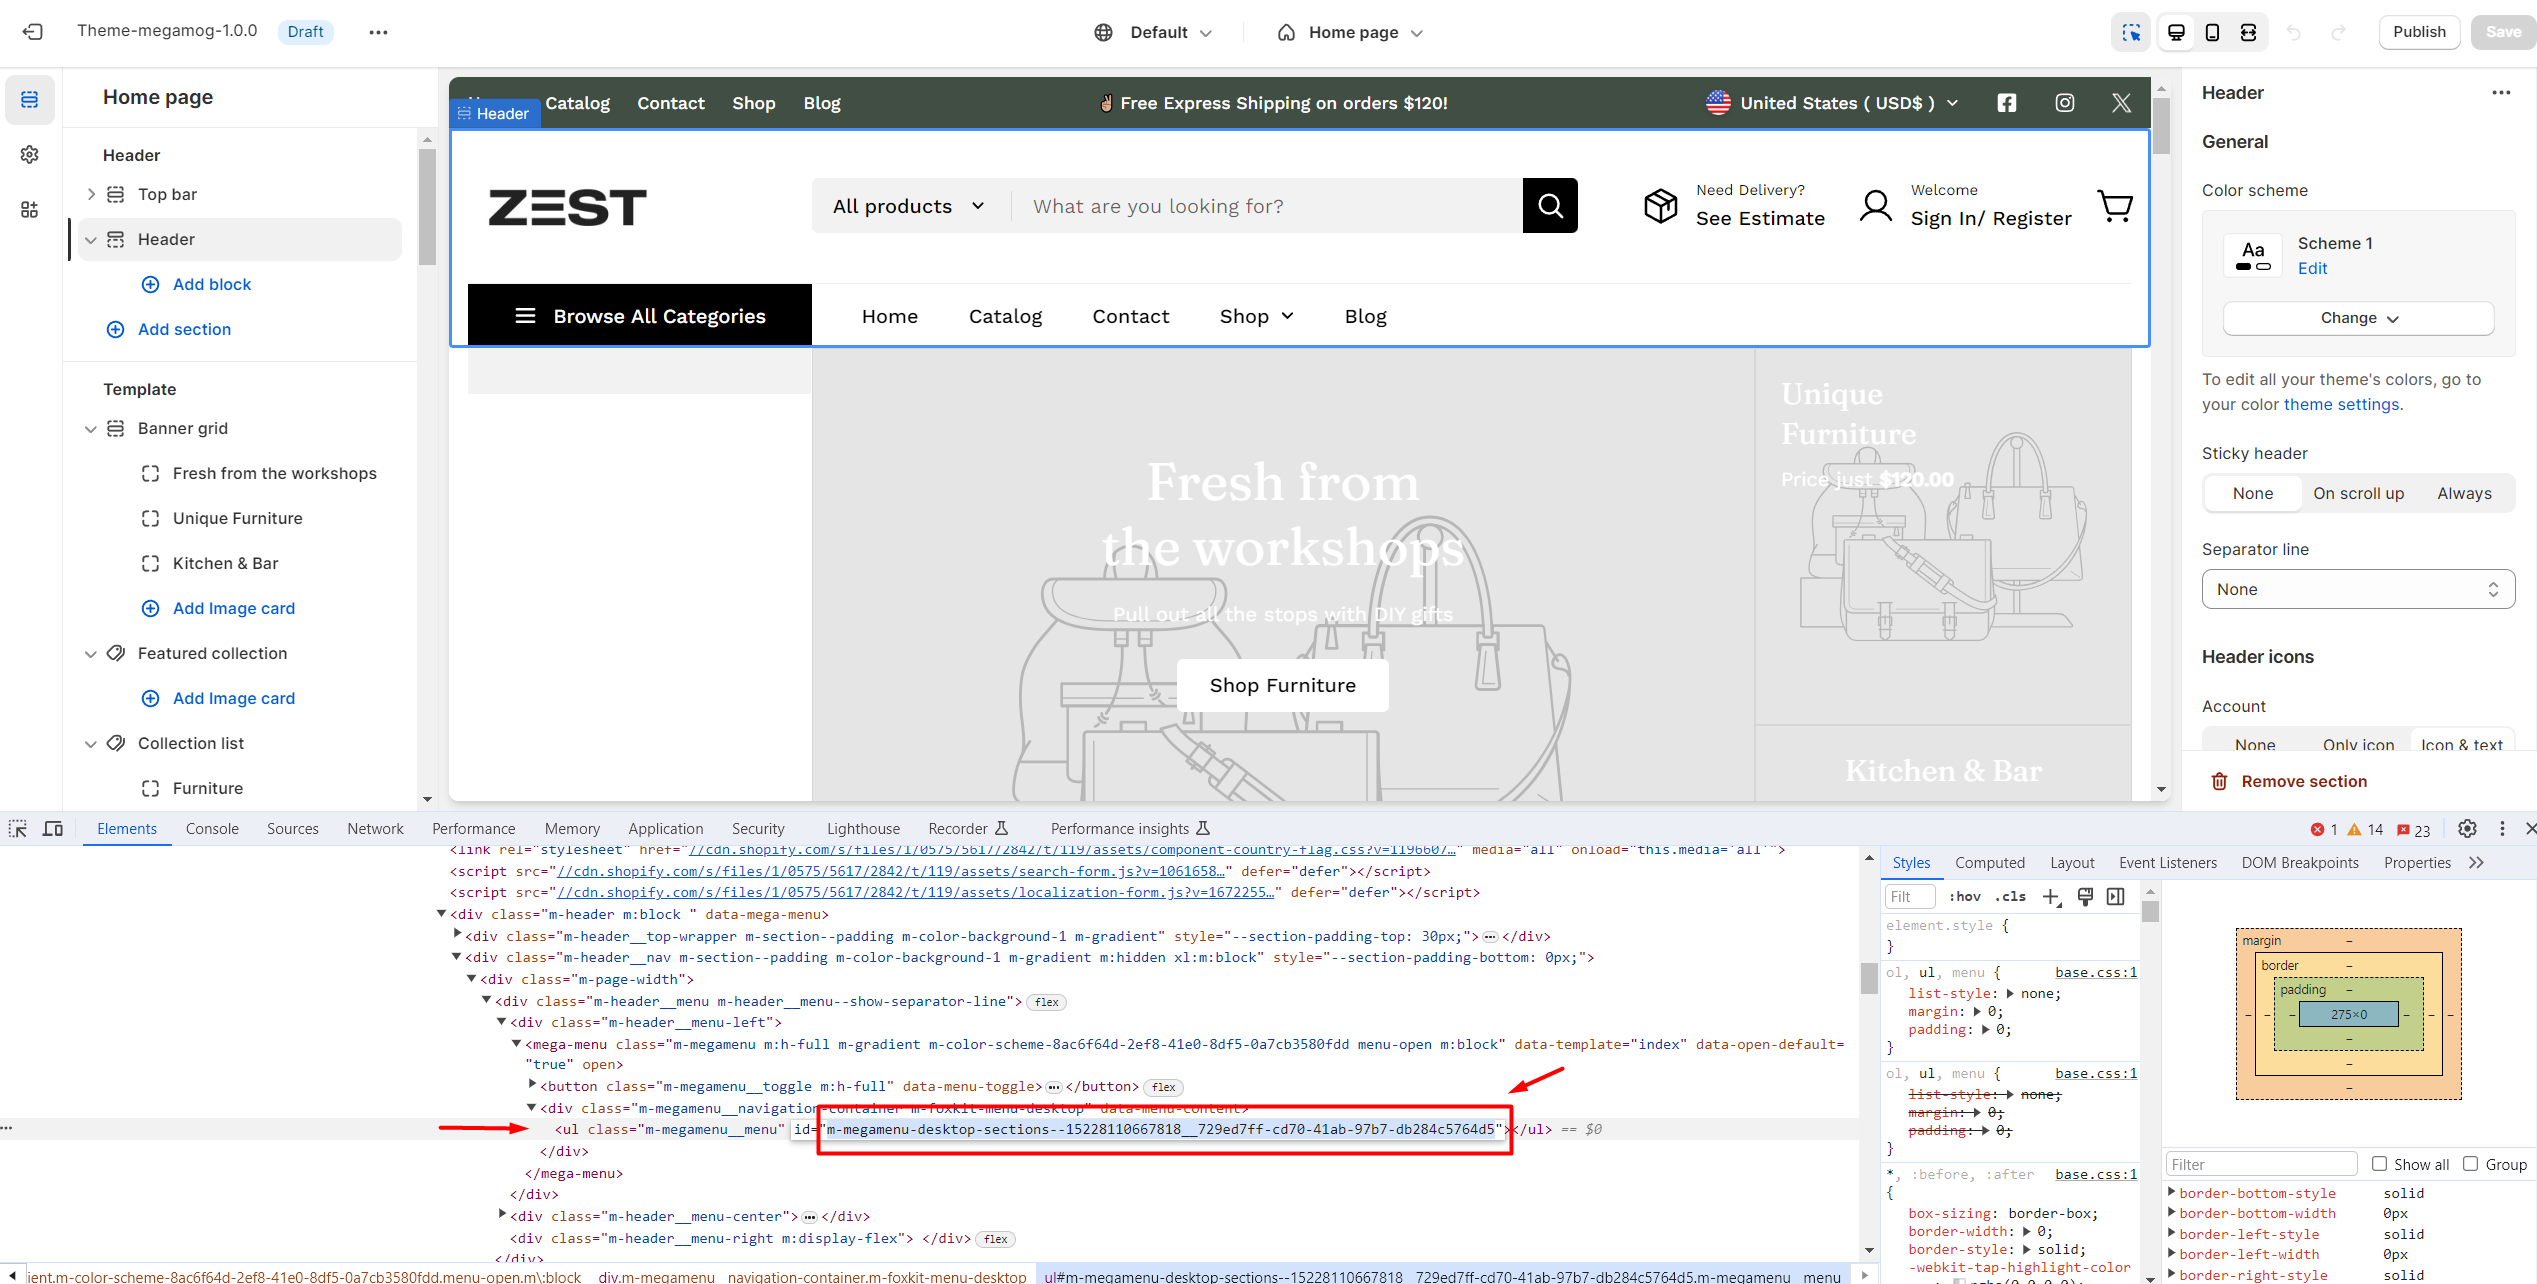
Find the code starting with:
<header-dropdown-menu class ...
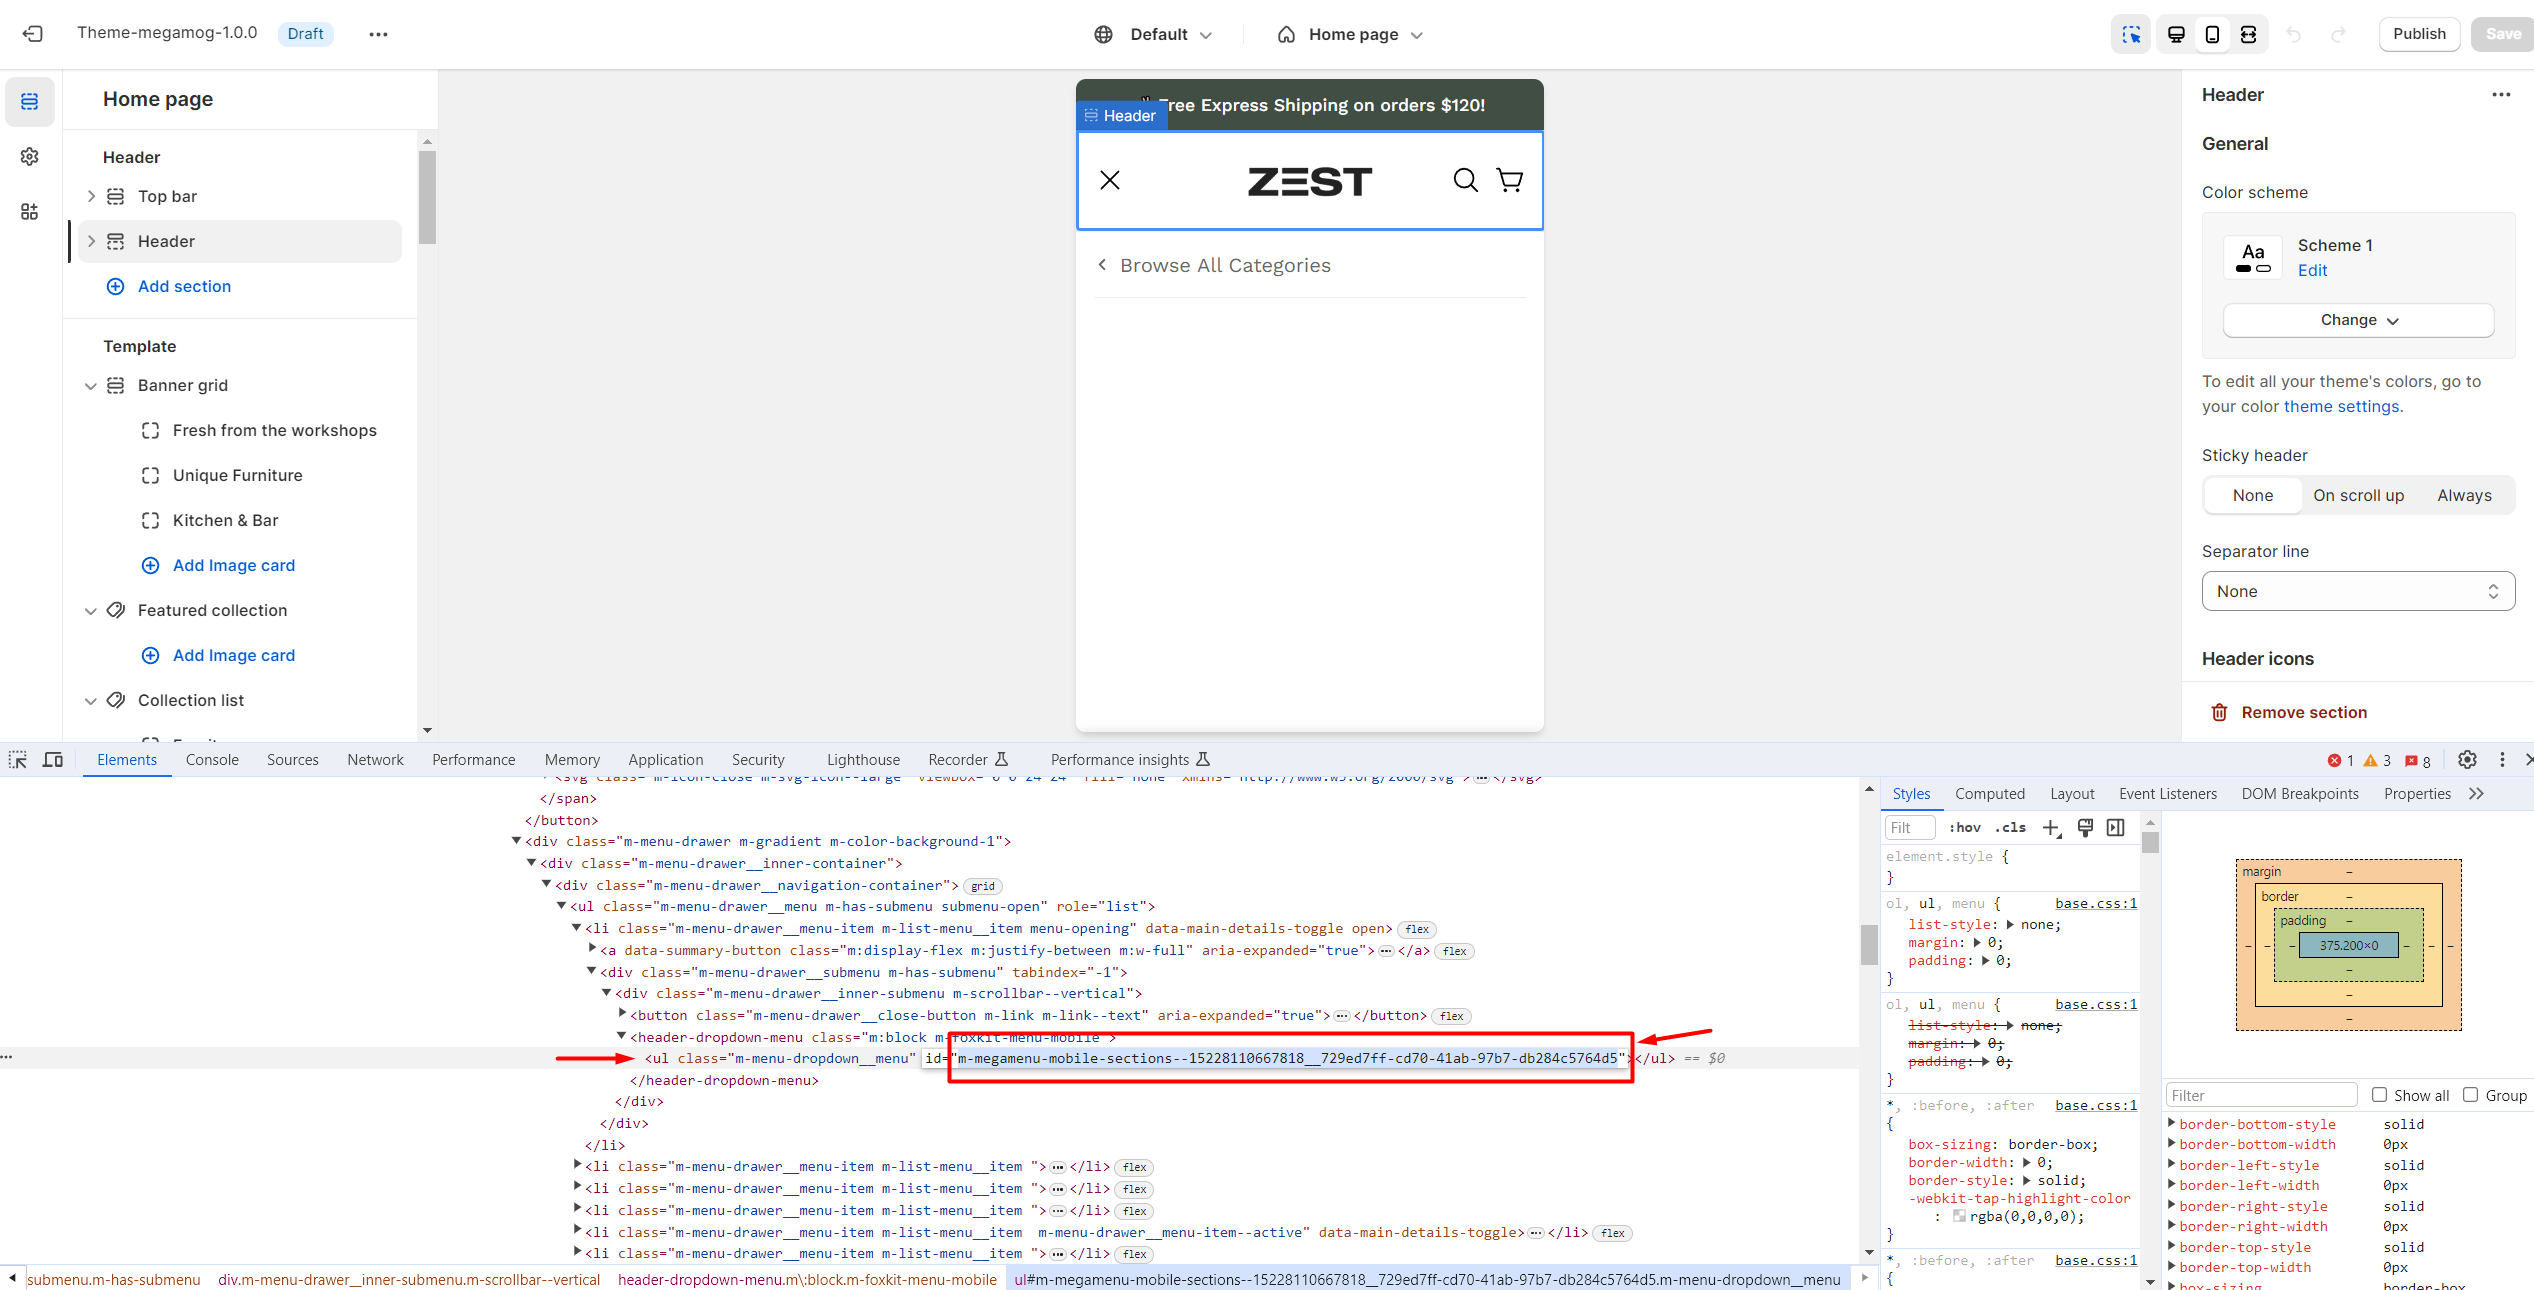
Expand that code:
And copy the menu ID:
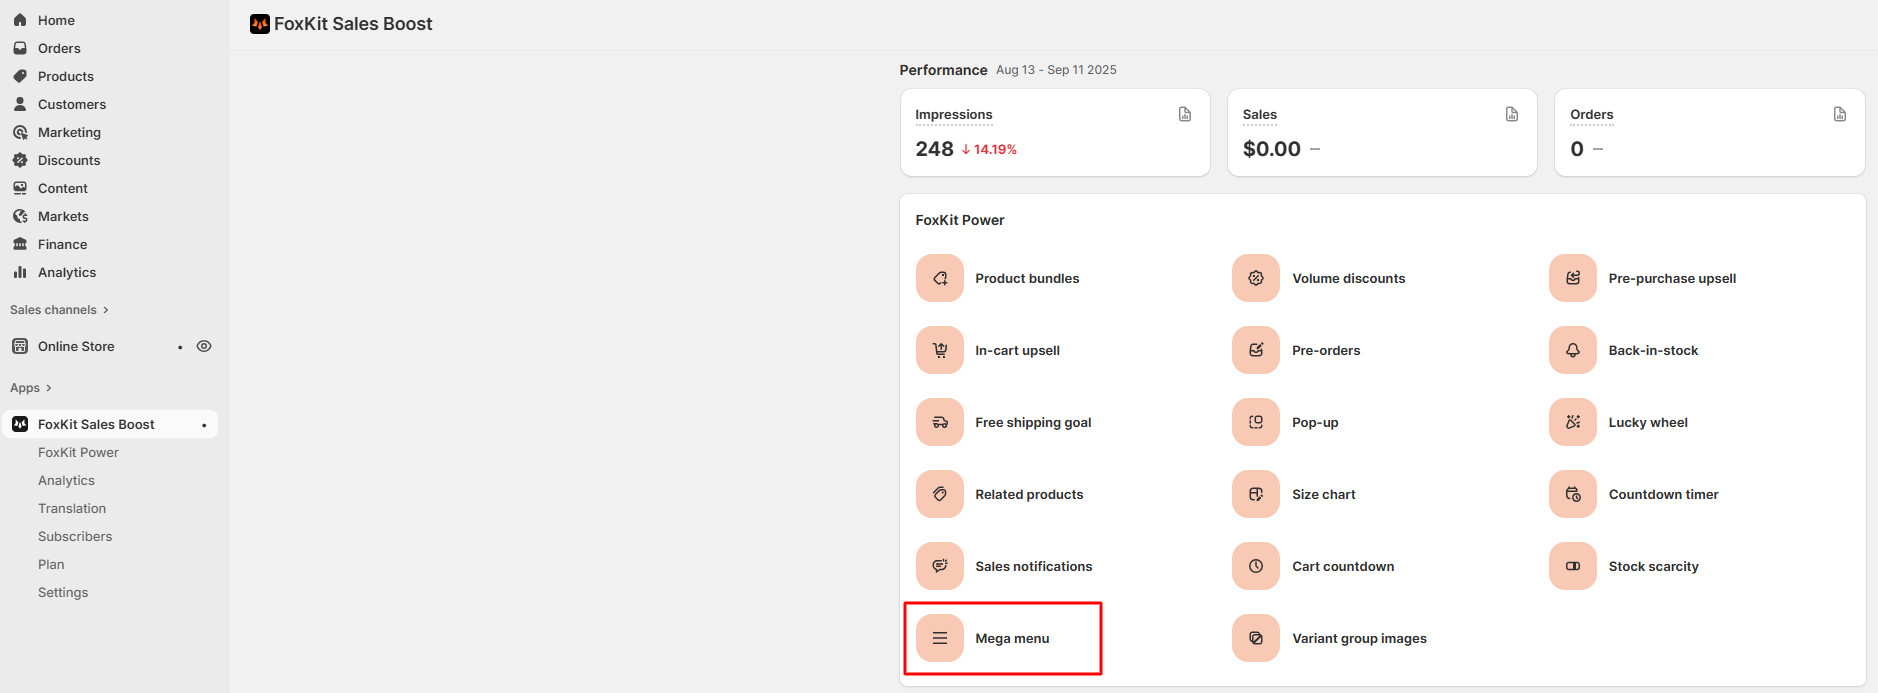
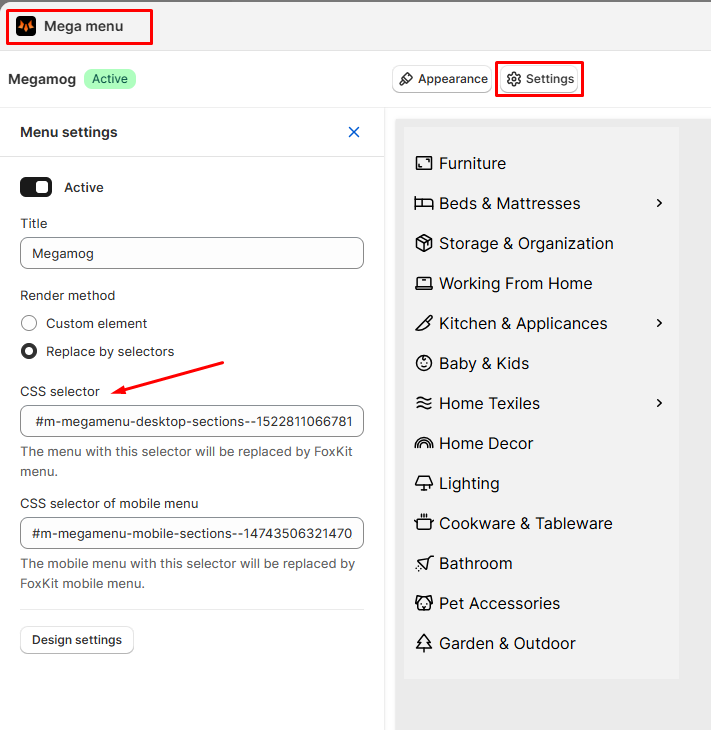
#2. Add the menu ID for the mobile view to FoxKit Mega menus
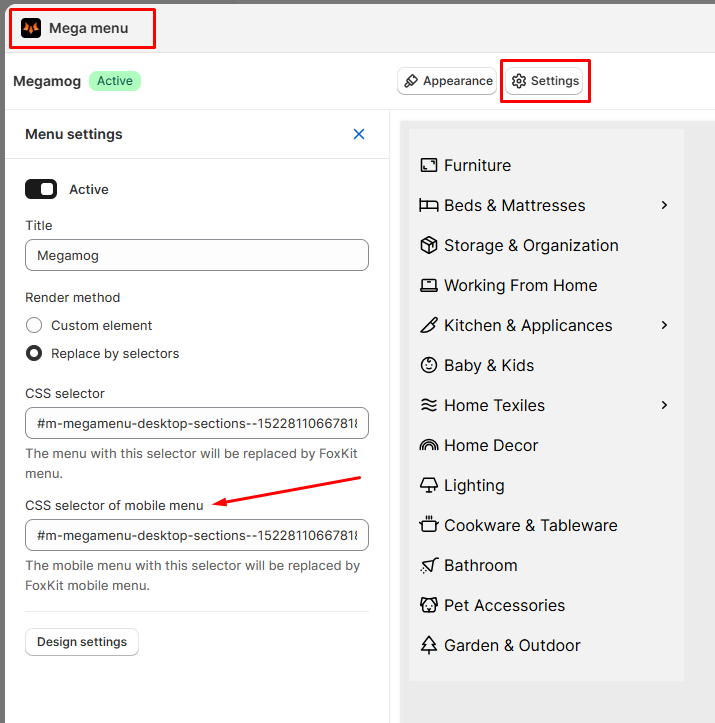
Once you have got your mega menu ID, go to FoxKit app > Mega menus to add it as the menu's CSS selector for mobile.
Steps:
From FoxKit app, go to Mega menus
Select the menu you want to add to the theme
Click Settings
Set the Render method as Replace CSS selector
In the field CSS selector of mobile menu, insert: # + the ID you have copied earlier
For example: #m-megamenu-desktop-sections--15228110667818__729ed7ff-cd70-41ab-97b7-db284c5764d5