# Before/ After image slider
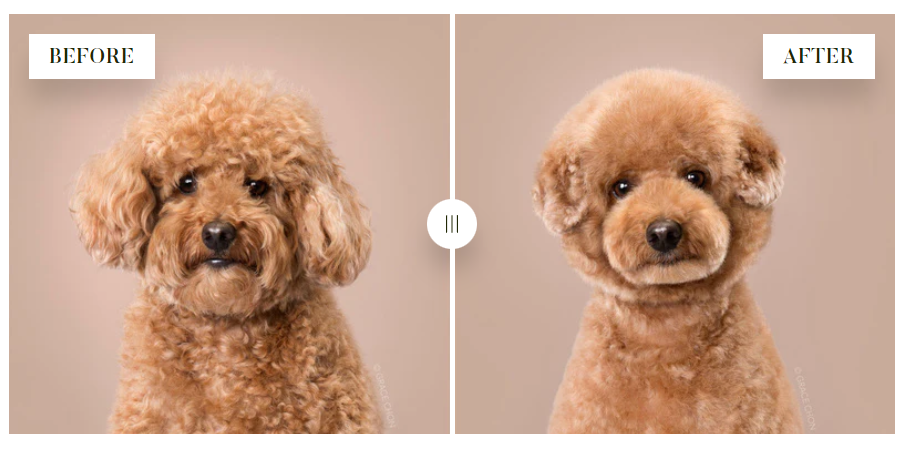
With Megamog's Before/ After image slider section, you can create horizontal or vertical sliders for your Shopify store, unleashing the creative potential of your site.
Using a Before/ After image slider can bring you several benefits such as:
* boosting engagement on your Shopify store through interaction;
* creating compelling visual stories;
* showcasing impressive or persuasive presentations.
In this article, we will show you how to add and customize a **Before/ After image slider** section.
Steps:
1. In the theme editor **(Customize)**, click **Add section.**
2. Select **Before/ After image slider.**
3. Make necessary changes.
4. **Save** the settings.
### Section settings
#### Section header
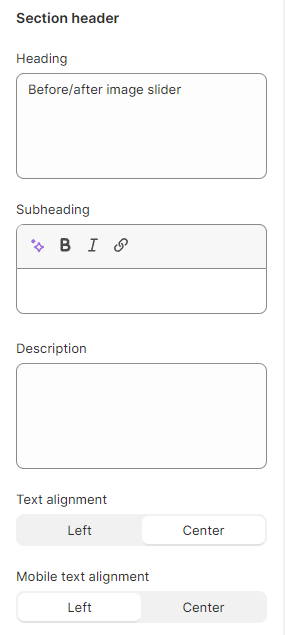
To give your section a heading, subheading, and description. Leave any of the fields blank if you don't want to show the content.
You can either set your **Text alignment** as **Center** or **Left** on both Mobile and Desktop.
#### Settings
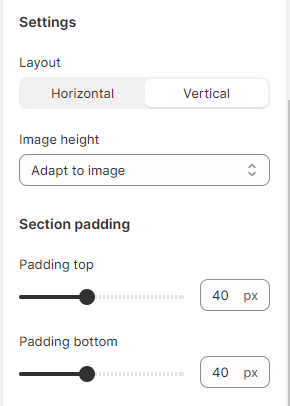
The layout settings let you decide whether to have your images slide horizontally or vertically.
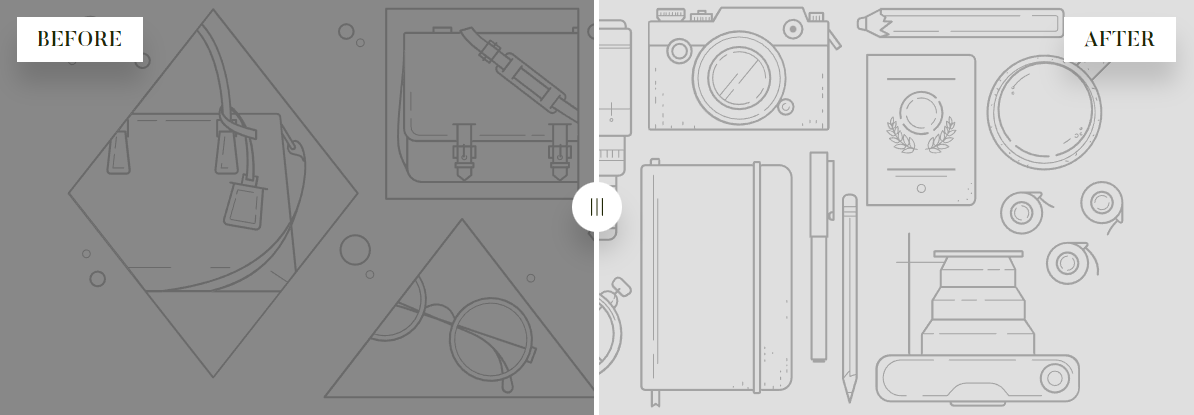
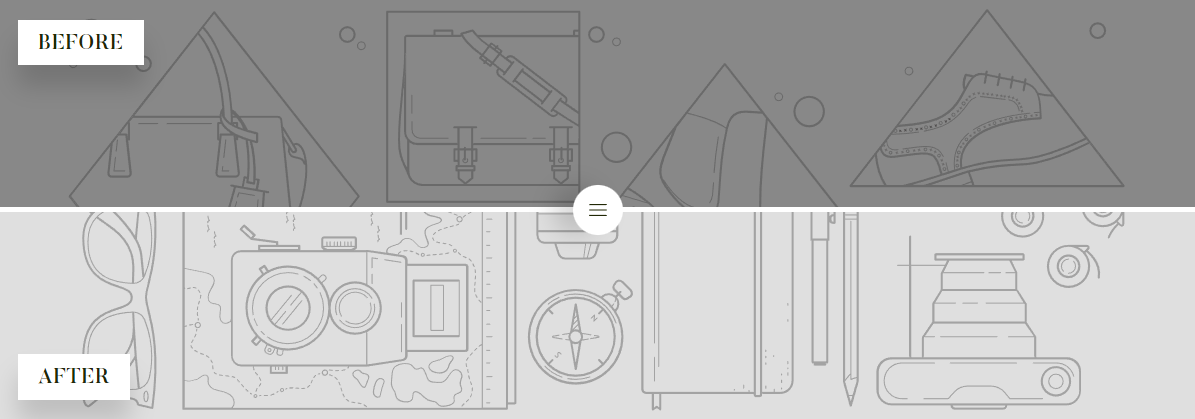
Set the section's image height as **Adapt to image**/ **Small**/ **Medium**/ **High**.
### Block settings
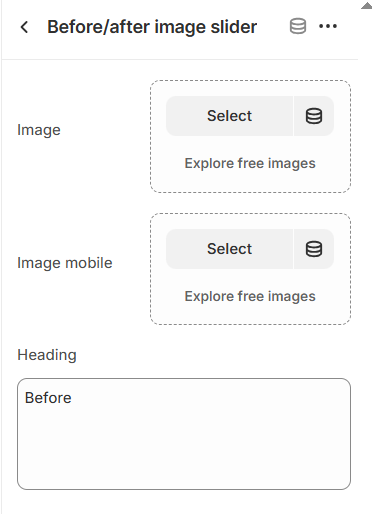
There are two blocks of images within a Before/ After image slider. You need to fill in both blocks to make the slider work.
In each block, you can add a separate image for the desktop/ laptop/ tablet view, a separate image for the mobile view, and also the heading for that image.