
FoxstudioAdd and edit elements
Navigation
4 min read

👀 Learn more: Add a Section

Menu

How to add a Menu element
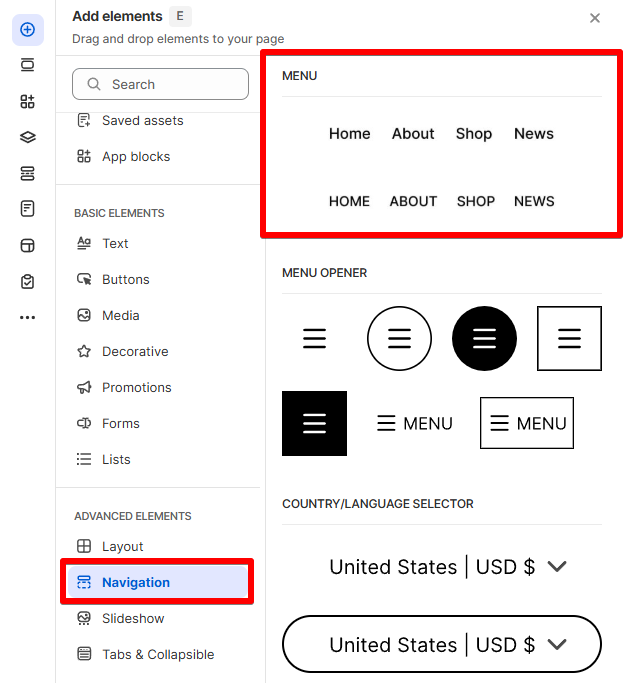
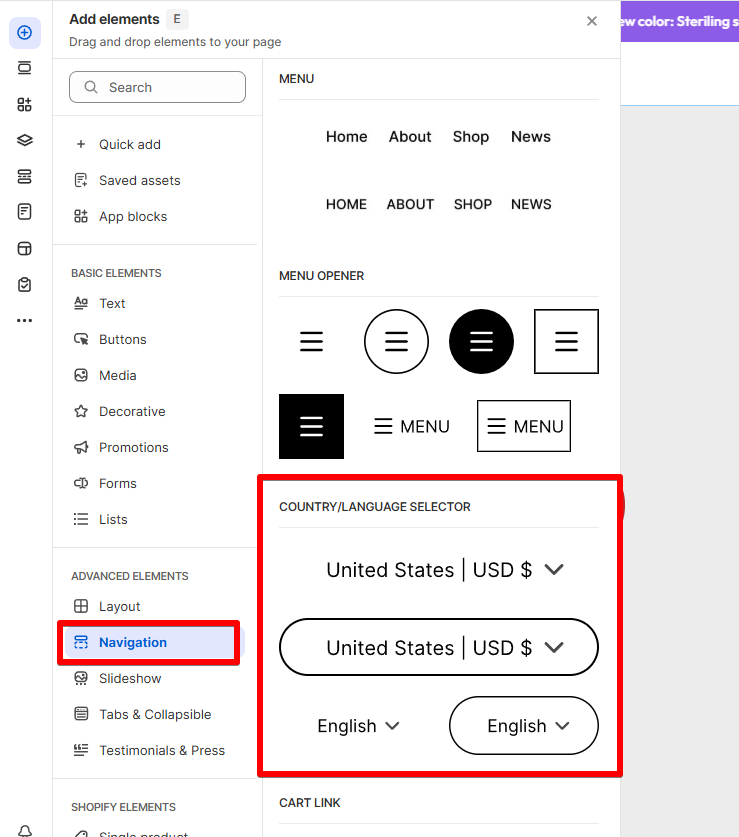
- In the FoxStudio editor, on the left Sidebar > Click Add elements, or press E.
- In Advanced elements, select Navigation.
- Drag the Menu element onto your canvas.
- Make necessary changes.
How to edit a Menu element
- Select the element in the editor.
- All the formatting tools for the element can be found in the Inspector panel.
Main menu
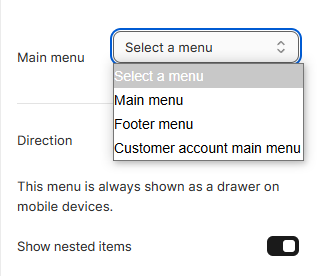
Direction

- Show nested items: Enable to show nested menu items on dropdowns when hovering.

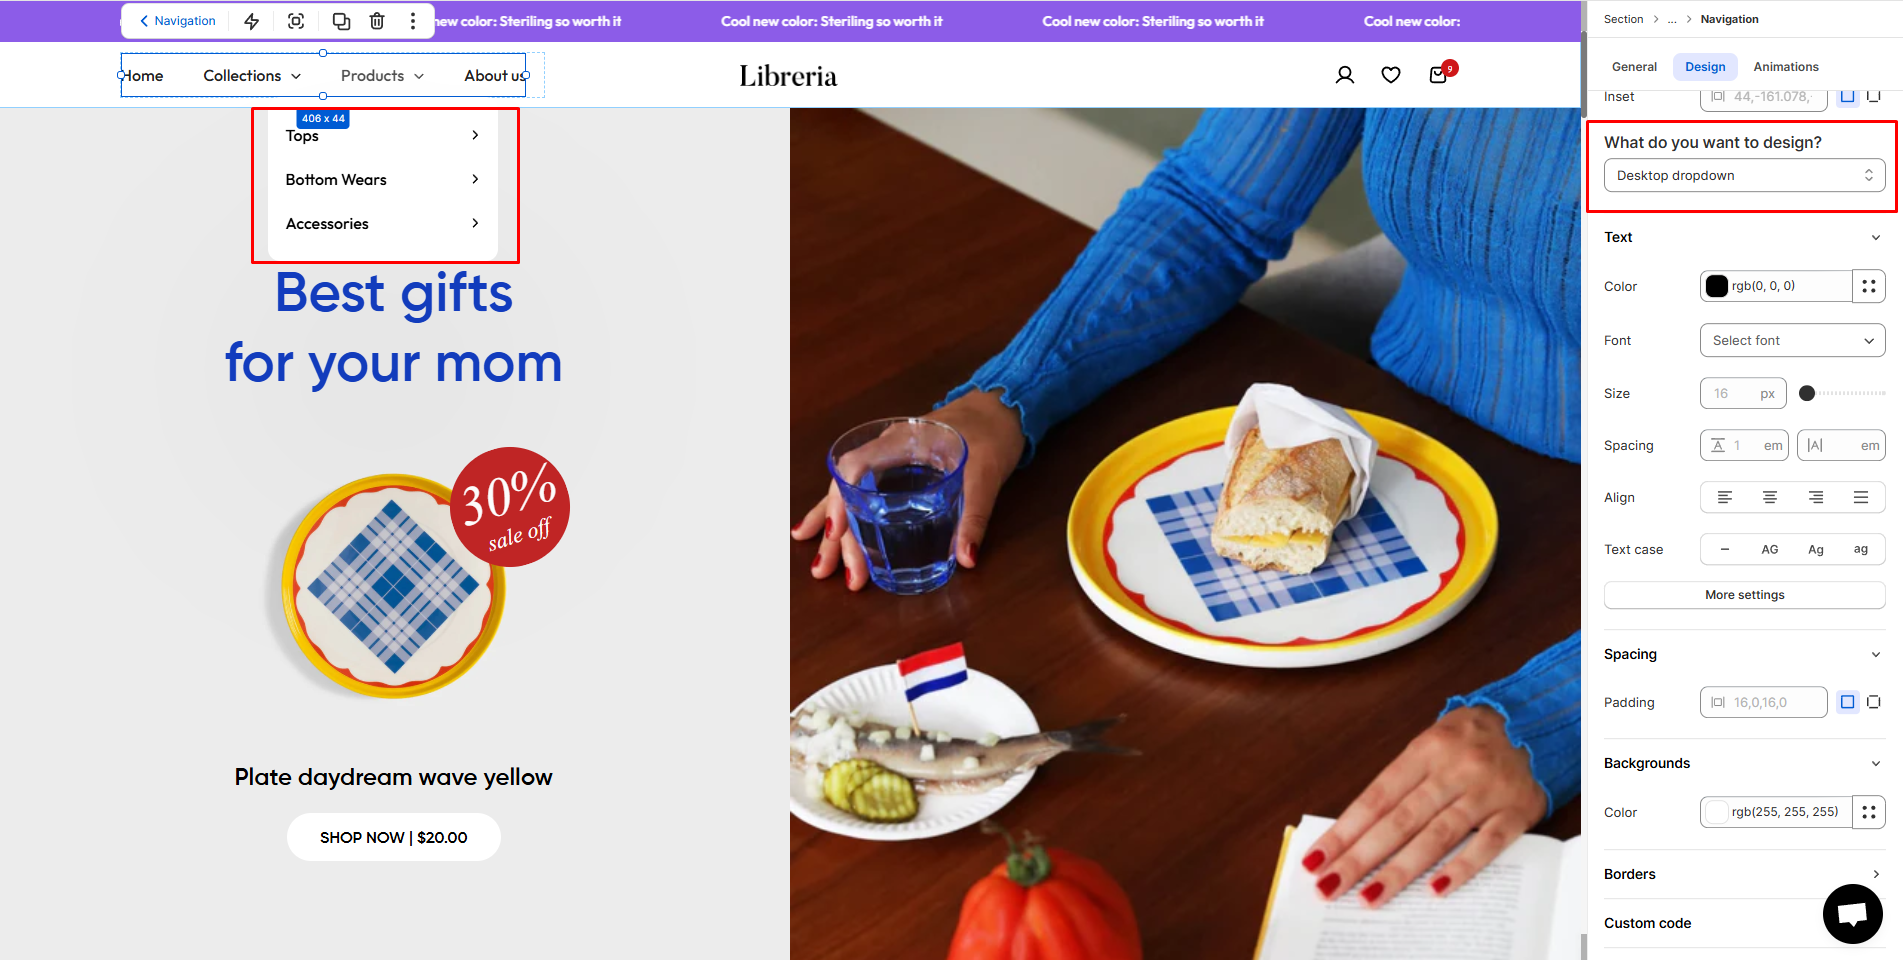
Design
- Element container
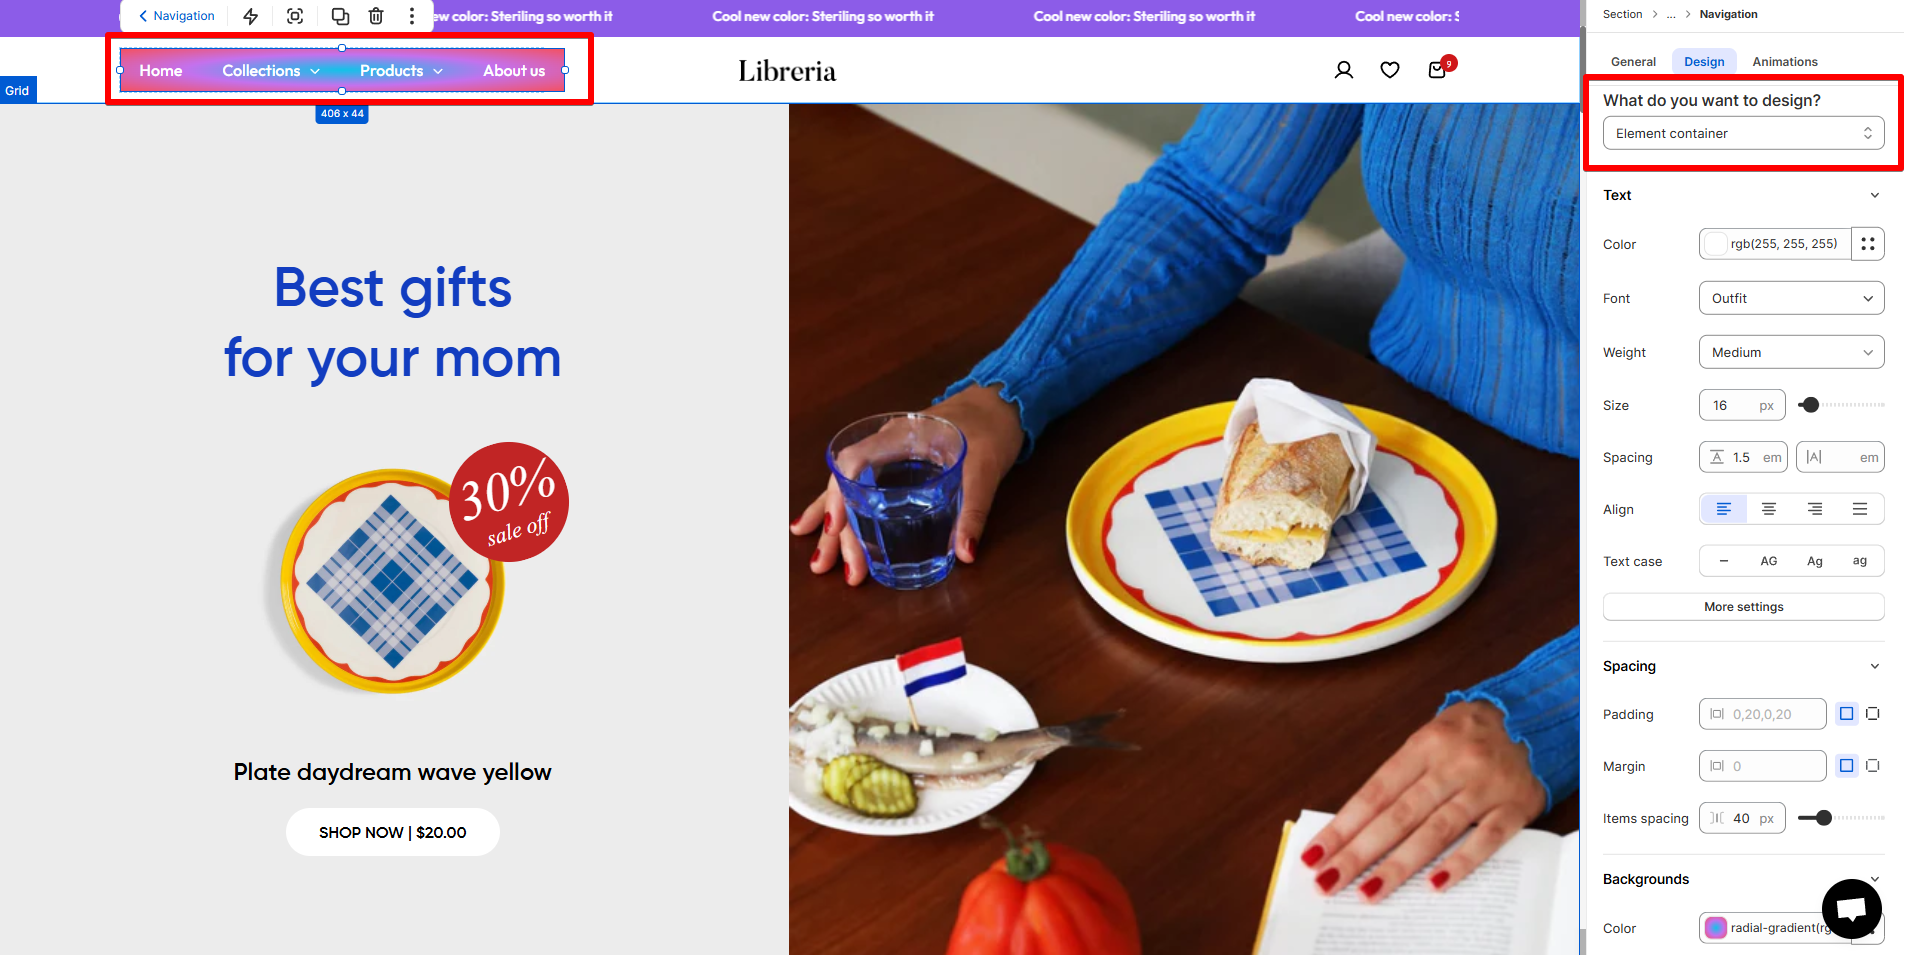
- Desktop dropdown
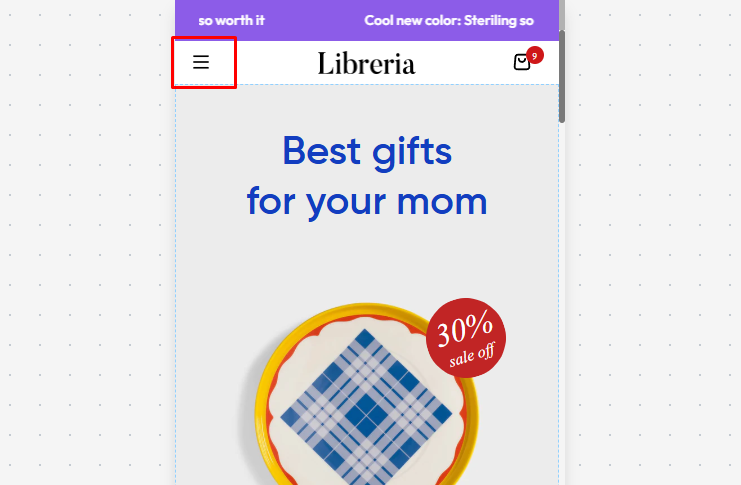
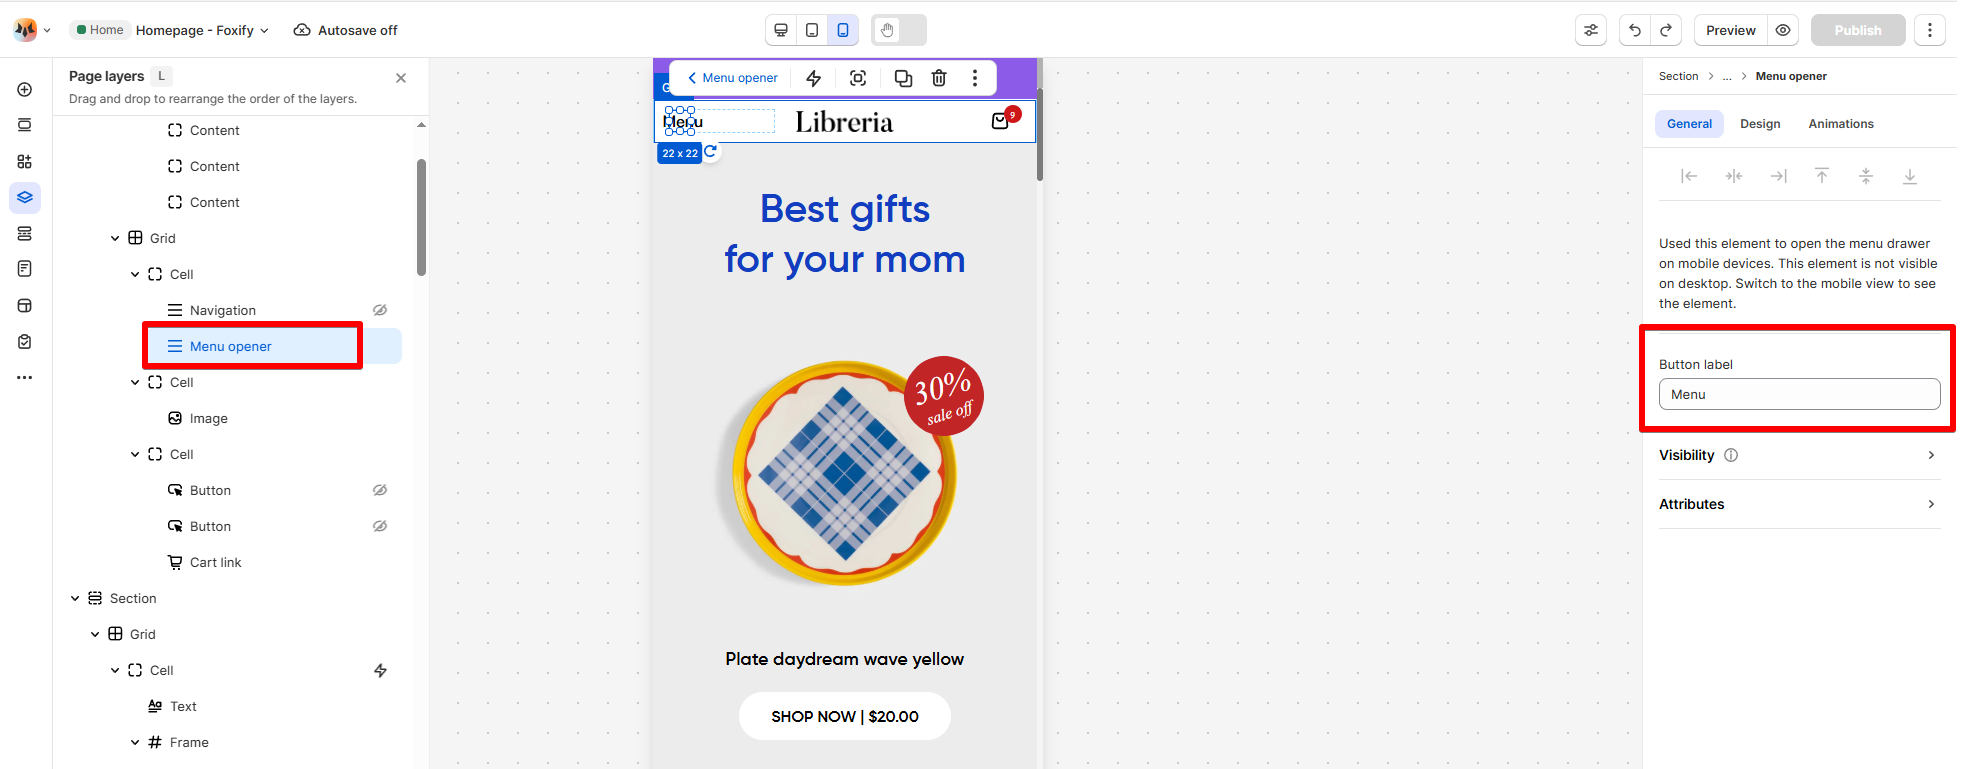
Menu opener
- In the FoxStudio editor, on the left Sidebar > Click Add elements, or press E.
- In Advanced elements, select Navigation.
- Drag the Menu opener element onto your canvas.
- Make necessary changes.

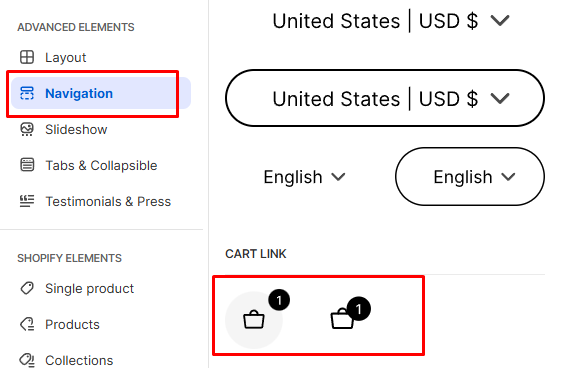
Country/Language selector

How to add a Country/Language selector element
- In the FoxStudio editor, on the left Sidebar > Click Add elements, or press E.
- In Advanced elements, select Navigation.
- Drag the Country/language selector element onto your canvas.
- Make necessary changes.
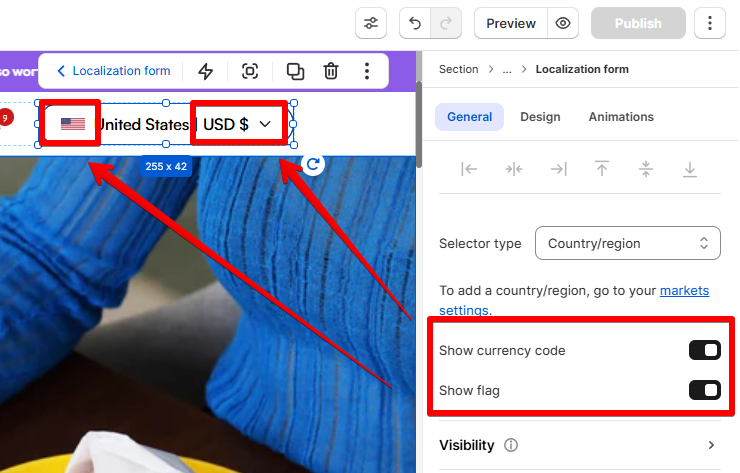
How to edit a Country/Language selector element
- Select the element in the editor.
- All the formatting tools for the element can be found in the Inspector panel.

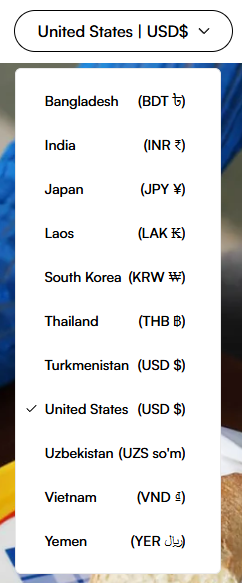
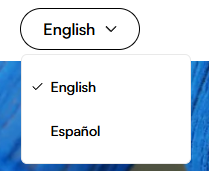
- Selector type: Select what you want to show to customers:
- Country/region selector
- Language selector
Cart link

How to add a Cart link
- In the FoxStudio editor, on the left Sidebar > Click Add elements, or press E.
- In Advanced elements, select Navigation.
- Drag the Cart link element onto your canvas.
- Make necessary changes.
How to edit the Cart link element
- Select the element in the editor.
- All the formatting tools for the element can be found in the Inspector panel.
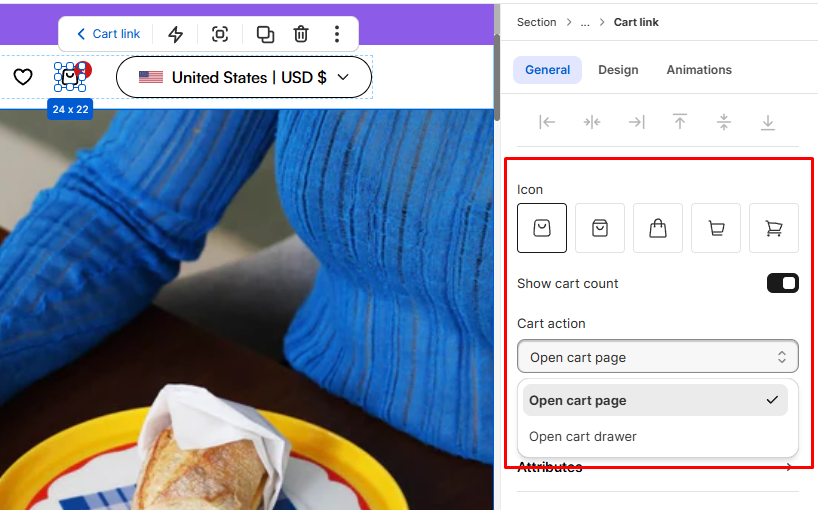
- Icon: Choose your preferred Cart icon style.
- Toggle Show cart count if you want to display item quantity.
- Select the Cart action:
- Open cart drawer
- Open cart page
Last updated