Click Add elements (or press E) → find Password form under Advanced elements → drag it onto your canvas.
Configure the form
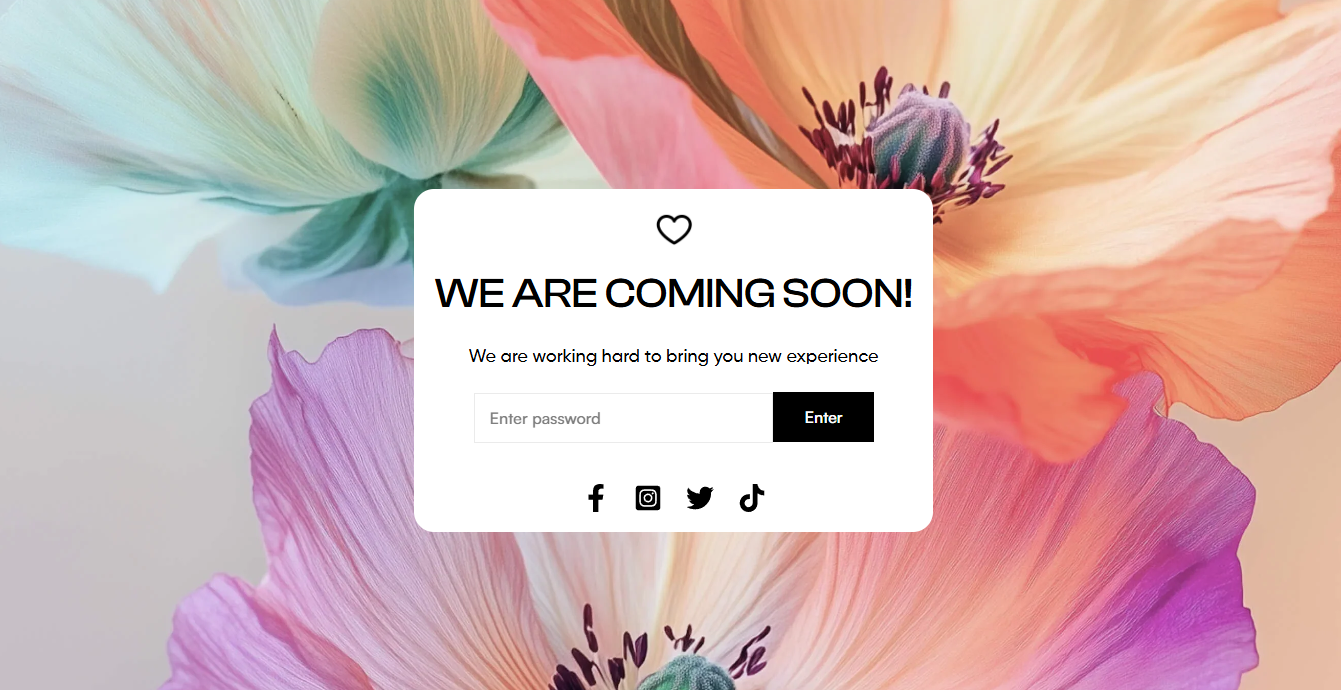
In the Inspector panel → General tab, set the password placeholder text, button label, button icon, and button style.
Style the form
Switch to the Design tab to style the element container, form input, submit button, and submit button hover state separately.
Preview and publish
Switch to mobile preview to check how the form renders. Click Save & Publish when ready.
Expected result: Your password page now shows a styled input field and submit button. Visitors enter the password to unlock access to your store. The form connects directly to Shopify's password protection — no additional setup needed.
In Shopify Admin → Online Store → Preferences → Password protection. The Password form element in Foxify handles the visual form only — the password itself is managed in Shopify.
#
Can I have multiple Password form elements on the same page?
You can add more than one, but only one is needed — Shopify's password page only requires a single form to authenticate. Adding multiple forms doesn't add functionality.