
FoxstudioAdd and edit elements
Image
2 min read
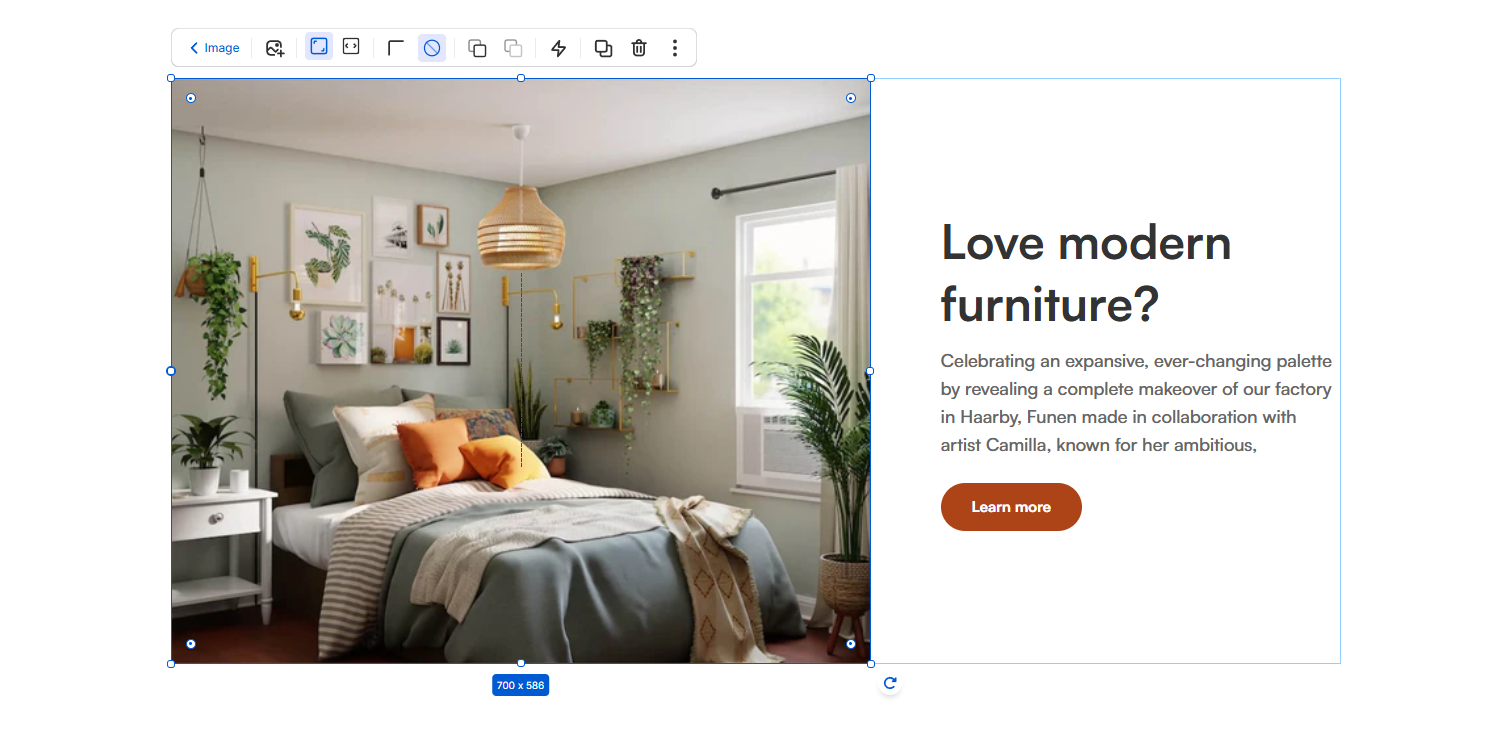
How to add an image
- In the FoxStudio editor, on the left Sidebar > Click Add elements, or press E.
- Select Media > Images or in Quick add, select Image element.
- Drag the image onto your canvas.
How to edit an image
- Select the relevant image element in the editor.
- Use the tools bar above the selected image element to quickly edit it.
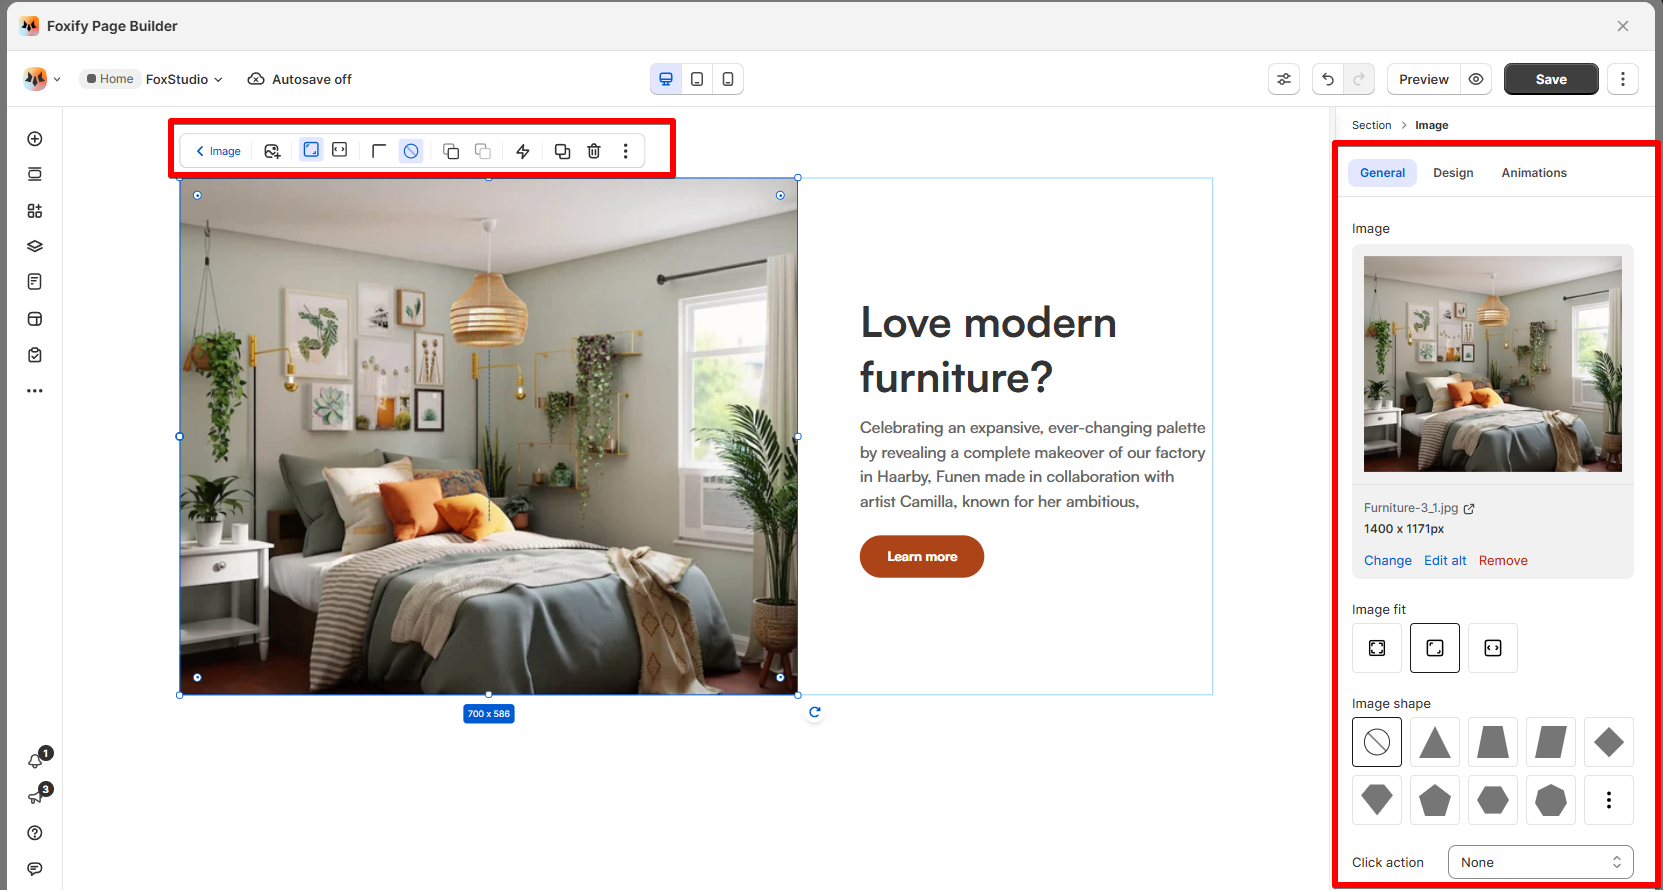
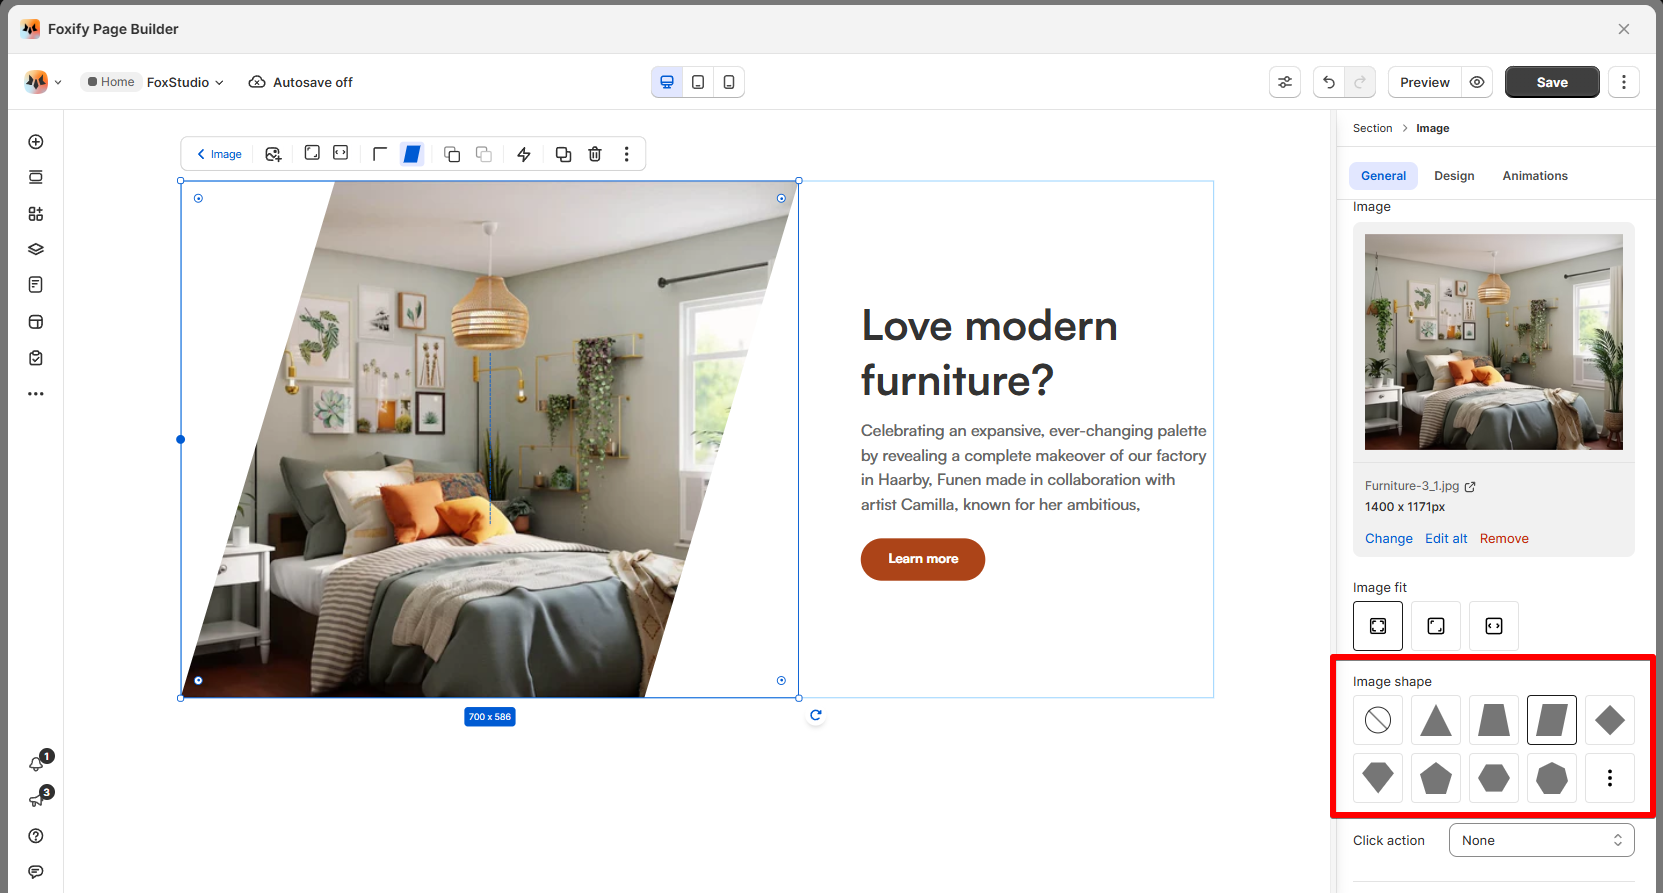
Image fit
- Keep image ratio: Maintains the original aspect ratio of the image while resizing it to fit within the container.
- Fill bounding box: Stretches the image to fill the entire container, which may distort its aspect ratio.
- Fit to bounding box: Scales the image to fit within the container while ensuring the entire image is visible, with possible empty spaces.
Image shape
Click action
-
- You can specify:
- Email Address: The recipient's email address.
- Subject: The default subject line for the email.
- You can specify:
-
- Scrolls the user to a specific section of the page.
- Select or enter the anchor ID to link to the corresponding section.
❓ Learn more: Create an anchor link
Last updated