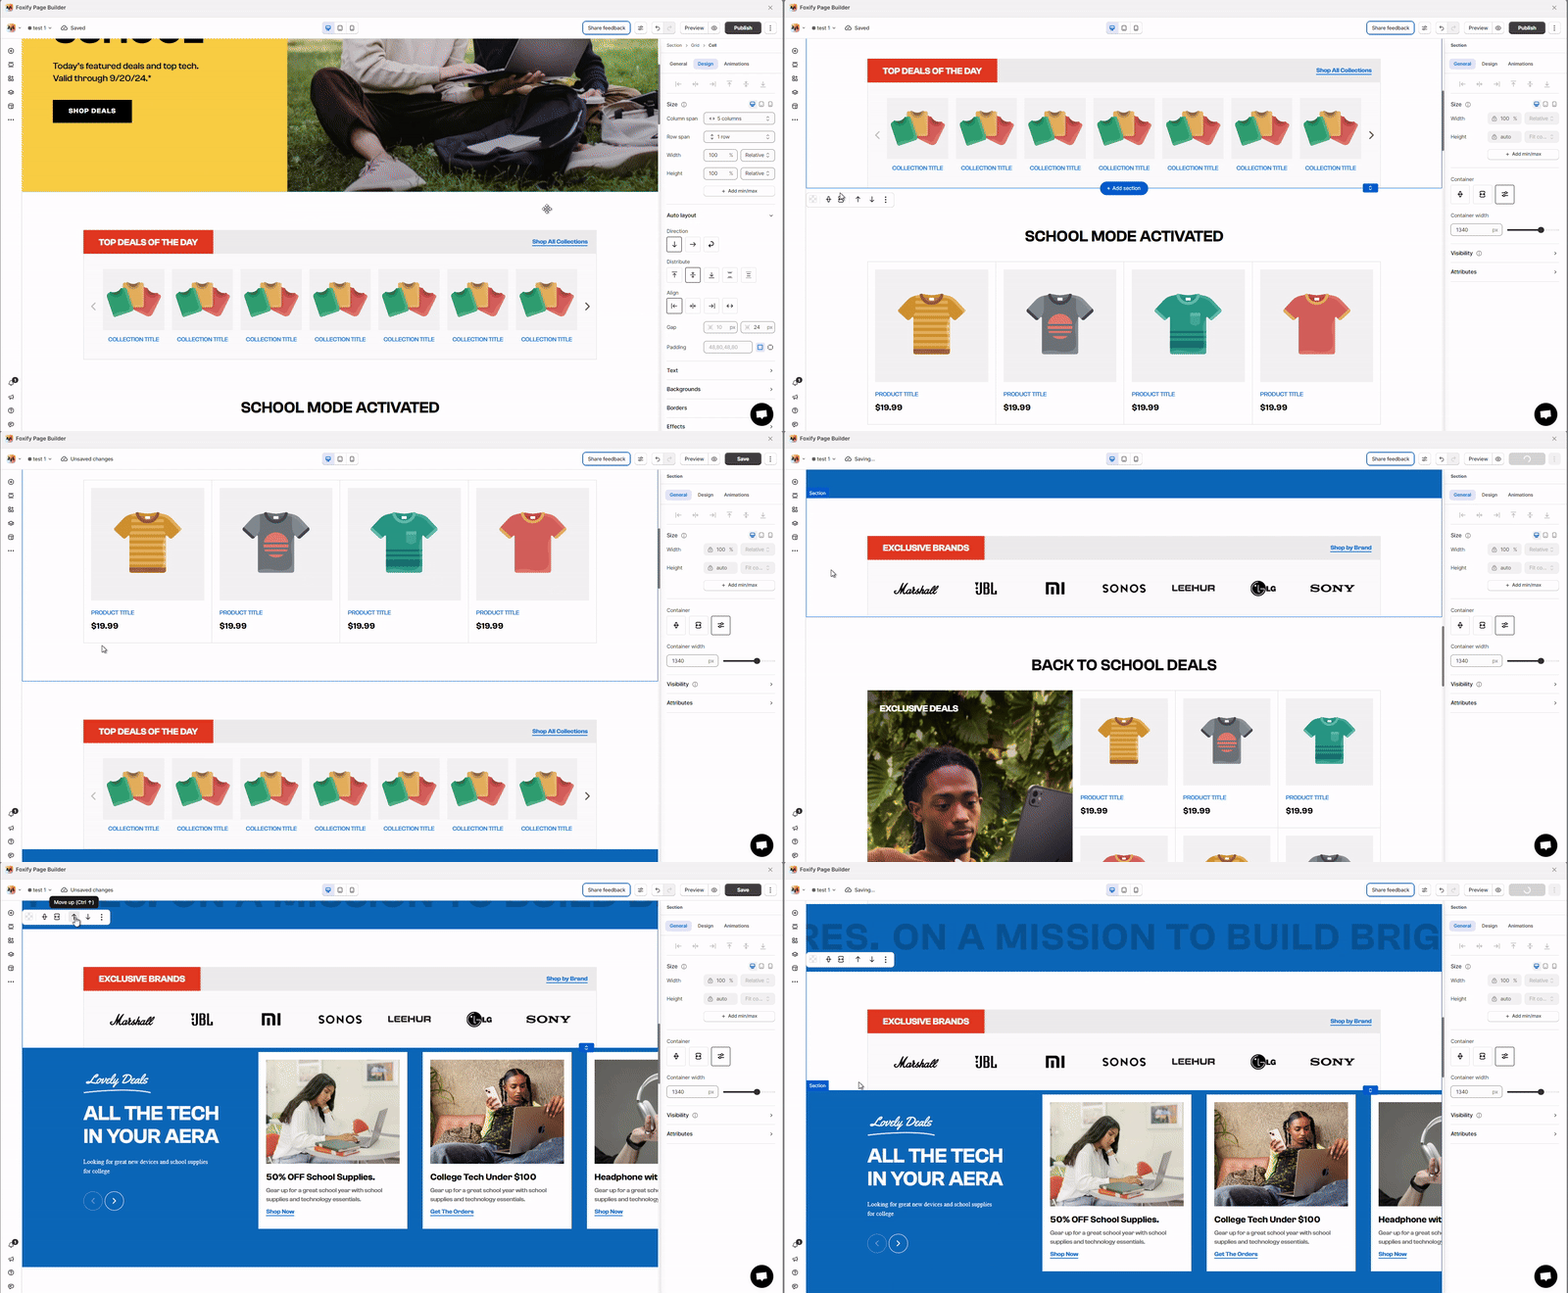
# Add a Section
Sections are used to organize the content of a page. A page must have at least one section for any information to appear on the page.
Easily add, rearrange, or remove sections to create the perfect layout for your website.
## Add a section to your page
There is a wide range of **pre-designed options** or **wireframes** available that include layouts and elements to get you started. You can also choose a blank section to build it from scratch.
**Wireframes** are basic blueprints that help you align your design requirements. Think of the wireframe section as the skeleton of your section.
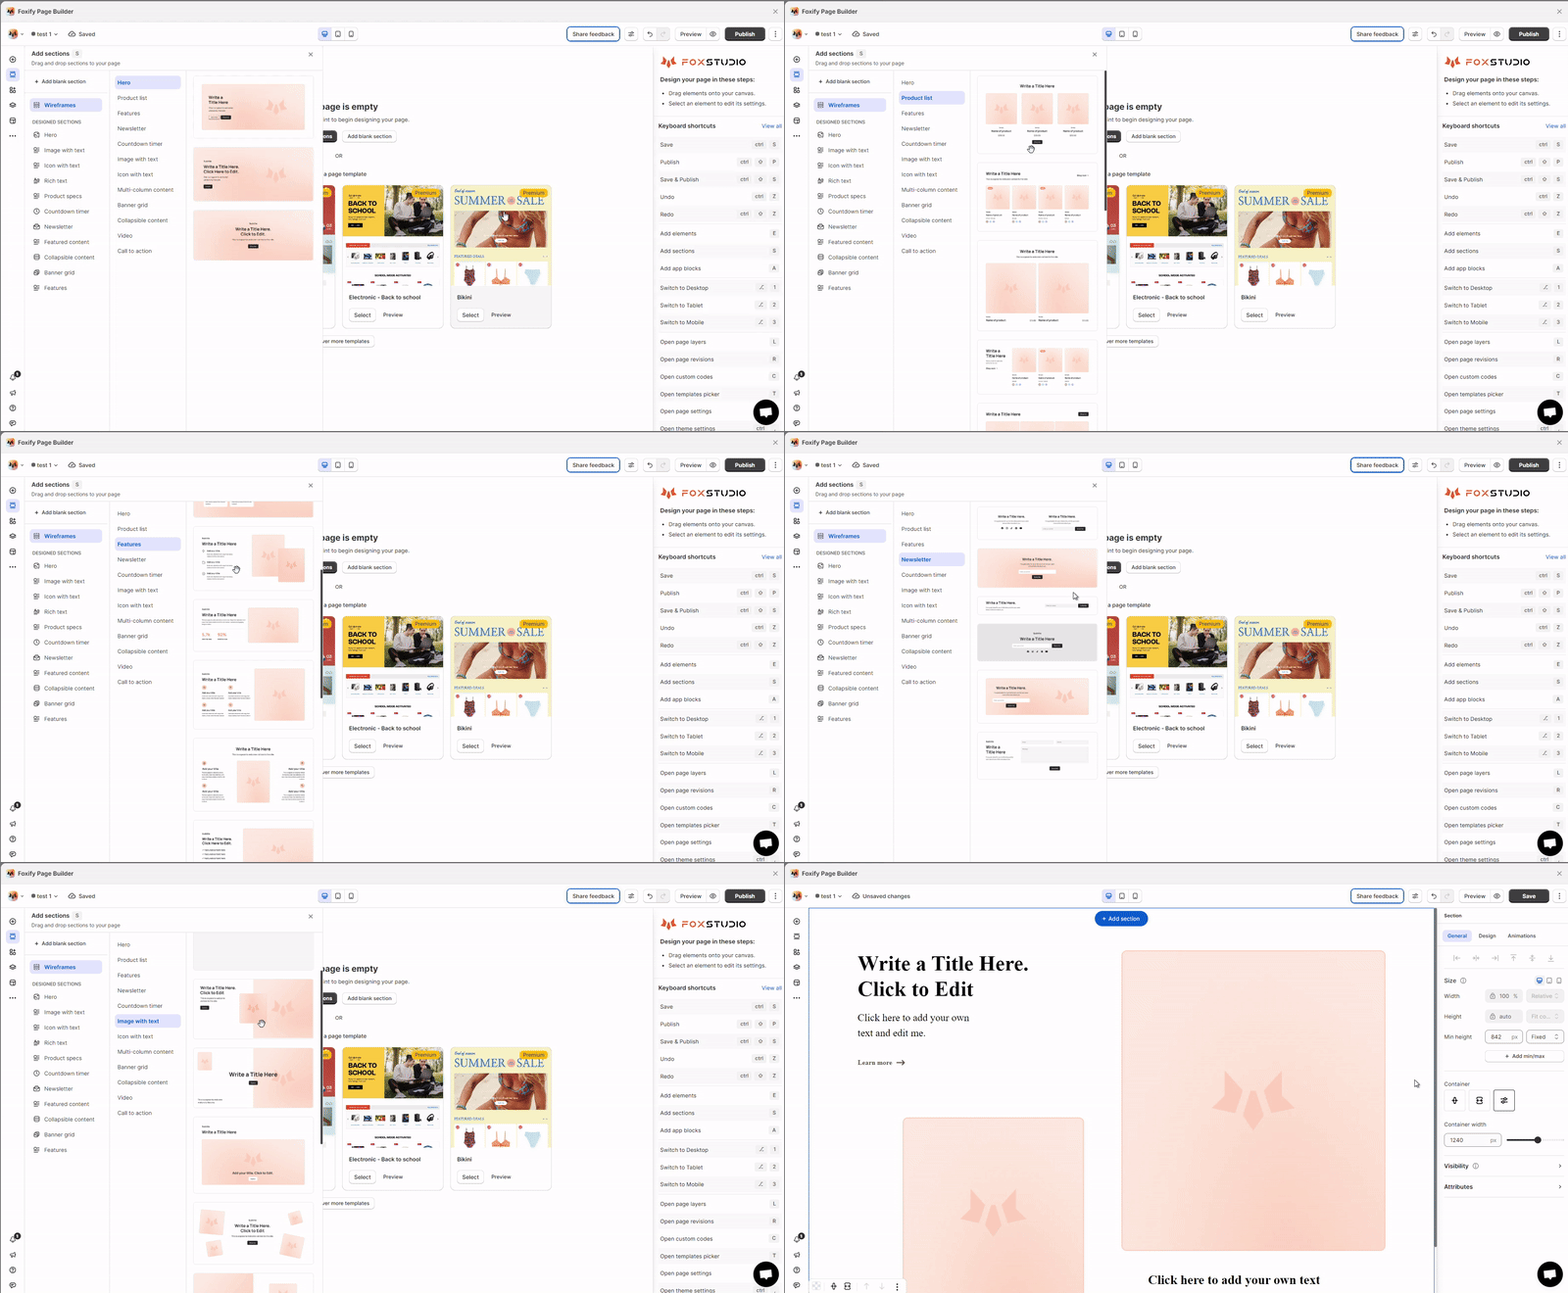
**Steps to add a section**:
1. Click **Add designed sections** — on the left side of the FoxStudio editor.
2. Select a section:
-**Add blank section**: The section will be added at the end of the current page layer.
-**Wireframes/designed sections**: Drag and drop it onto the page.
Whether you choose a blank/pre-designed section or wireframe, you can add all the elements you need and customize them to suit the section's intent.
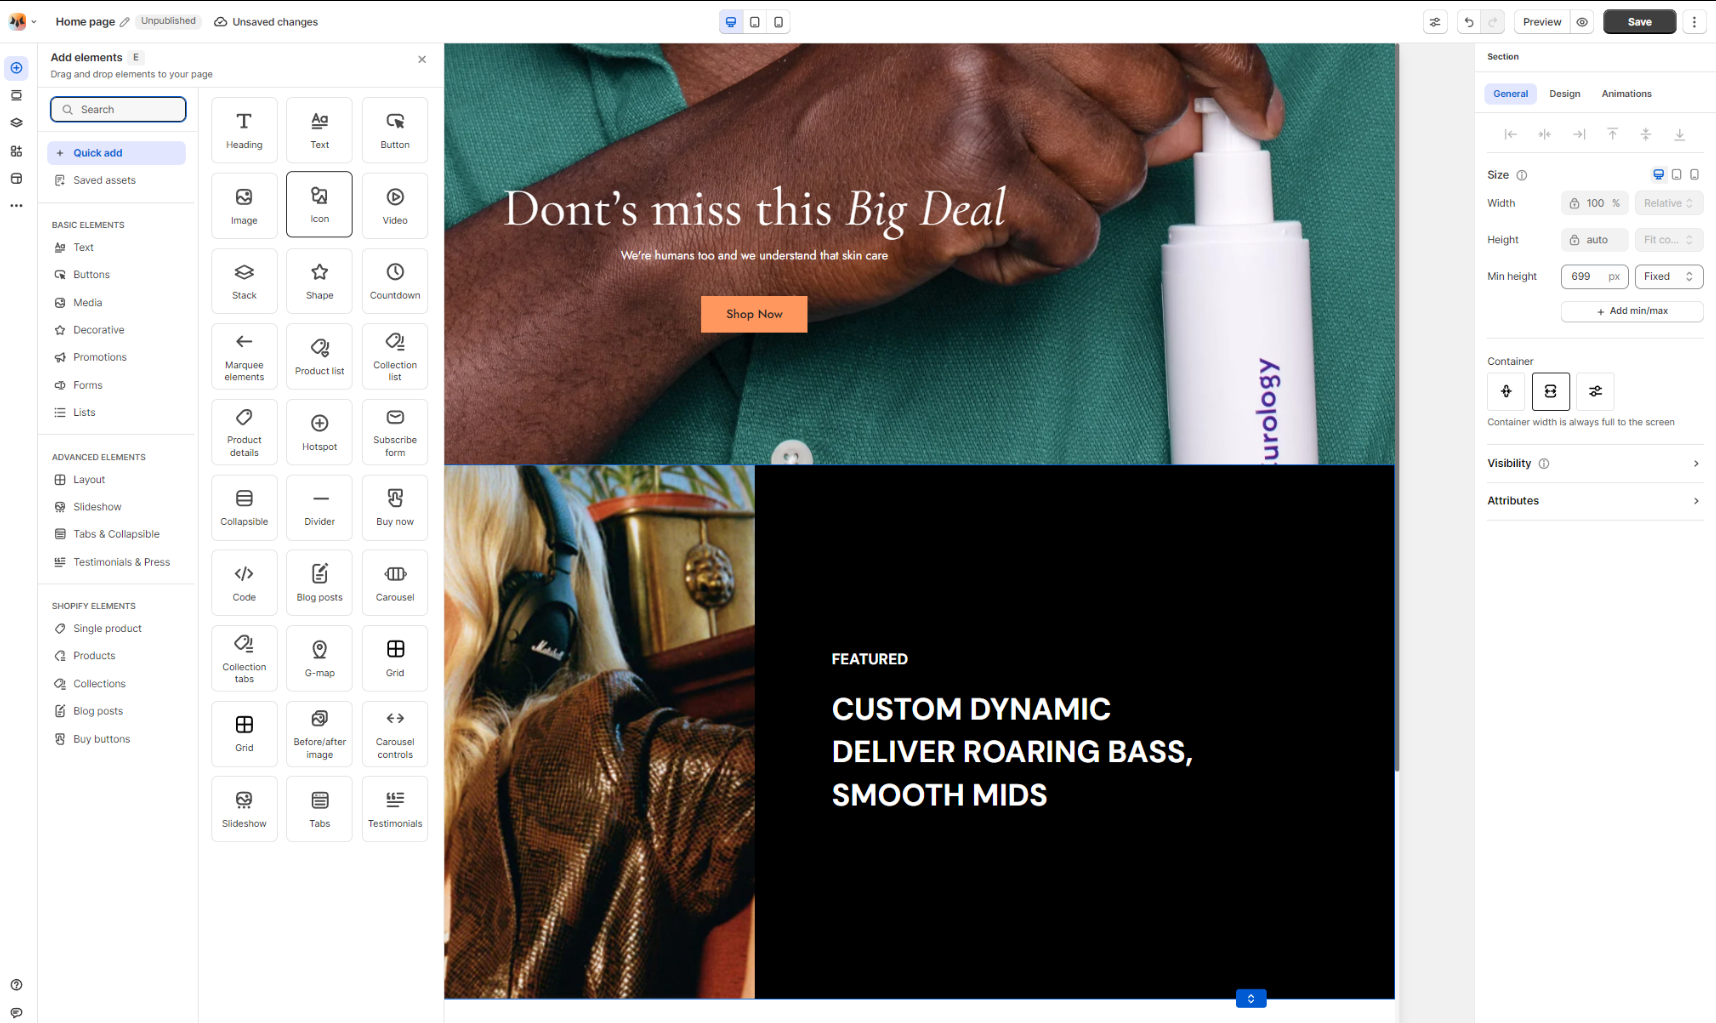
**Save your design for future use:**
Select the section you have customized in the editor, and right-click on it. Then, click **Save as Asset**. This saves your design and makes it available in the **Add elements** panel (**Saved Assets** tab).
[Save and re-use Assets](https://docs.foxecom.com/foxify-app/foxstudio/page-customization/save-and-re-use-assets)
## Name a section
Name your section for easier identification and navigation.
**Steps:**
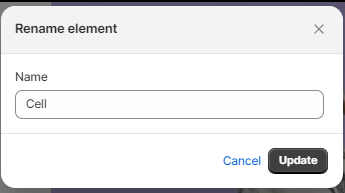
1. Hover over the section you want to rename on the canvas, right-click, and find the option **Rename**.
2. Edit the section name as you wish.
3. Click **Update.**
**or**
1. Navigate to the **Layers** panel on the left side bar. Here you will see all of your page's sections in a hierarchical order.
2. Hover over the section you want to rename. Click on the three-dot icon and select the option **Rename**.
3. Edit the section name as you wish.
4. Click **Update.**
## Reorder sections on your page
FoxStudio empowers you to easily adjust your page layout by rearranging sections. This intuitive process allows you to:
* **Prioritize Content:** Move sections up or down to control the order in which your visitors see information. Highlight key messages by placing them in prominent sections.
* **Craft a Seamless Flow:** By rearranging sections, you can create a logical flow through your page, guiding visitors on a journey of discovery. This enhances their overall experience and makes it easier for them to find what they're looking for.
**Steps:**
1. From the editor, click on the section you want to reorder.
2. Click the relevant arrow:
* **Move down** **:** Move the selected section below the section underneath it.
* **Move up** **:** Move the selected section above the section on top of it.
**or**
1. Navigate to the **Layers** panel on the left side bar.
2. Select the section you want to reorder. Drag and drop it to where you want.