
Sales Boosting
Sales notifications
3 min read
Steps
- In FoxKit > FoxKit power > Choose Sales notifications.
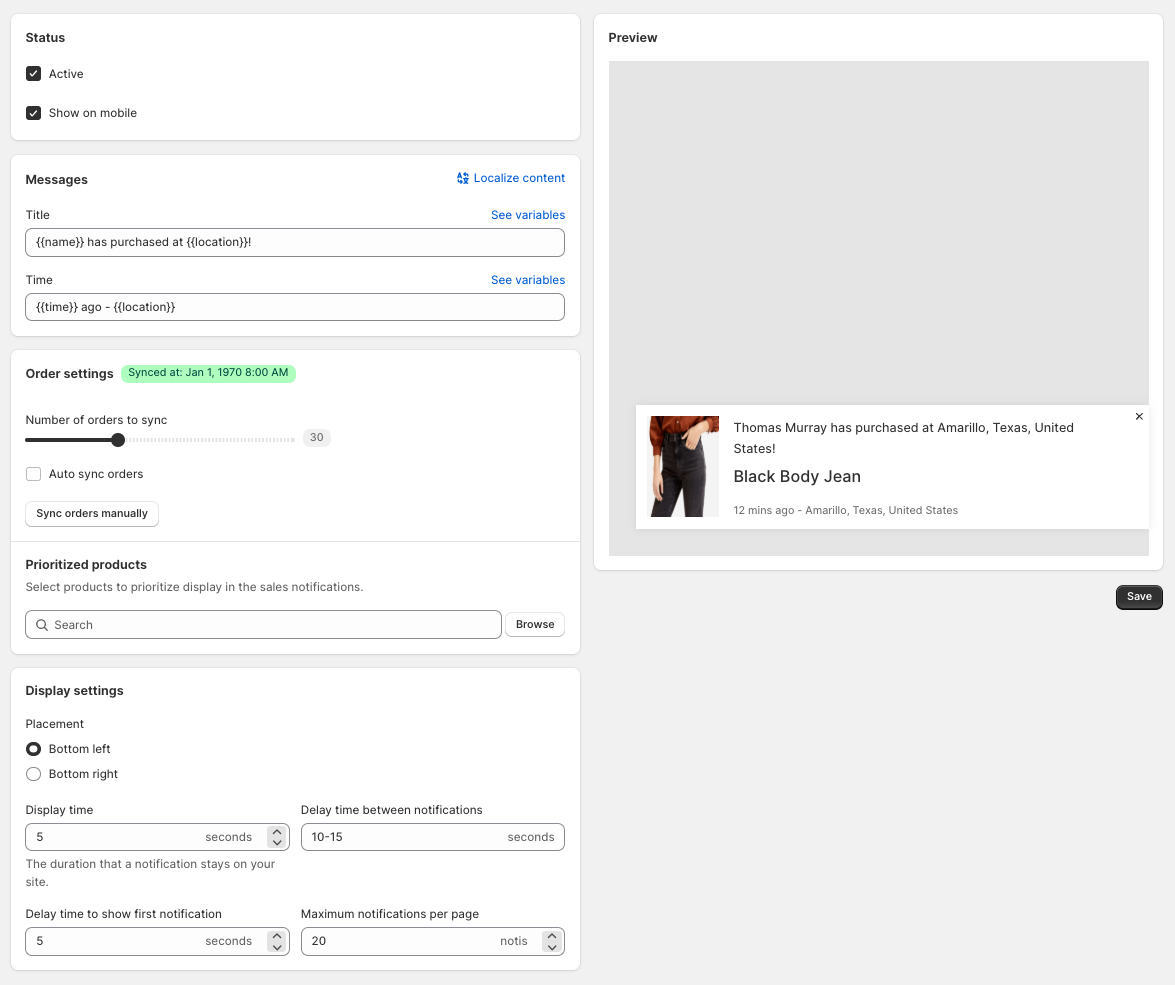
- Activate the feature:
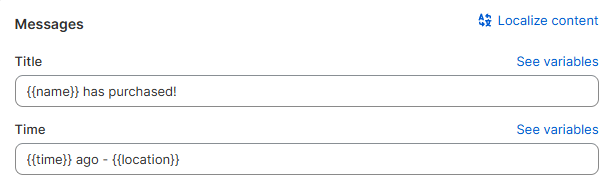
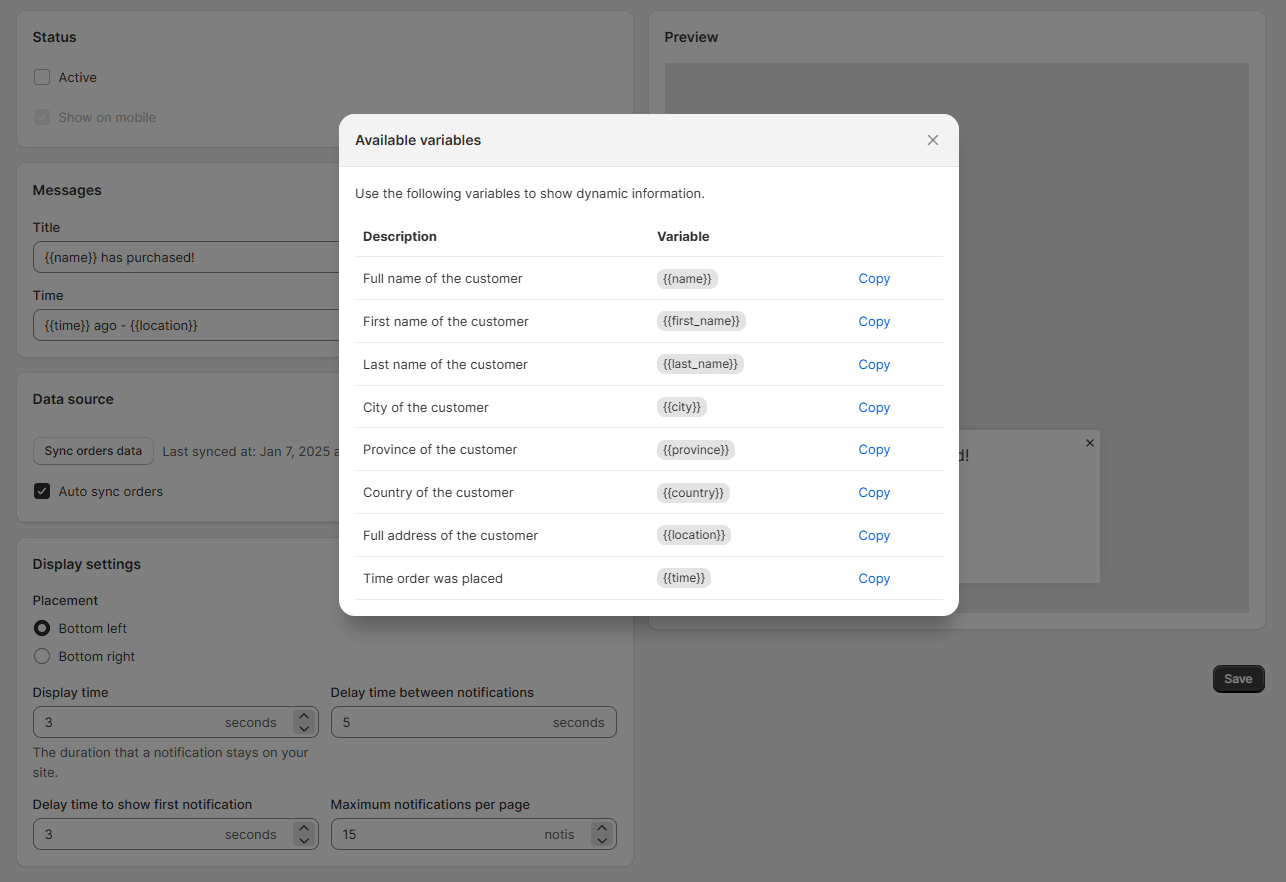
- In Message settings:
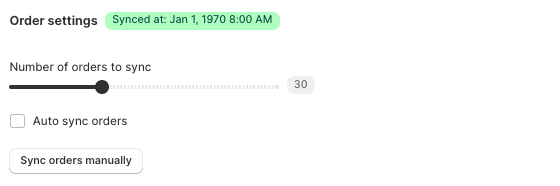
- Set the Number of orders to sync from your Shopify Orders page.
- Click on Sync orders manually to pull real orders from your Shopify store into the app.
- Optionally, check the box for Auto sync orders to ensure the latest order data is always displayed.

The display time will not be based on the real-time order of your customers, but it depends on your Display settings.
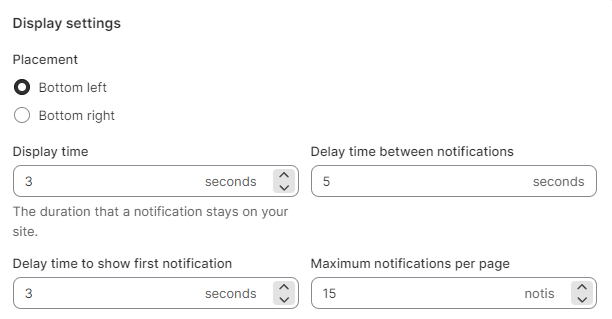
- Display settings
- Placement: Choose where the notifications will appear on your site:
- Bottom left (default) or Bottom right.
- Display time: Set how long each notification stays visible (e.g., 3 seconds).
- Delay time between notifications: Define the interval between each notification (e.g., 5 seconds).
- Delay time to show the first notification: Decide how soon the first notification appears after page load (e.g., 3 seconds).
- Maximum notifications per page: Set a limit for the number of notifications displayed (e.g., 15).
- Keep the notification text concise and engaging to capture customer attention.
- Avoid overloading your page with too many notifications by setting a reasonable maximum number.
- Show teaser button to let customer open the popup again anytime they want.
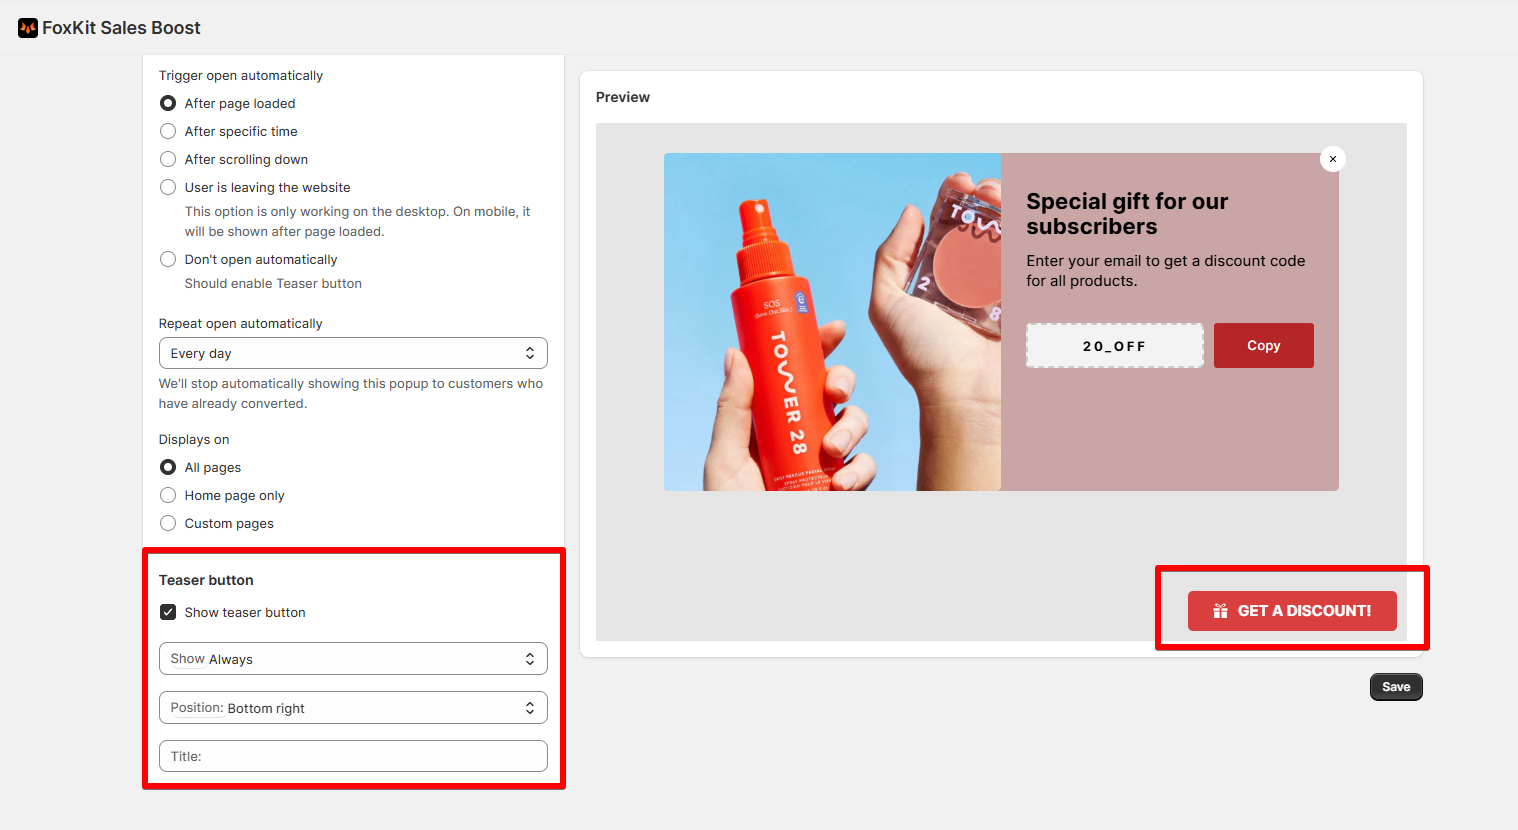
- The Teaser button can be set to display after the customers close the popup or always show.
- Position: Change the position of the button.
- Title: Change the button label or leave blank to use the default 'Get a discount' text.
- After configuring the settings, click Save to apply changes.
Last updated