
Manage
Settings
4 min read
- Go to Shopify admin > Apps.
- Select FoxKit > Settings at the bottom of the left sidebar.
- Make necessary changes.
- Save.
General
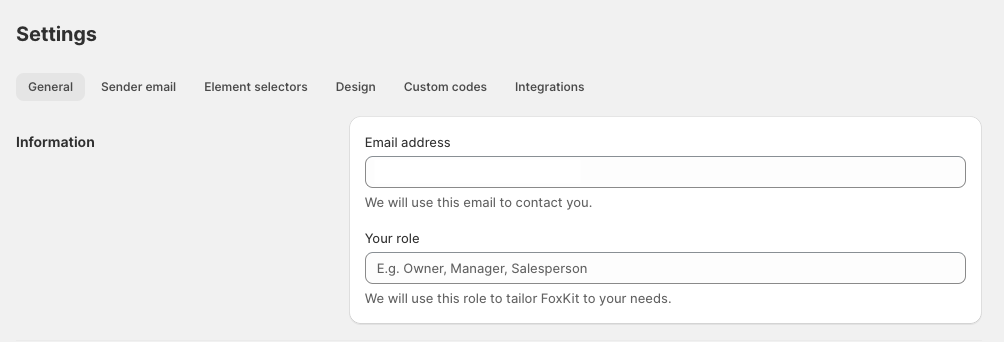
Information
- Email address: This field informs how we will contact you - in case of product updates, newsletters, and emergencies.
- Your role: This field helps us understand your position (e.g., Owner, Manager, Salesperson) so we can tailor FoxKit features and support to your needs.
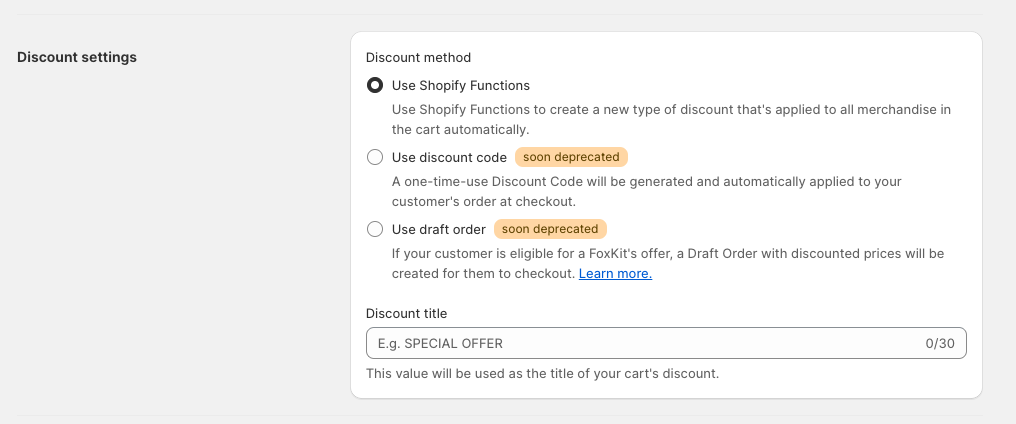
Discount method
- Use Shopify functions (recommended)
- Use discount code
- Use draft order
Use Shopify functions
Use discount code
Learn more about Shopify's Discount code here.
Use draft order
To learn more about draft orders, visit this Shopify help article.
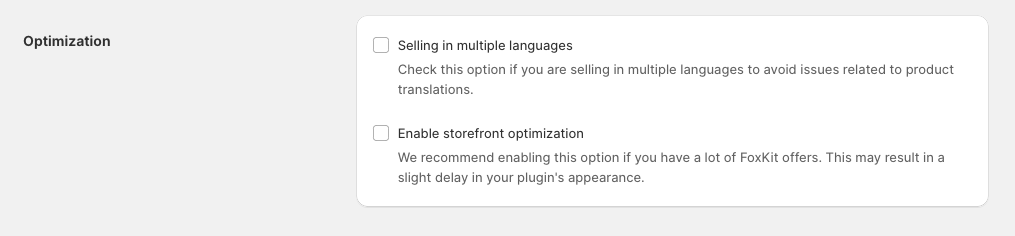
Optimization
- Selling in multiple languages: Enable this if your store supports multiple languages. It ensures product offers are displayed correctly and consistently across all locales.
- Enable storefront optimization: Enable this setting if your store uses many FoxKit offers. It improves loading performance, though the plugin may appear with a slight delay.
Custom sender email

Elements CSS selectors
- Product form.
- For example:
.product-form, form[action*="/cart/add"]
- For example:
- Add to cart button.
- For example:
button[name="add"], button.add-to-cart
- For example:
- Cart summary: We use it for rendering the Free shipping badge inside.
- For example:
.cart__footer .totals
- For example:
- Cart subtotal price: We use it to update the cart subtotal price whenever the cart is updated.
- For example:
.totals__subtotal-value
- For example:
- Cart item count: We use it to update the item count whenever the cart is updated.
- For example:
.cart-count-bubble
- For example:

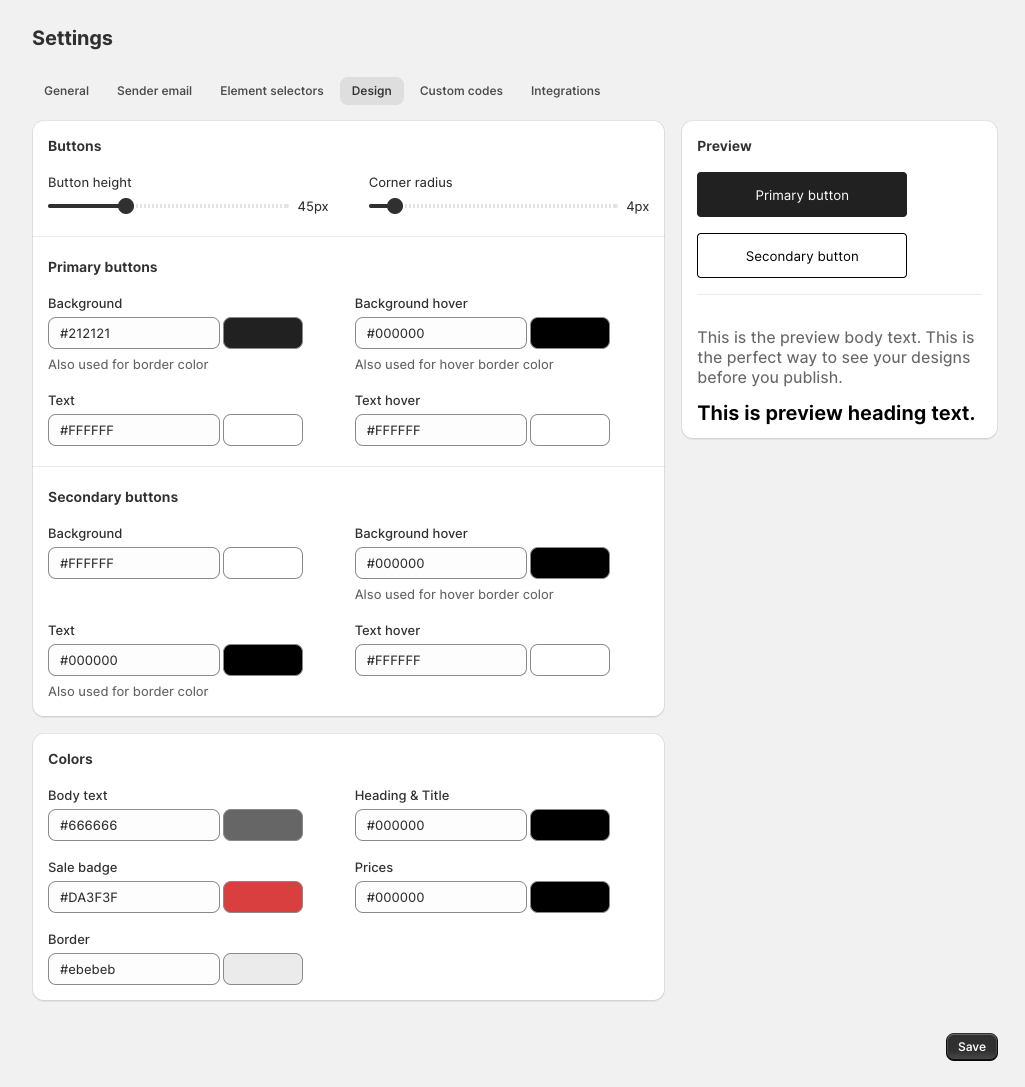
Design
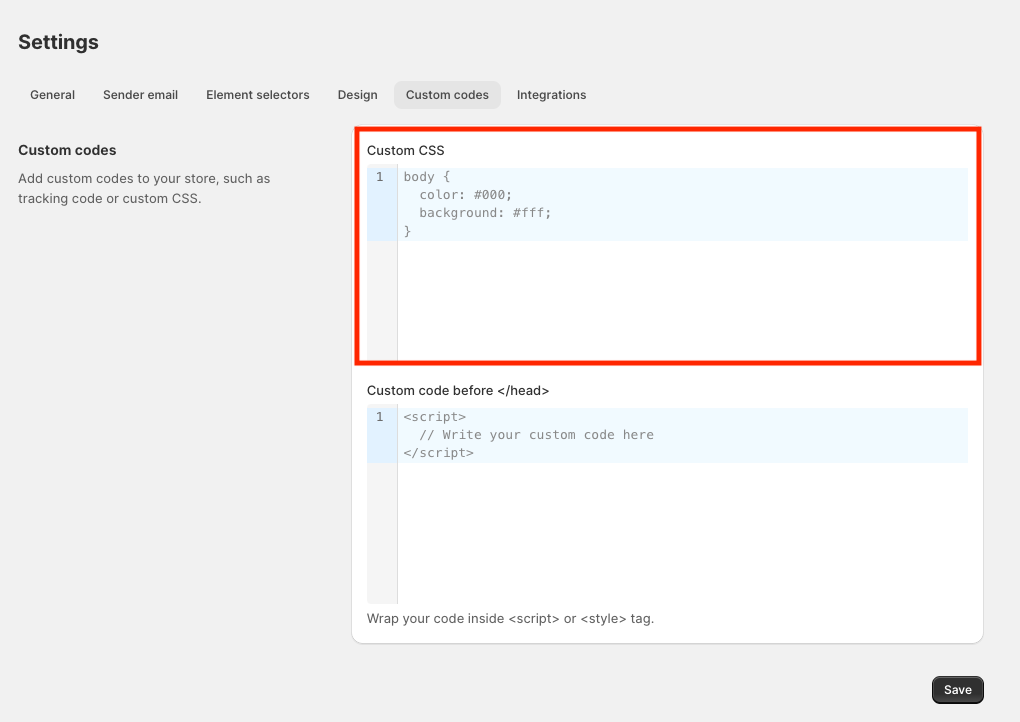
Custom code
- Custom CSS: In this field, you don’t need to wrap code inside <style> tags. Moreover, CSS code autocomplete. This field allows users to add custom CSS code to the storefront more easily.
- Custom code before </head>: To make the code work correctly, you must wrap your code inside <script> or <style> tag.
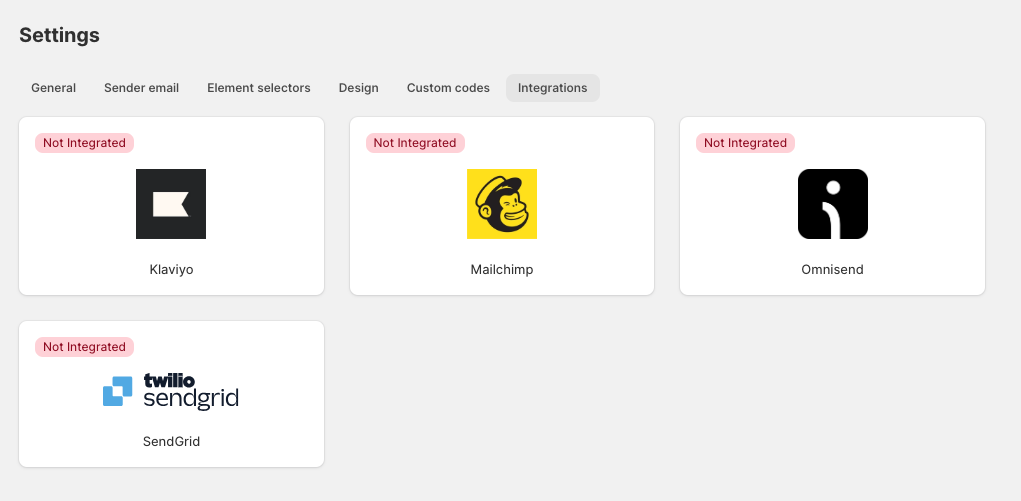
Integrations
Last updated