# Product bundles
The **Product bundles** feature lets you create pre-defined bundles, or give shoppers an option for a bundle builder on every page.
This helps sell more items by suggesting to customers an attractive combo **on every page**.
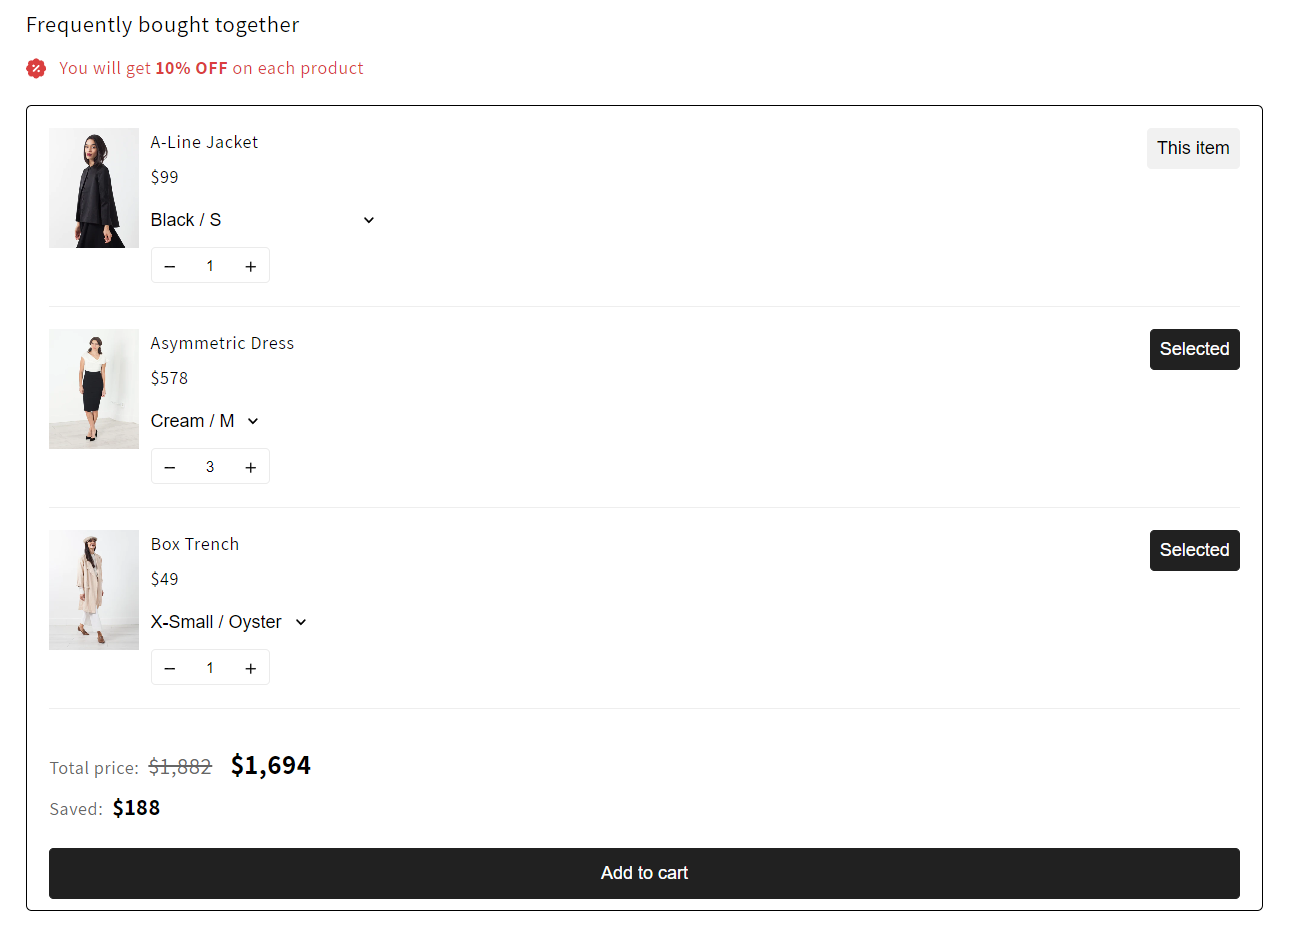
💡: *Suitable for displaying in the Product information section, alongside the product media.*
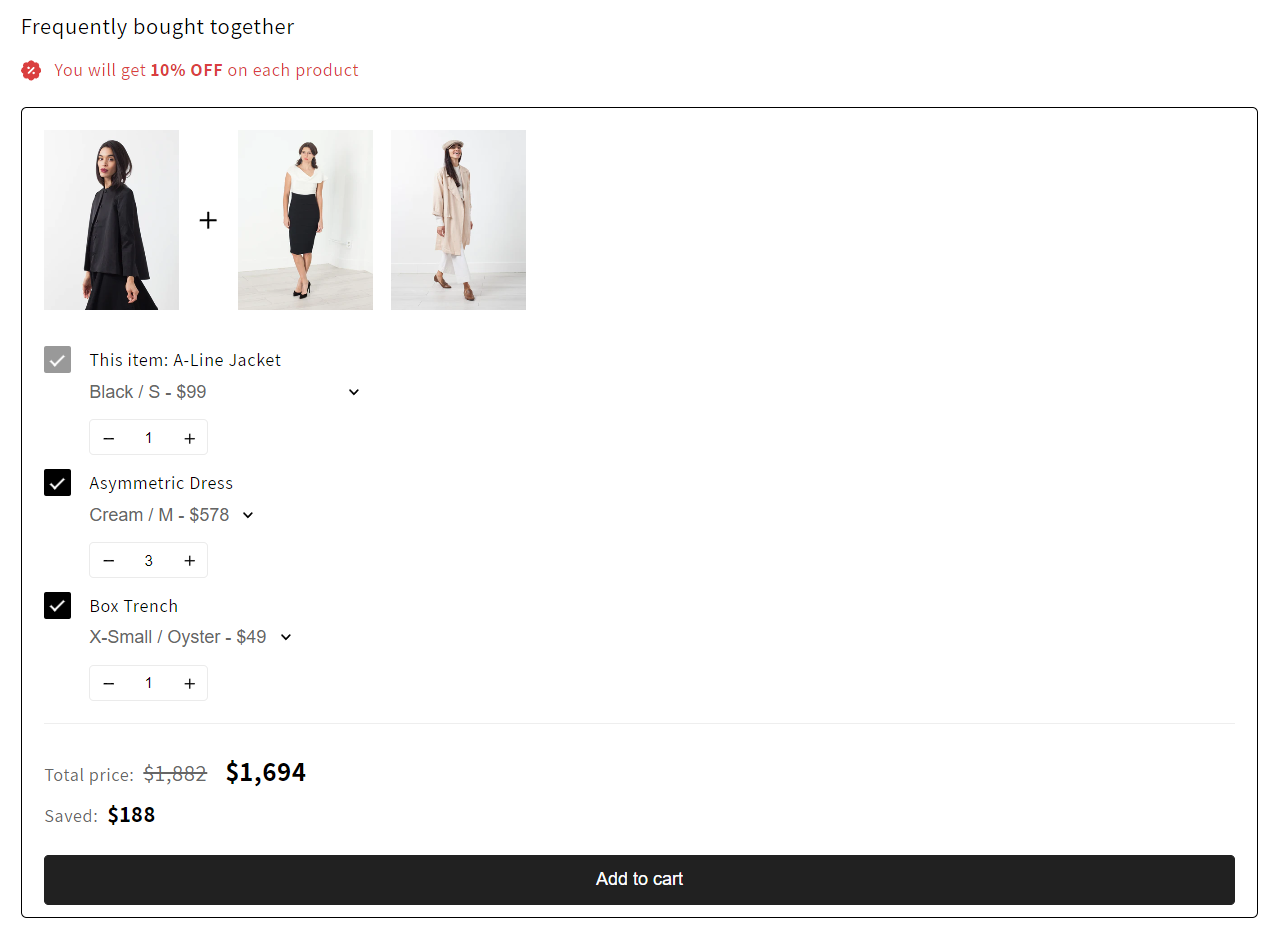
��**:** *Suitable for displaying in the Product information section, alongside the product media.*
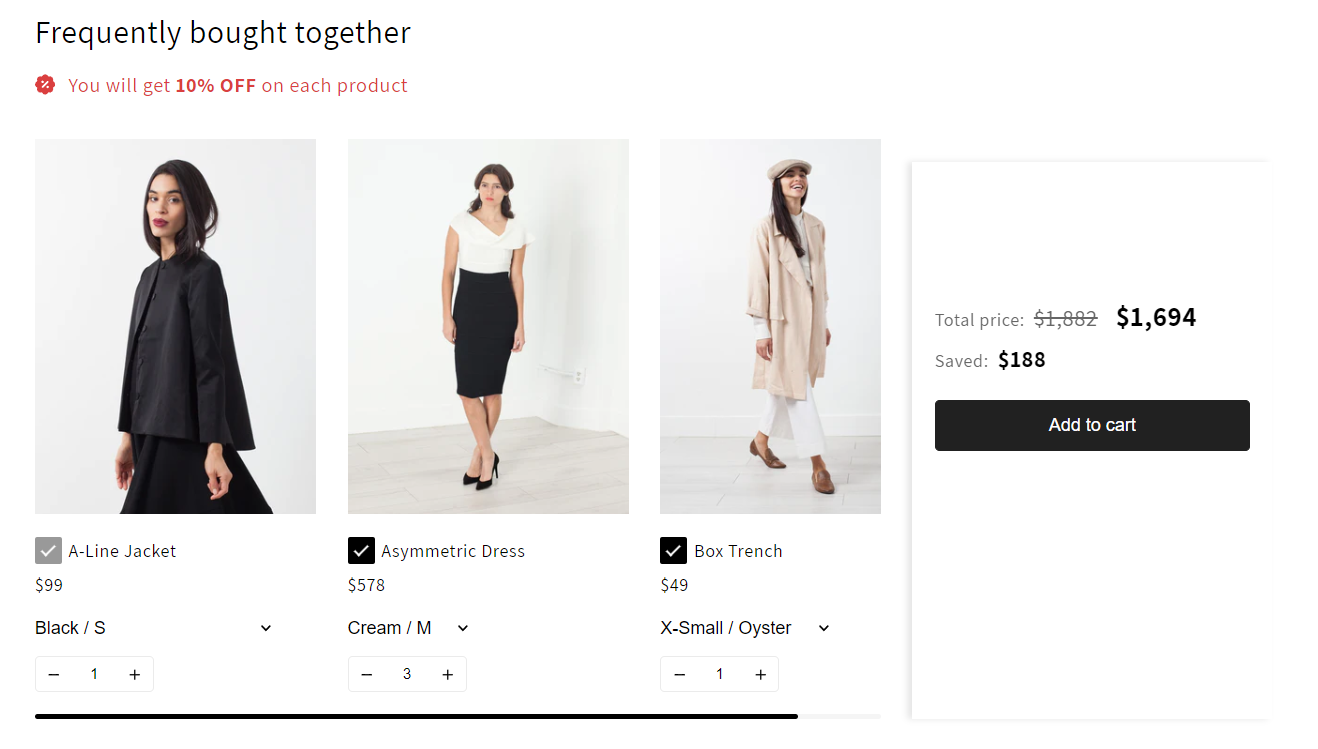
💡: *Suitable for displaying in the section with a wide container.*
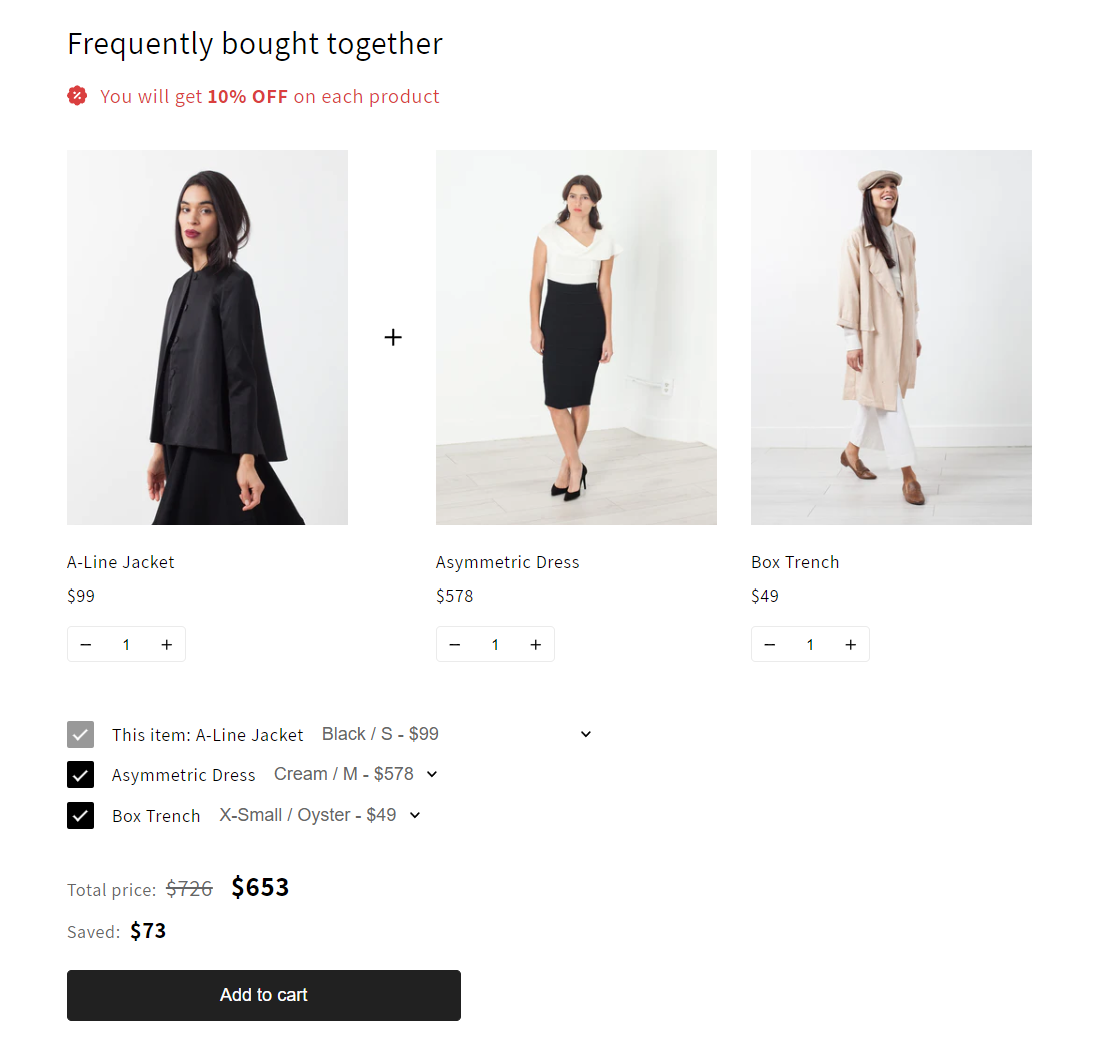
💡: *Suitable for displaying in the section with a wide container.*
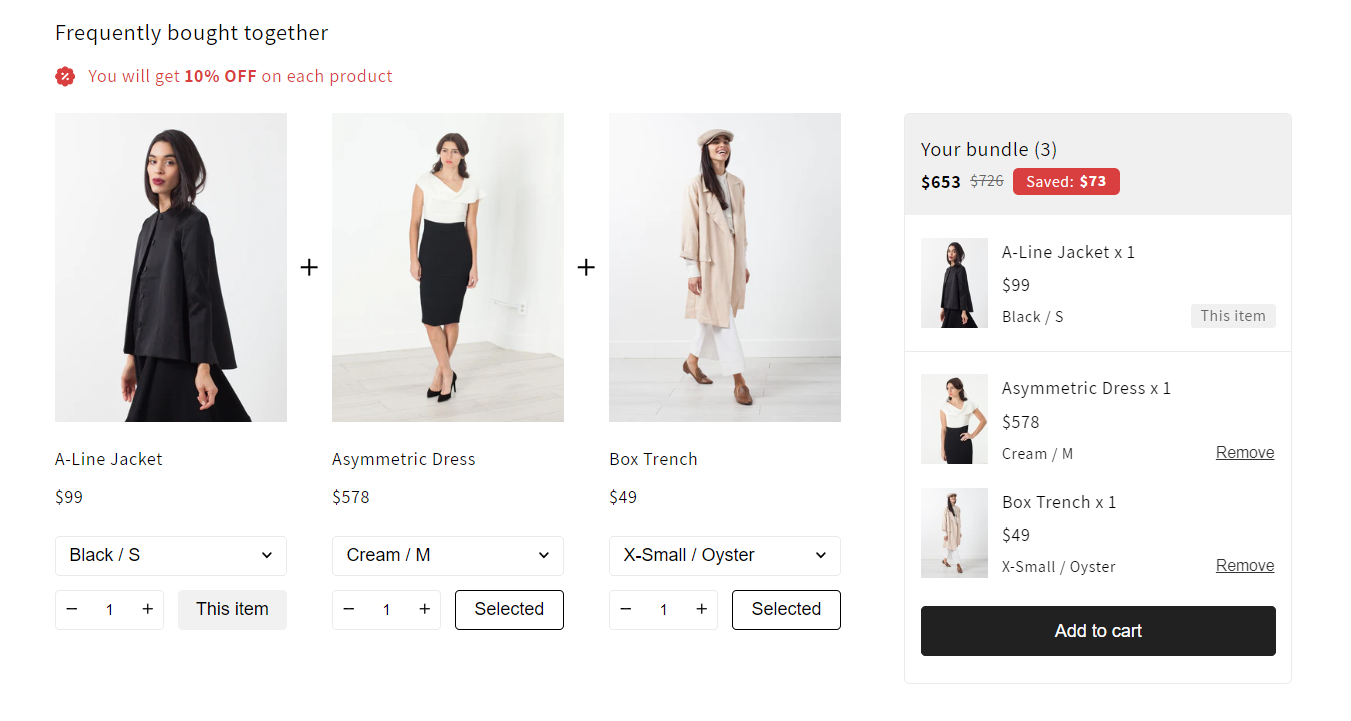
💡: *Suitable for displaying in the section with a wide container.*
**Steps:**
1. Go to **FoxKit** > **FoxKit power** > Choose **Product Bundles.**
2. Click **Create bundle** to start.
3. Make necessary changes.
4. **Save.**
## Settings
### Title and Status
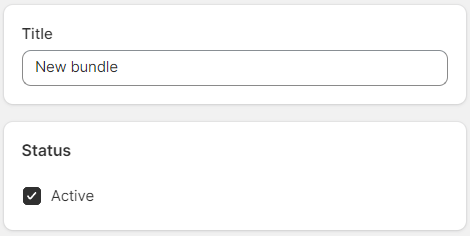
Check the **Active** box if you want to use the bundle or uncheck it to save them for the next time.
Give the bundle a **Title** so you can easily manage it in the app settings.
### Add products to the bundle
Browse to add products to your bundle.
The **Show all product variants** option gives you control over how product variants are displayed in a product bundle. This feature allows merchants to either display all variants at once or selectively display specific variants within the bundle.
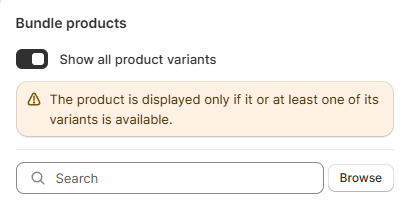
* When **Show all product variants** is **Turned ON:** All product variants are displayed within the bundle, regardless of availability.
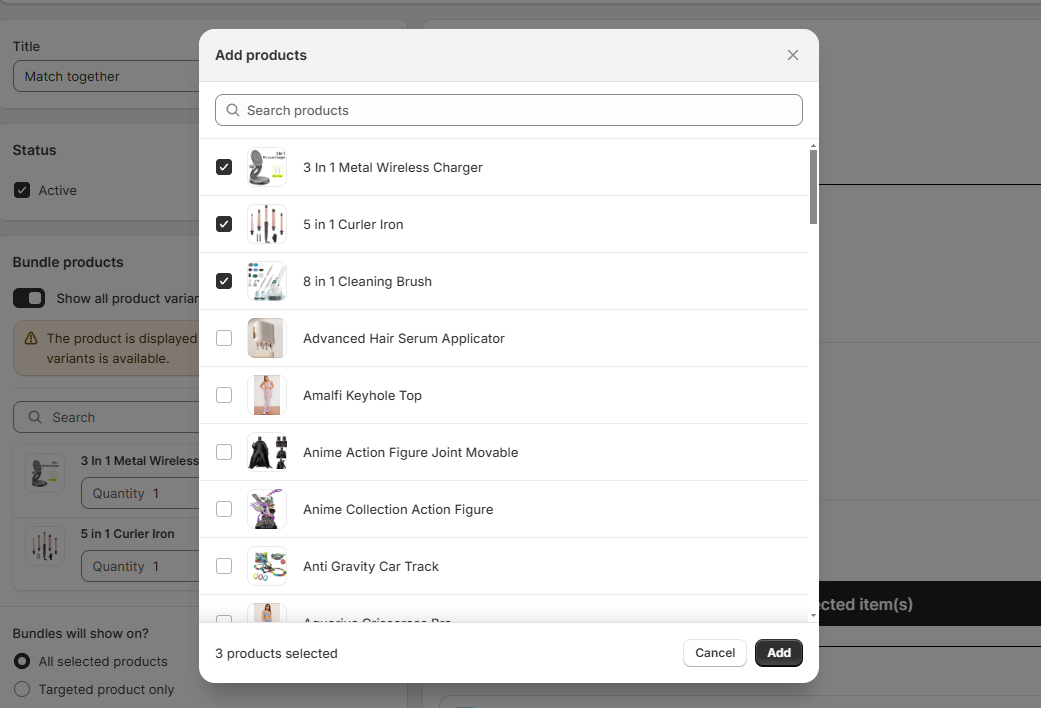
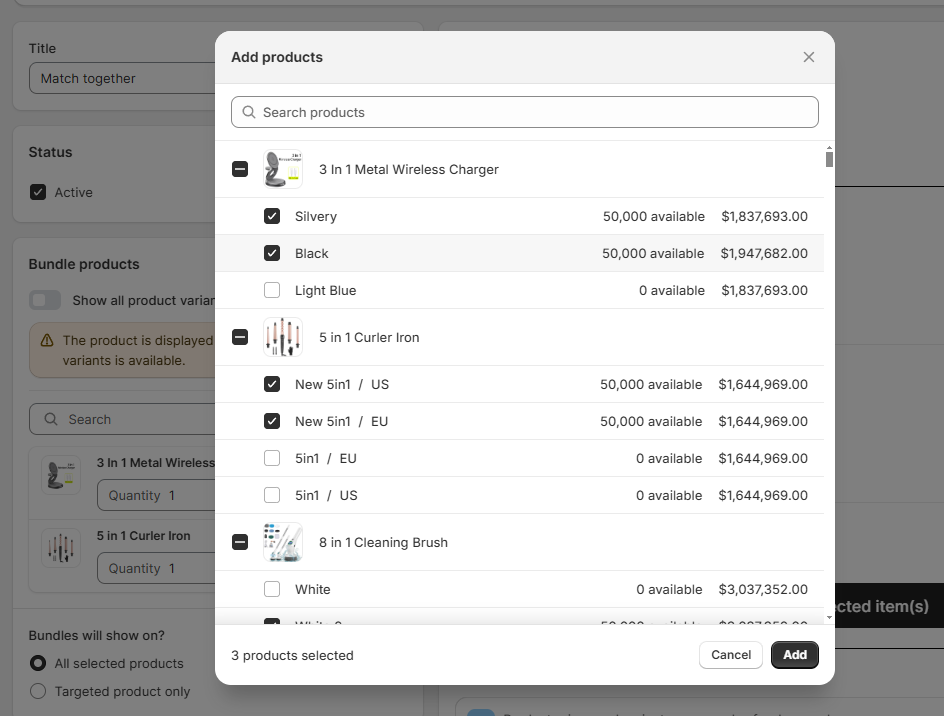
* When **Show all product variants** is **Turned OFF:**
* The merchant can manually select which specific variants of a product to display within the bundle.
* Only the selected variants will appear for customers.
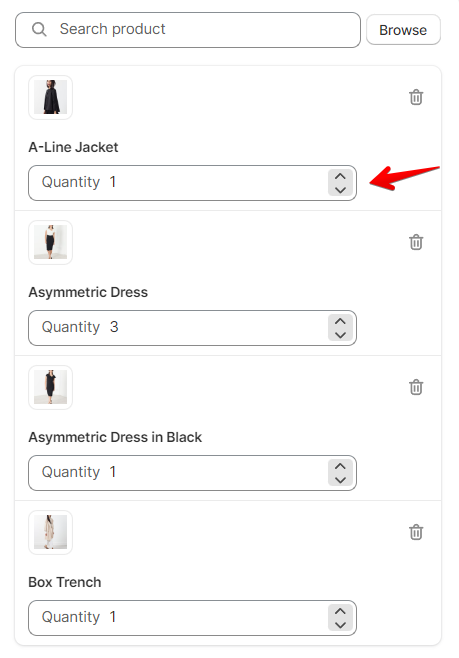
* You can also set a pre-defined **quantity** you want for each item in the bundle.
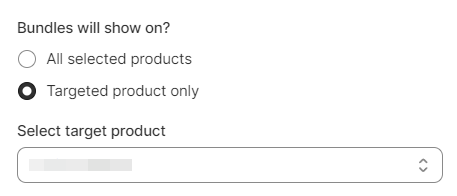
The bundles can show on all selected products or only a targeted product.
Draft products and out-of-stock products won't be displayed on the bundle on your storefront.
### Offer discount
Choose to **Activate discount** to promote a discount offer.
Select the **Discount type** and enter the **Discount value**. The discount value will be applied to each item.
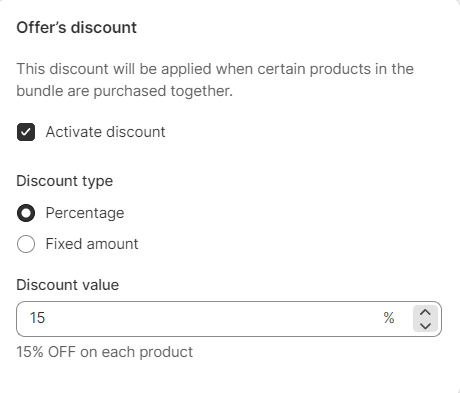
**Customers don't need to buy all the offered products to get a discount**.
Instead, they can choose the products they need and check out.
The discount is applied when 2 or more products in the bundle are added to the cart.
### Layout
* Choose a design template for your bundle.
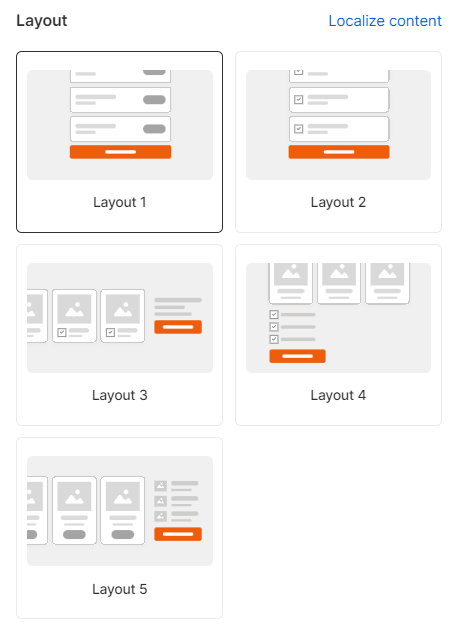
Some layouts will only be available on plan **Growth** and **Enterprise**.
See [FoxKit pricing plans](https://docs.foxecom.com/foxkit-app/account-and-billing/foxkit-pricing-plans).
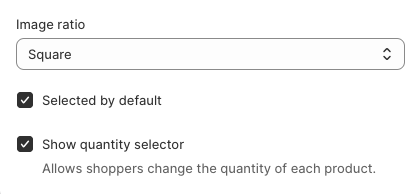
* Set an **Image ratio** for the product image:
* Adapt to product image;
* Square;
* Portrait;
* Landscape.
* **Selected by default**: Enable pre-select the recommended products or let customers build the bundle themselves by selecting the products from your list.
* **Show quantity selector**: Allow customers to change the quantity of each product on the bundle.
If you want to **require customers to purchase a certain quantity of products**, you can uncheck the option to hide the quantity selector. In that case, the quantity of the item in the bundle that customers add depends on the [pre-selected quantity you set above](#add-products-to-the-bundle).
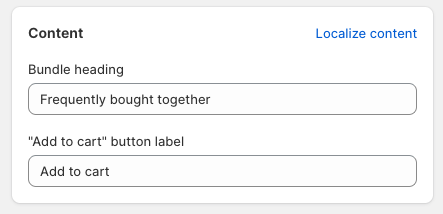
### Content
* Insert your **Bundle heading** that will appear above your bundle and the **Add to cart button label**.
Once you have set up your bundle, go to your theme editor and add the corresponding app widget.
See [How to set up FoxKit features](https://docs.foxecom.com/foxkit-app/how-to-set-up-foxkit-features)
FoxKit will display the first in-stock variant by default.
However, FoxKit shows a built-in variant selector to let your visitors change the variant before adding the bundle to their shopping cart.
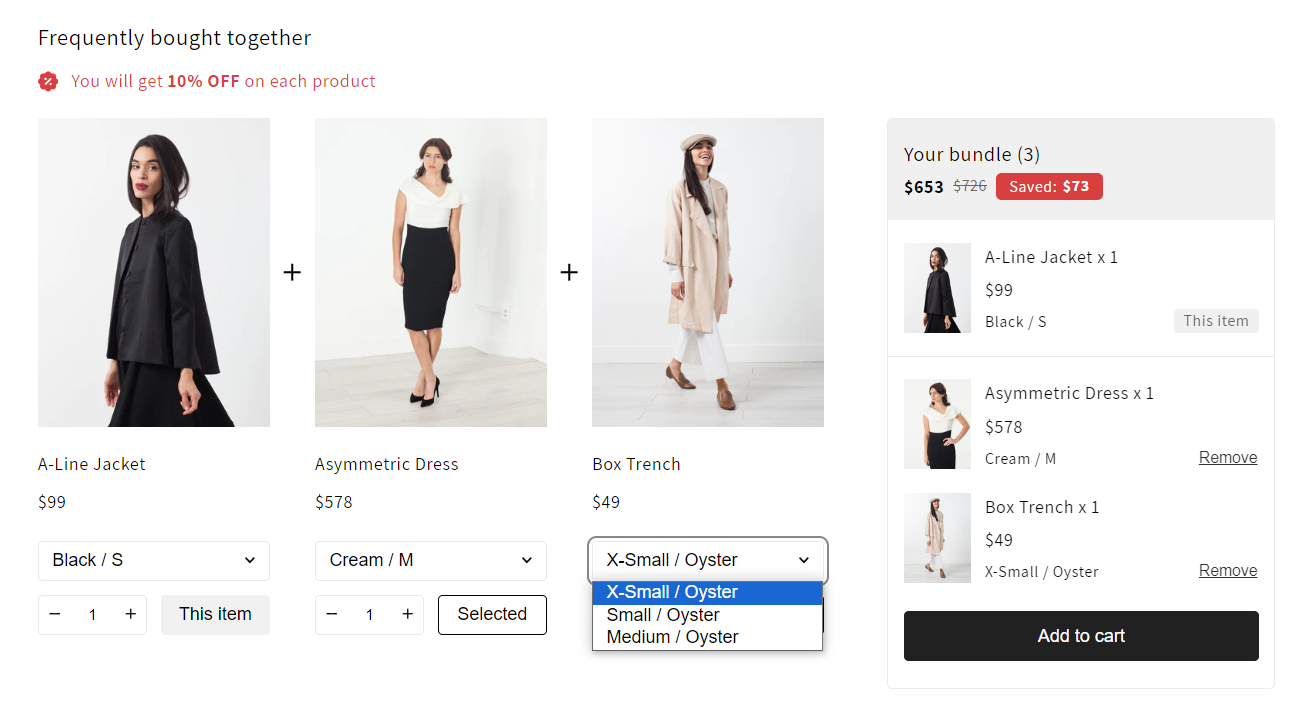
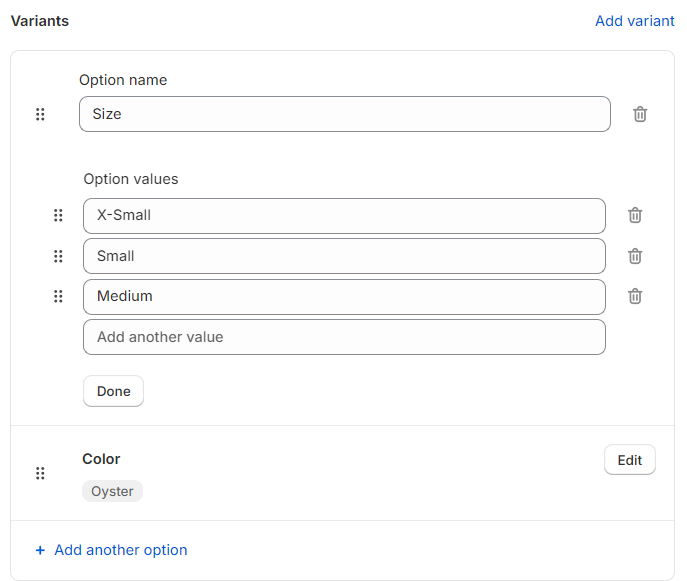
Note: You can change the order of the default variants in your Shopify admin
\> go to the specific product you would like to modify
\> locate the 'Variants' section
\> re-organize the product variants as you like.