# Schedule your page to publish at a future date

<div data-full-width="true"><figure><img src="https://1749964694-files.gitbook.io/~/files/v0/b/gitbook-x-prod.appspot.com/o/spaces%2FfgpgvtRaQLc36GYyIktZ%2Fuploads%2FETk3RTZrTHUxALnqCtTH%2FFoxEcom%20changelog%20%20%201250%20x%20200.png?alt=media&#x26;token=a72791be-b9fe-4806-8a28-f1592e470b10" alt=""><figcaption><p><a href="https://foxecom.com/pages/affiliate?utm_source=foxecom&#x26;utm_medium=help_center_foxify_schedule_your_page_to_publish_at_a_future_date&#x26;utm_campaign=anchor-text&#x26;utm_term=explore_foxecom_affiliate_program_perks_now">Explore FoxEcom Affiliate program perks now</a> <span data-gb-custom-inline data-tag="emoji" data-code="2728">✨</span></p></figcaption></figure></div>

**Publish scheduling** feature allows you to set a date and a time for your page to go public.&#x20;

Bear in mind that all times for scheduling correspond to the time zone you set in Foxify **Settings** > **Account** > **Preferences**.

{% hint style="info" %}
Publish scheduling is only available on **Growth** plan and **Enterprise** plan. See [#foxify-pricing-plans](https://docs.foxecom.com/foxify-app/getting-started/account-and-billing/pricing-plans#foxify-pricing-plans "mention").
{% endhint %}

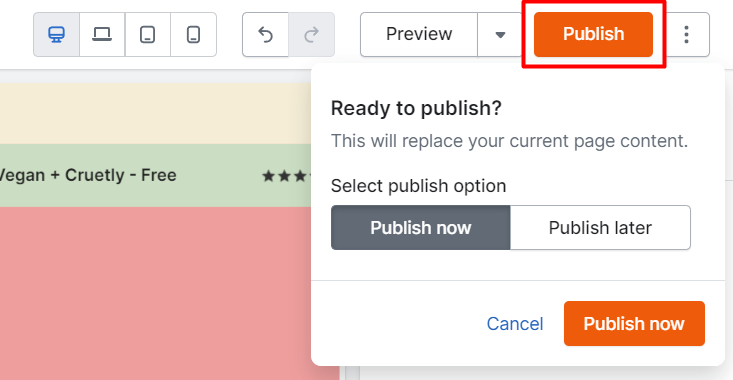
You can find the option to schedule publishing popping out when you hit **Publish**.

<figure><img src="https://1749964694-files.gitbook.io/~/files/v0/b/gitbook-x-prod.appspot.com/o/spaces%2FfgpgvtRaQLc36GYyIktZ%2Fuploads%2FcrjHlwUAv3qeLcg9E1W9%2Fimage.png?alt=media&#x26;token=3667fb23-2504-4dfc-888d-e0c6b79bfad4" alt=""><figcaption></figcaption></figure>

## How to schedule a page to publish <a href="#how-to-schedule-a-page-to-publish" id="how-to-schedule-a-page-to-publish"></a>

Once you have created your page, you can schedule the date and time for it to be published.&#x20;

{% hint style="success" %}
Steps:

1. In the Page editor, click **Publish**.
2. Select the publish option as **Publish later**.
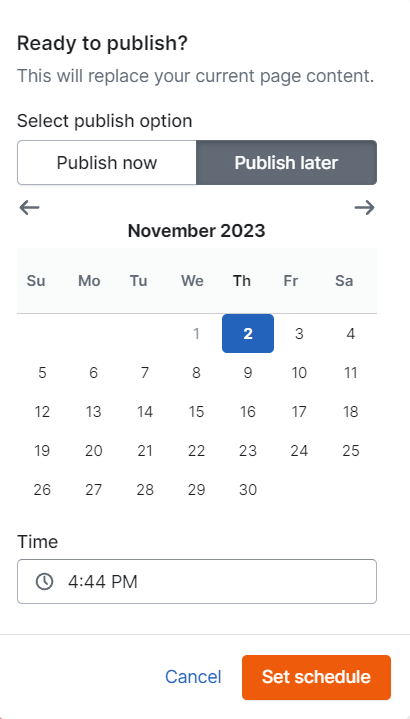
3. Select a date and time in the schedule pane.
   {% endhint %}

<figure><img src="https://1749964694-files.gitbook.io/~/files/v0/b/gitbook-x-prod.appspot.com/o/spaces%2FfgpgvtRaQLc36GYyIktZ%2Fuploads%2F8LexZIuSKgrntl8Y80Na%2Fimage.png?alt=media&#x26;token=a13daf07-a85c-48ab-8a6d-f22d8afa9bf9" alt="" width="308"><figcaption></figcaption></figure>

Once you have done, your page will be marked as 'Scheduled'.

## How to cancel a scheduled publish <a href="#h_75b97ba20f" id="h_75b97ba20f"></a>

If you've set up a page to publish in the future and would like to stop that scheduled publish from occurring, you can take the following steps:

{% hint style="success" %}
Steps:

1. Open the scheduled page in the editor.
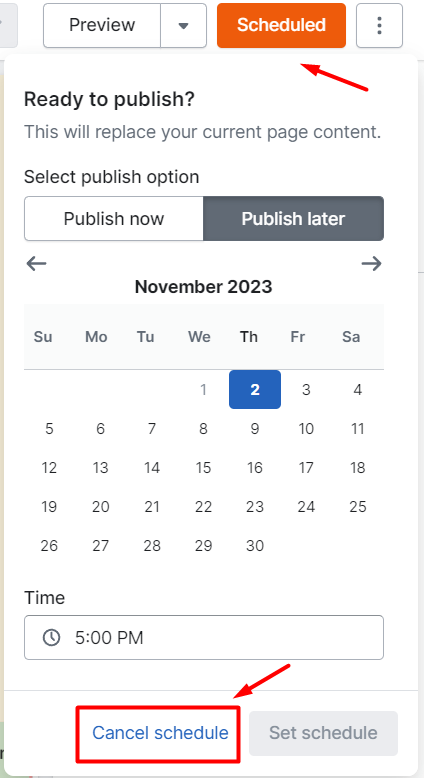
2. Click the **Scheduled** button at the top of the editor.
3. In the Scheduling panel, click **Cancel schedule**.
   {% endhint %}

<figure><img src="https://1749964694-files.gitbook.io/~/files/v0/b/gitbook-x-prod.appspot.com/o/spaces%2FfgpgvtRaQLc36GYyIktZ%2Fuploads%2FOTgLSGR97KmpydQEbnTp%2Fimage.png?alt=media&#x26;token=a8c41802-0b06-4273-a4f5-b6b810d49d9d" alt="" width="318"><figcaption></figcaption></figure>
