
Faqs And TroubleshootingFAQs
How to Add Google Tag Manager Tracking Events for Buttons
2 min read
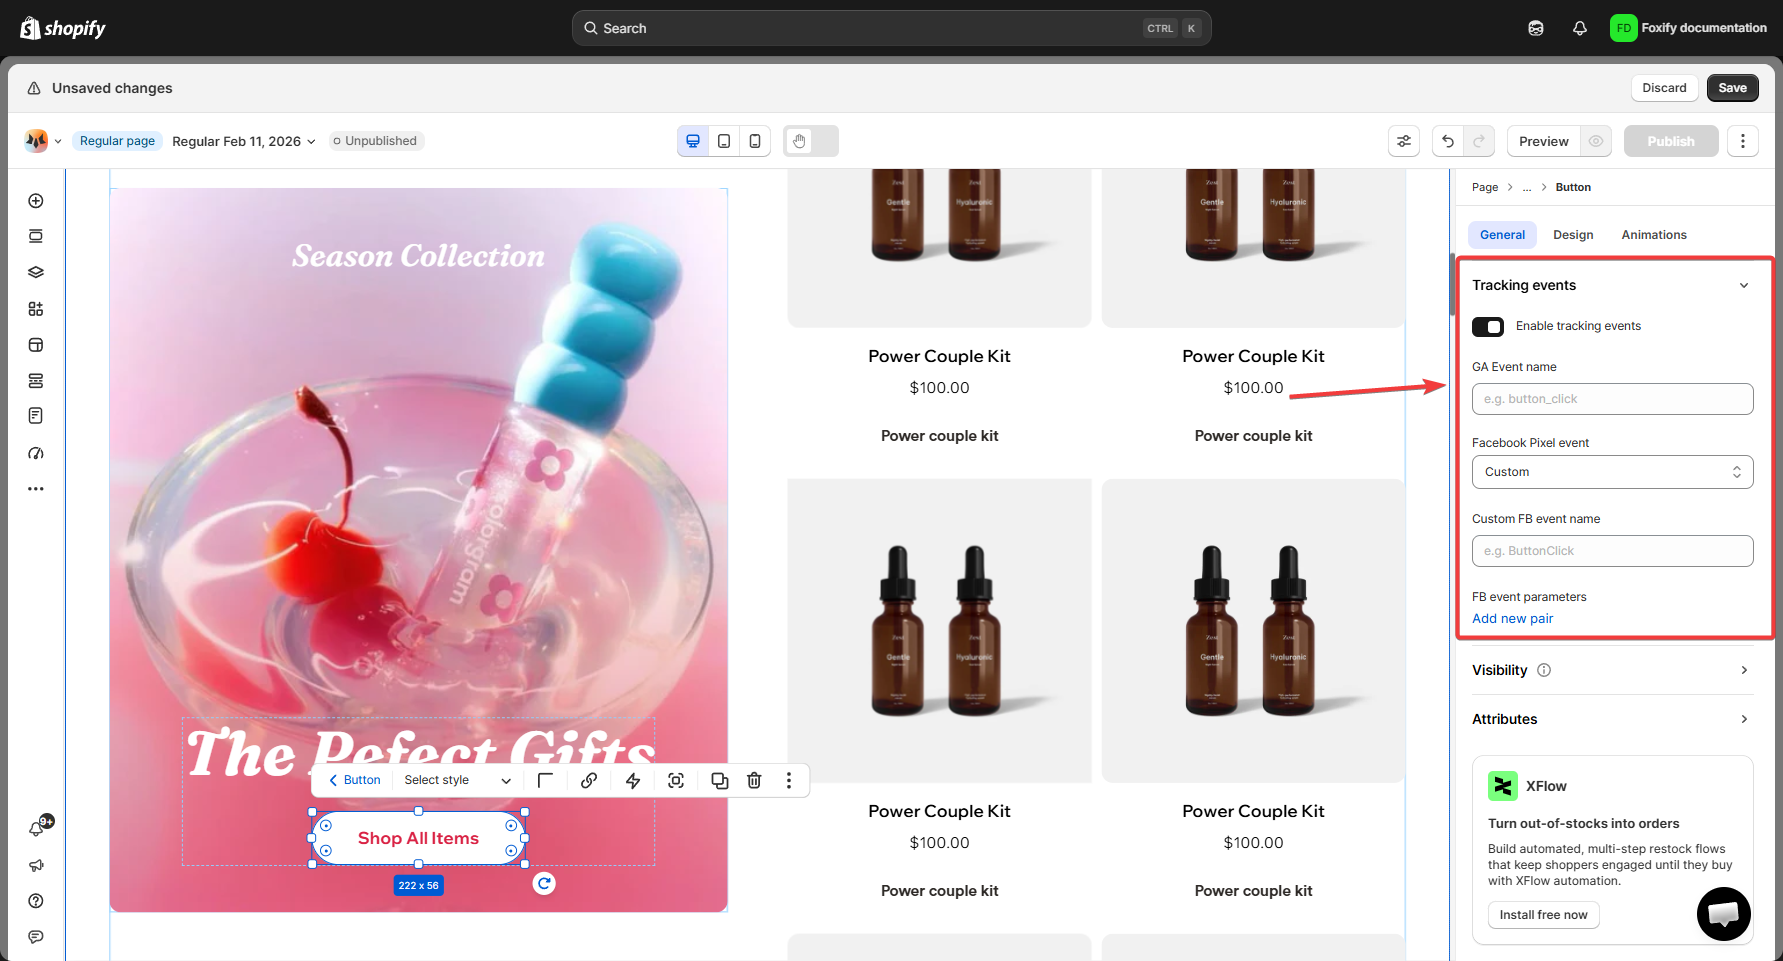
Navigate to the Button element in the editor
- In Foxify studio, find the button element you want to track (such as the "Add to cart" button).
- Click on the button to open its settings.
Enable Tracking events
Set up Google Analytics event tracking
Integrate Facebook Pixel (optional)
Save your changes
- Click Save in the top right corner to apply the changes.
- Your button is now set to trigger the GTM and Pixel events when clicked.
Test the tracking setup
- Open the page in a browser and click the button.
- Use Google Tag Assistant or the Facebook Pixel Helper extension to verify if the events are being sent correctly to Google Analytics and Facebook.
- Ensure you have correctly set up Google Tag Manager and Facebook Pixel on your store before adding tracking events.
- Regularly review your tracking setup to ensure that all necessary events are captured accurately.
- You can add tracking to other buttons or elements by repeating this process for each one.
Last updated