
Page ManagementApp extensions
Inventory Status
4 min read
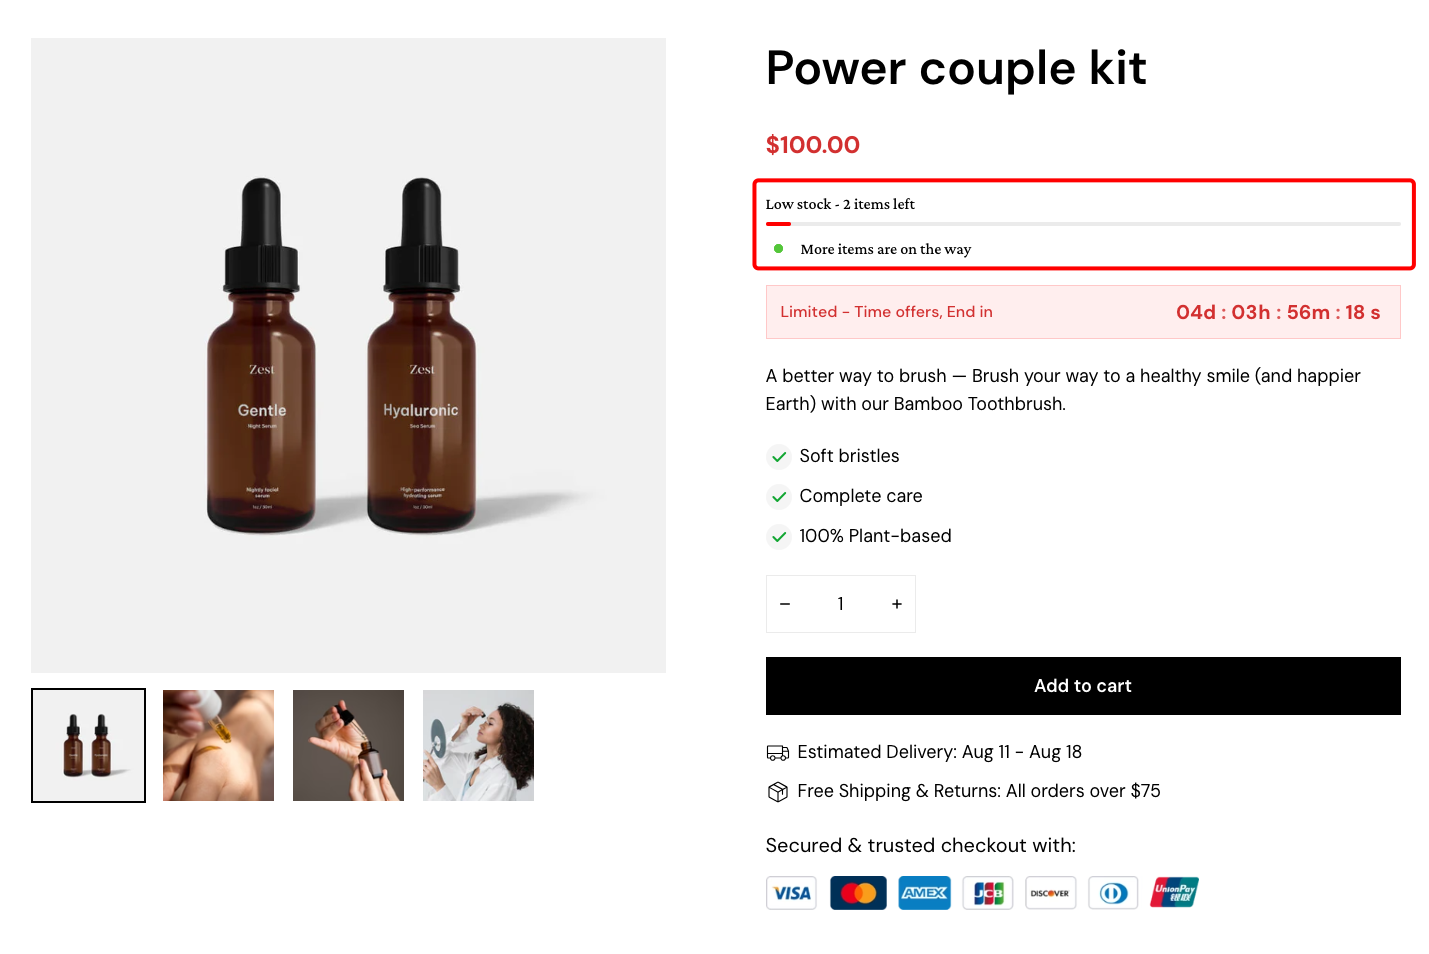
What is Foxify: Inventory Status?
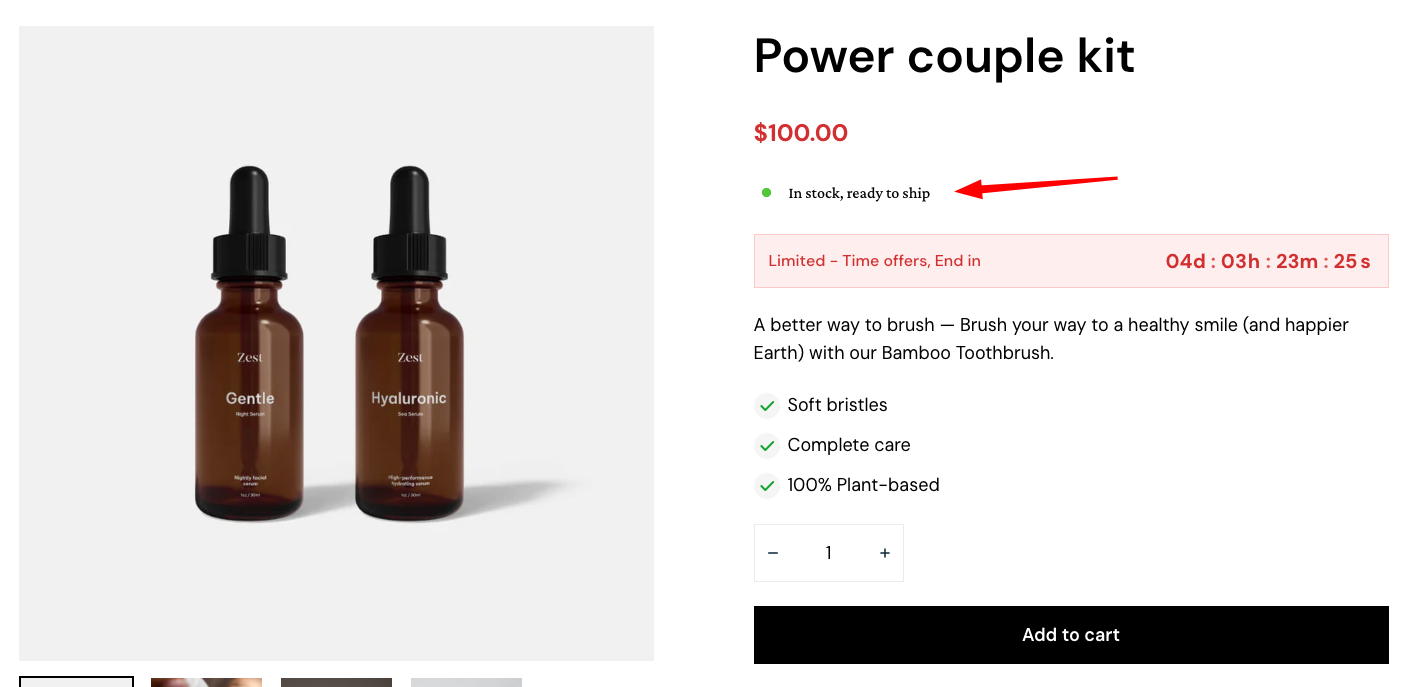
- Display real-time stock levels (low, available, or incoming).
- Create urgency and scarcity to encourage quicker purchases.
- Reduce cart abandonment by setting clear stock expectations.
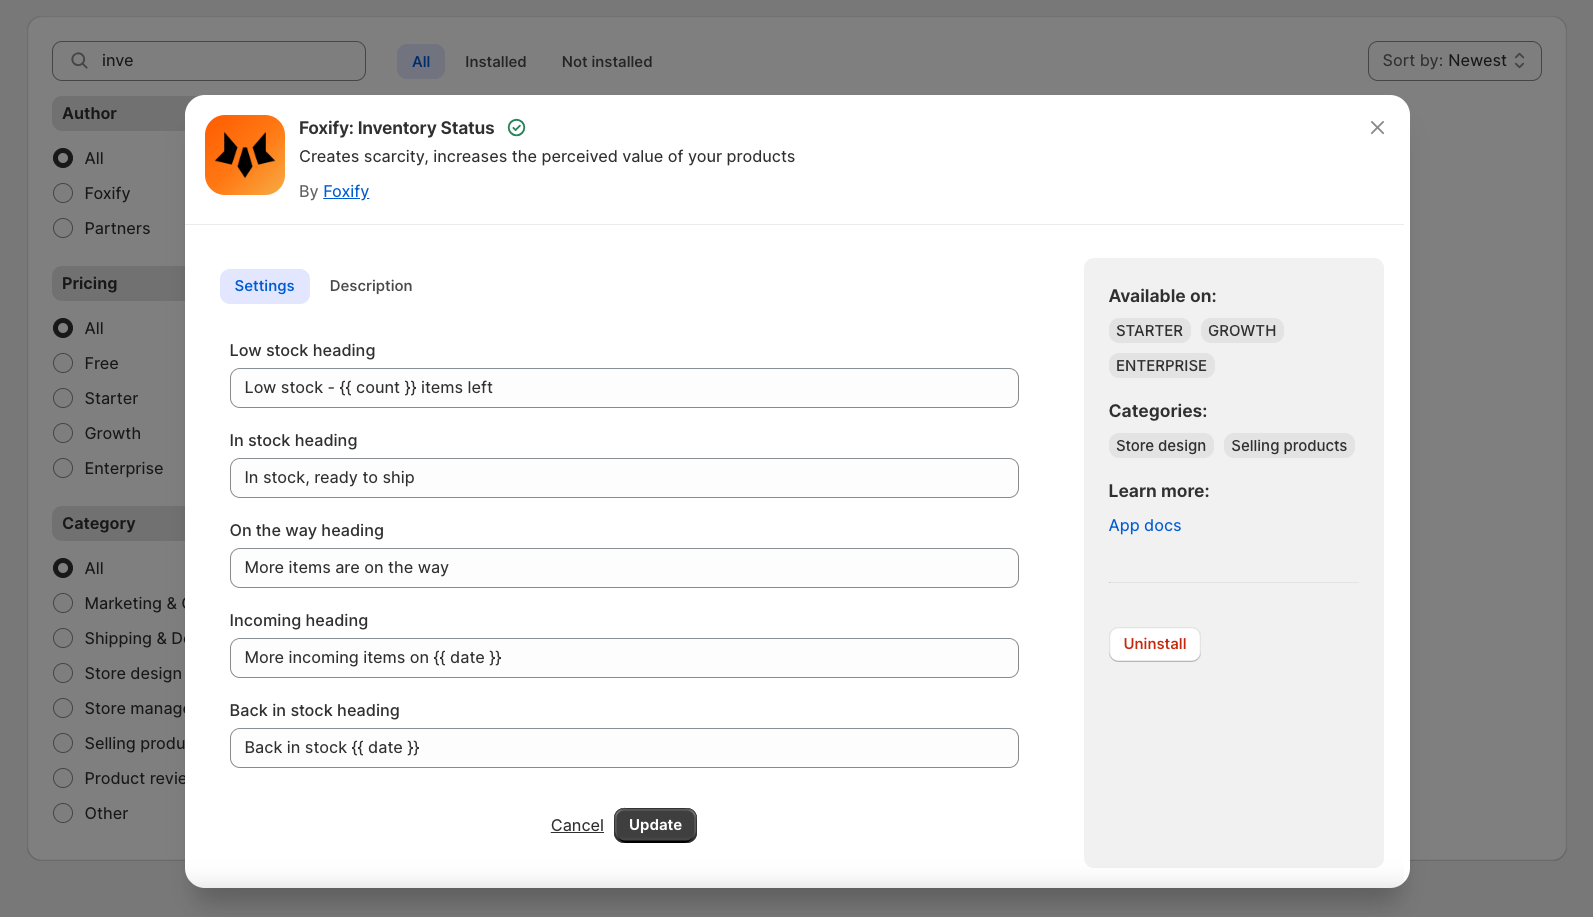
- Customize messages to match your store’s brand voice.
How to use Foxify: Inventory Status with Foxify Smart Page Builder
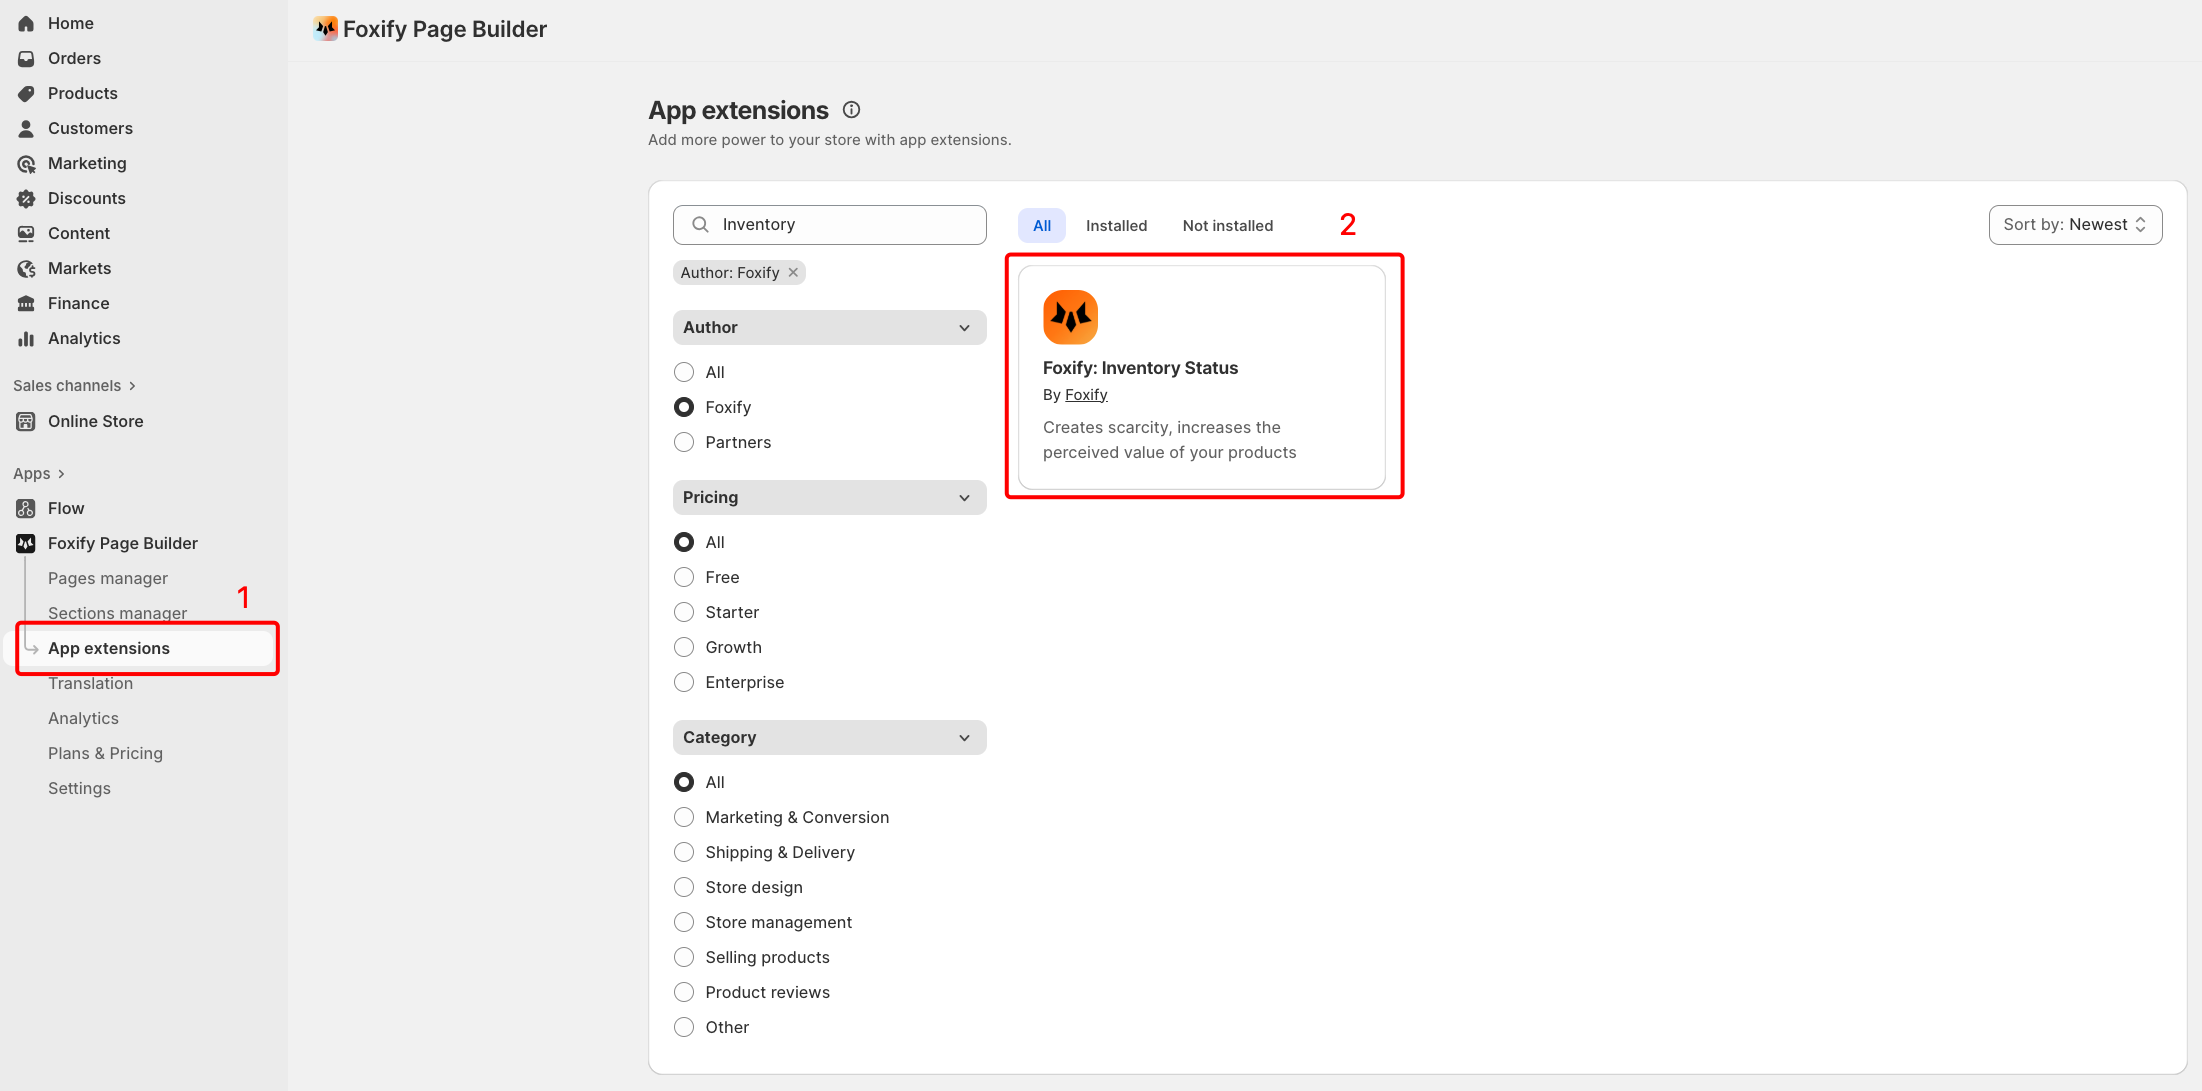
- In your Foxify dashboard, go to App extensions.
- Filter for Foxify, look for Foxify: Inventory Status.
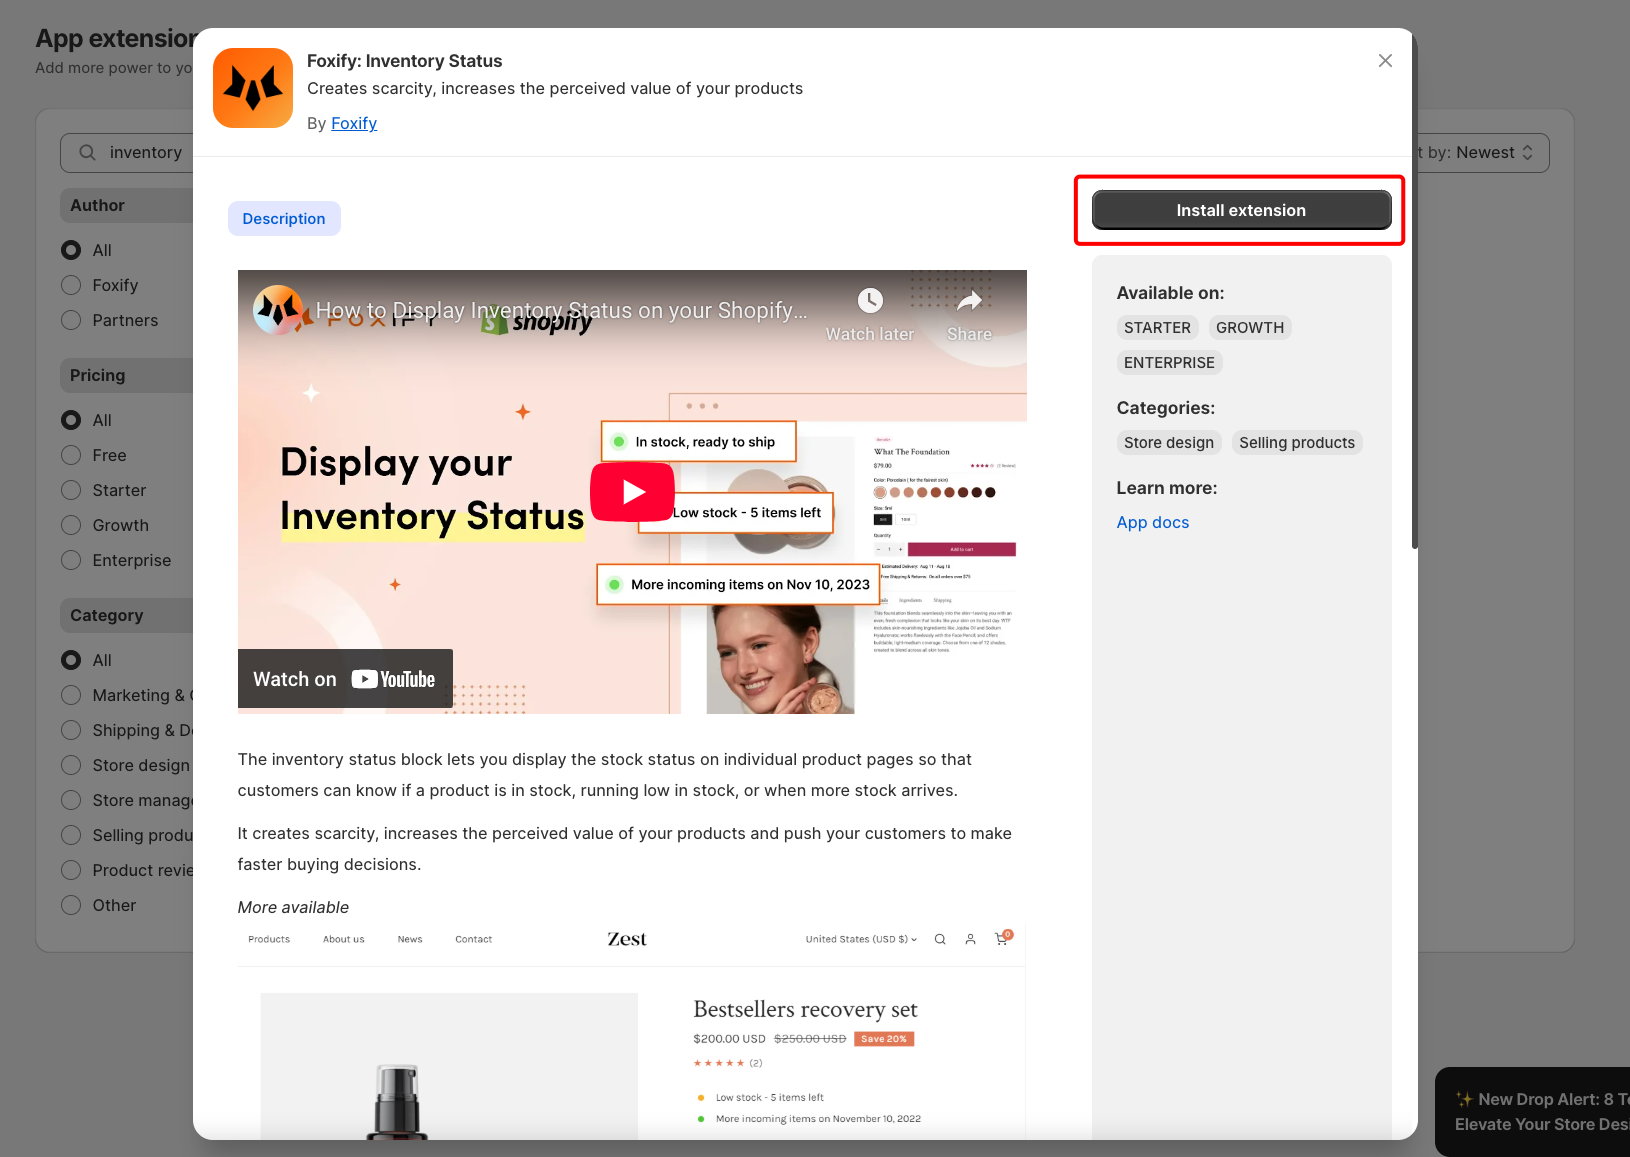
- Choose Install Extension.
Set up Foxify: Inventory Status's widget
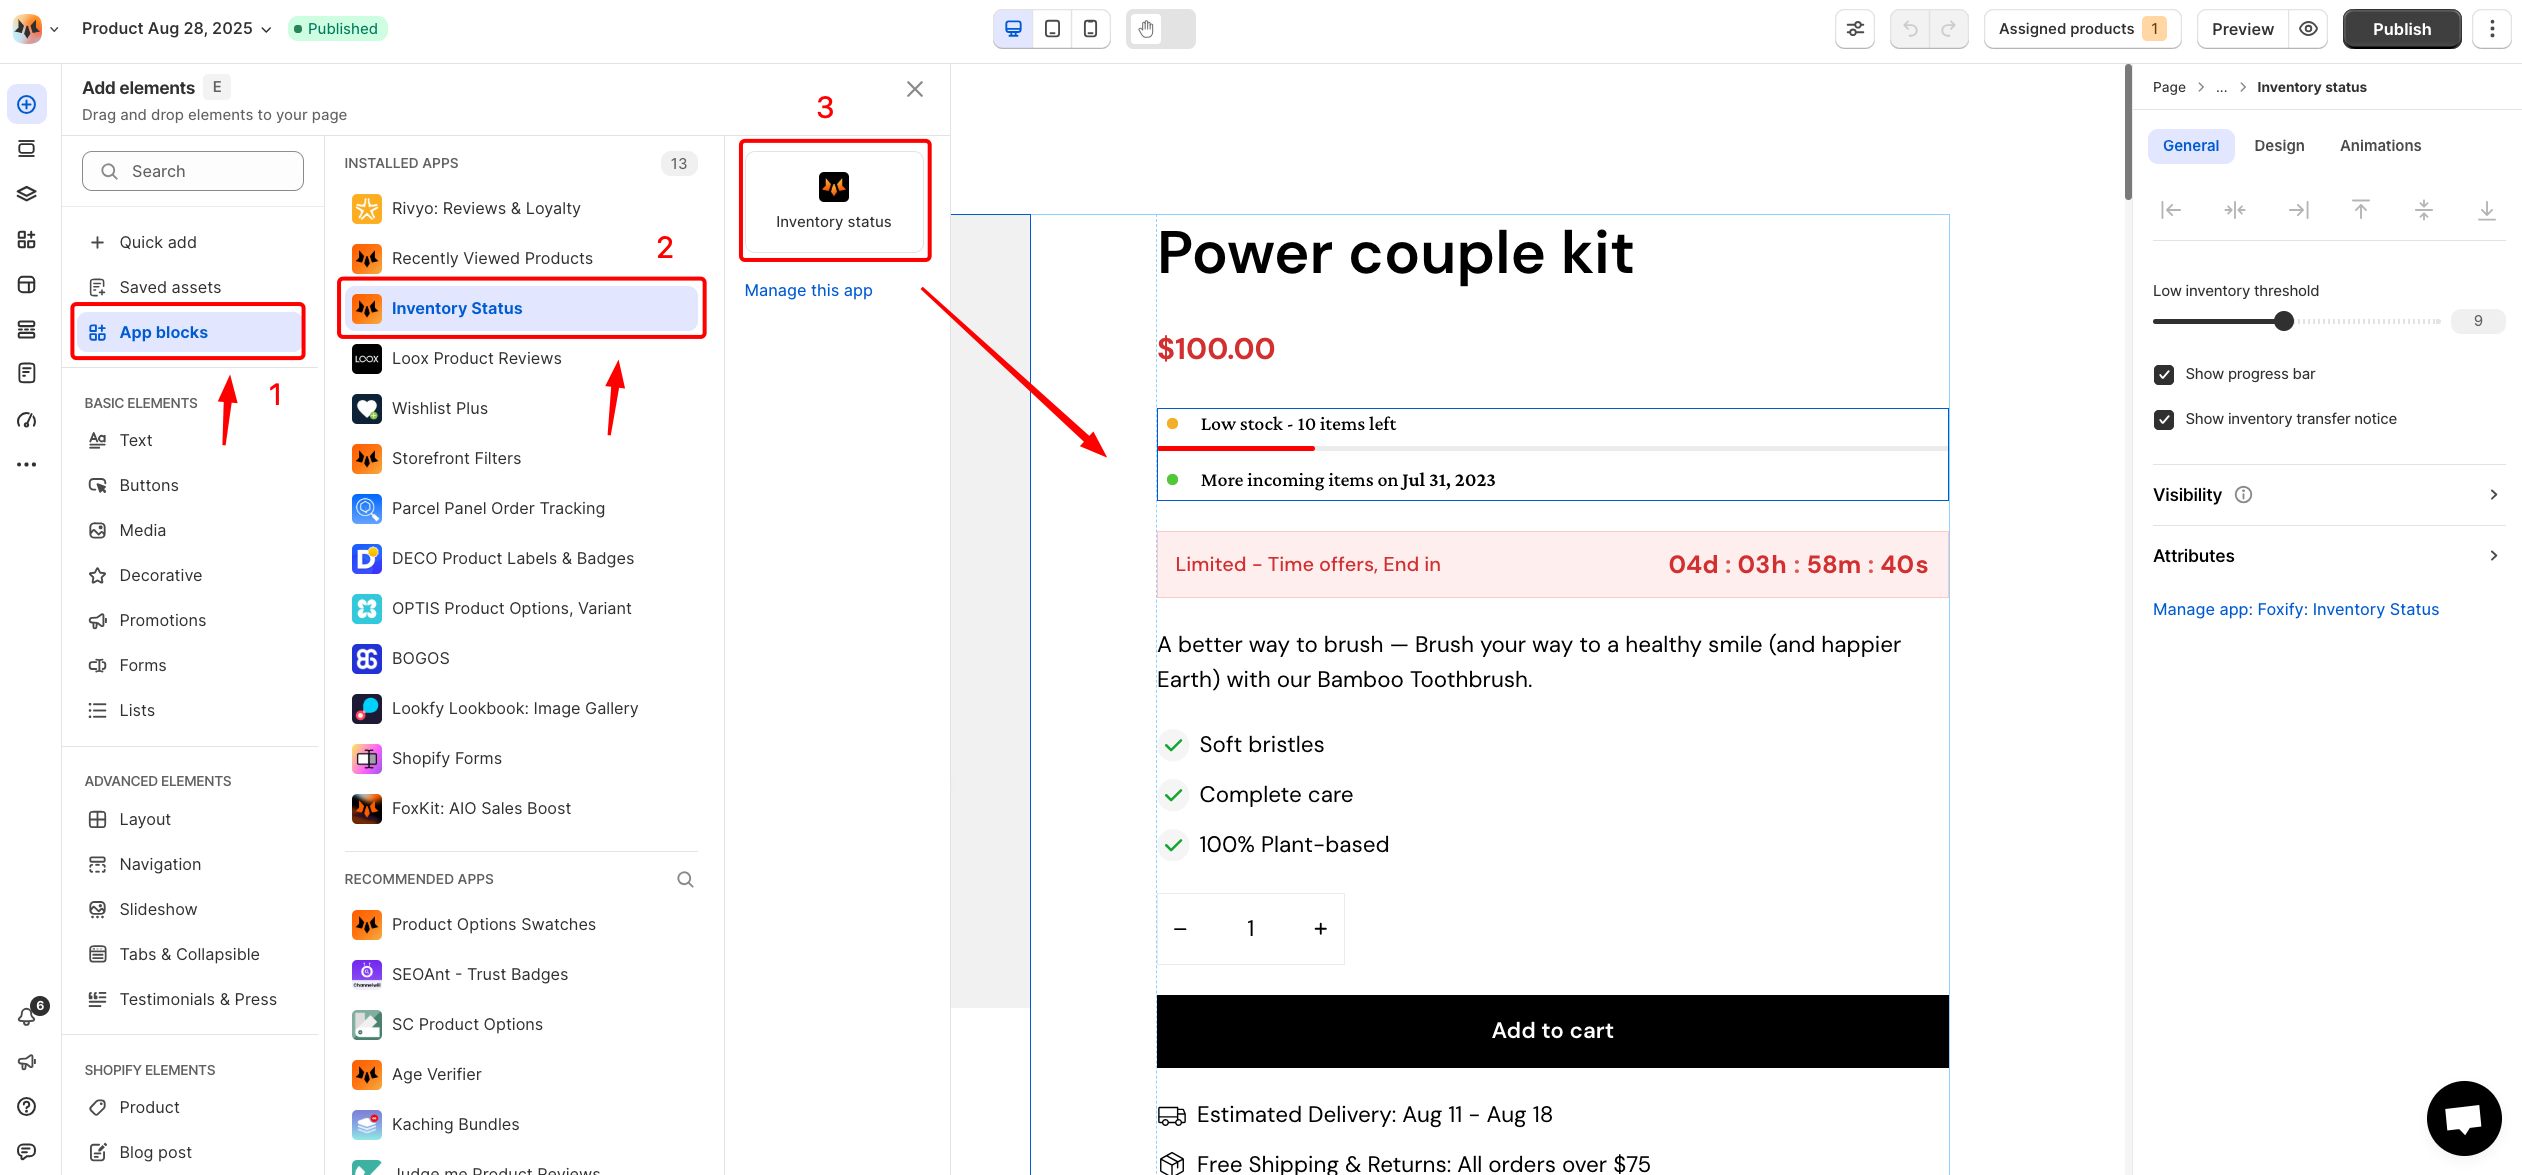
- In Pages manager, open the page you want to add the app features to. Select Add element > App blocks.
- Select Inventory Status's widget from the Installed apps list, and drag the app widget you want to feature on your product page.
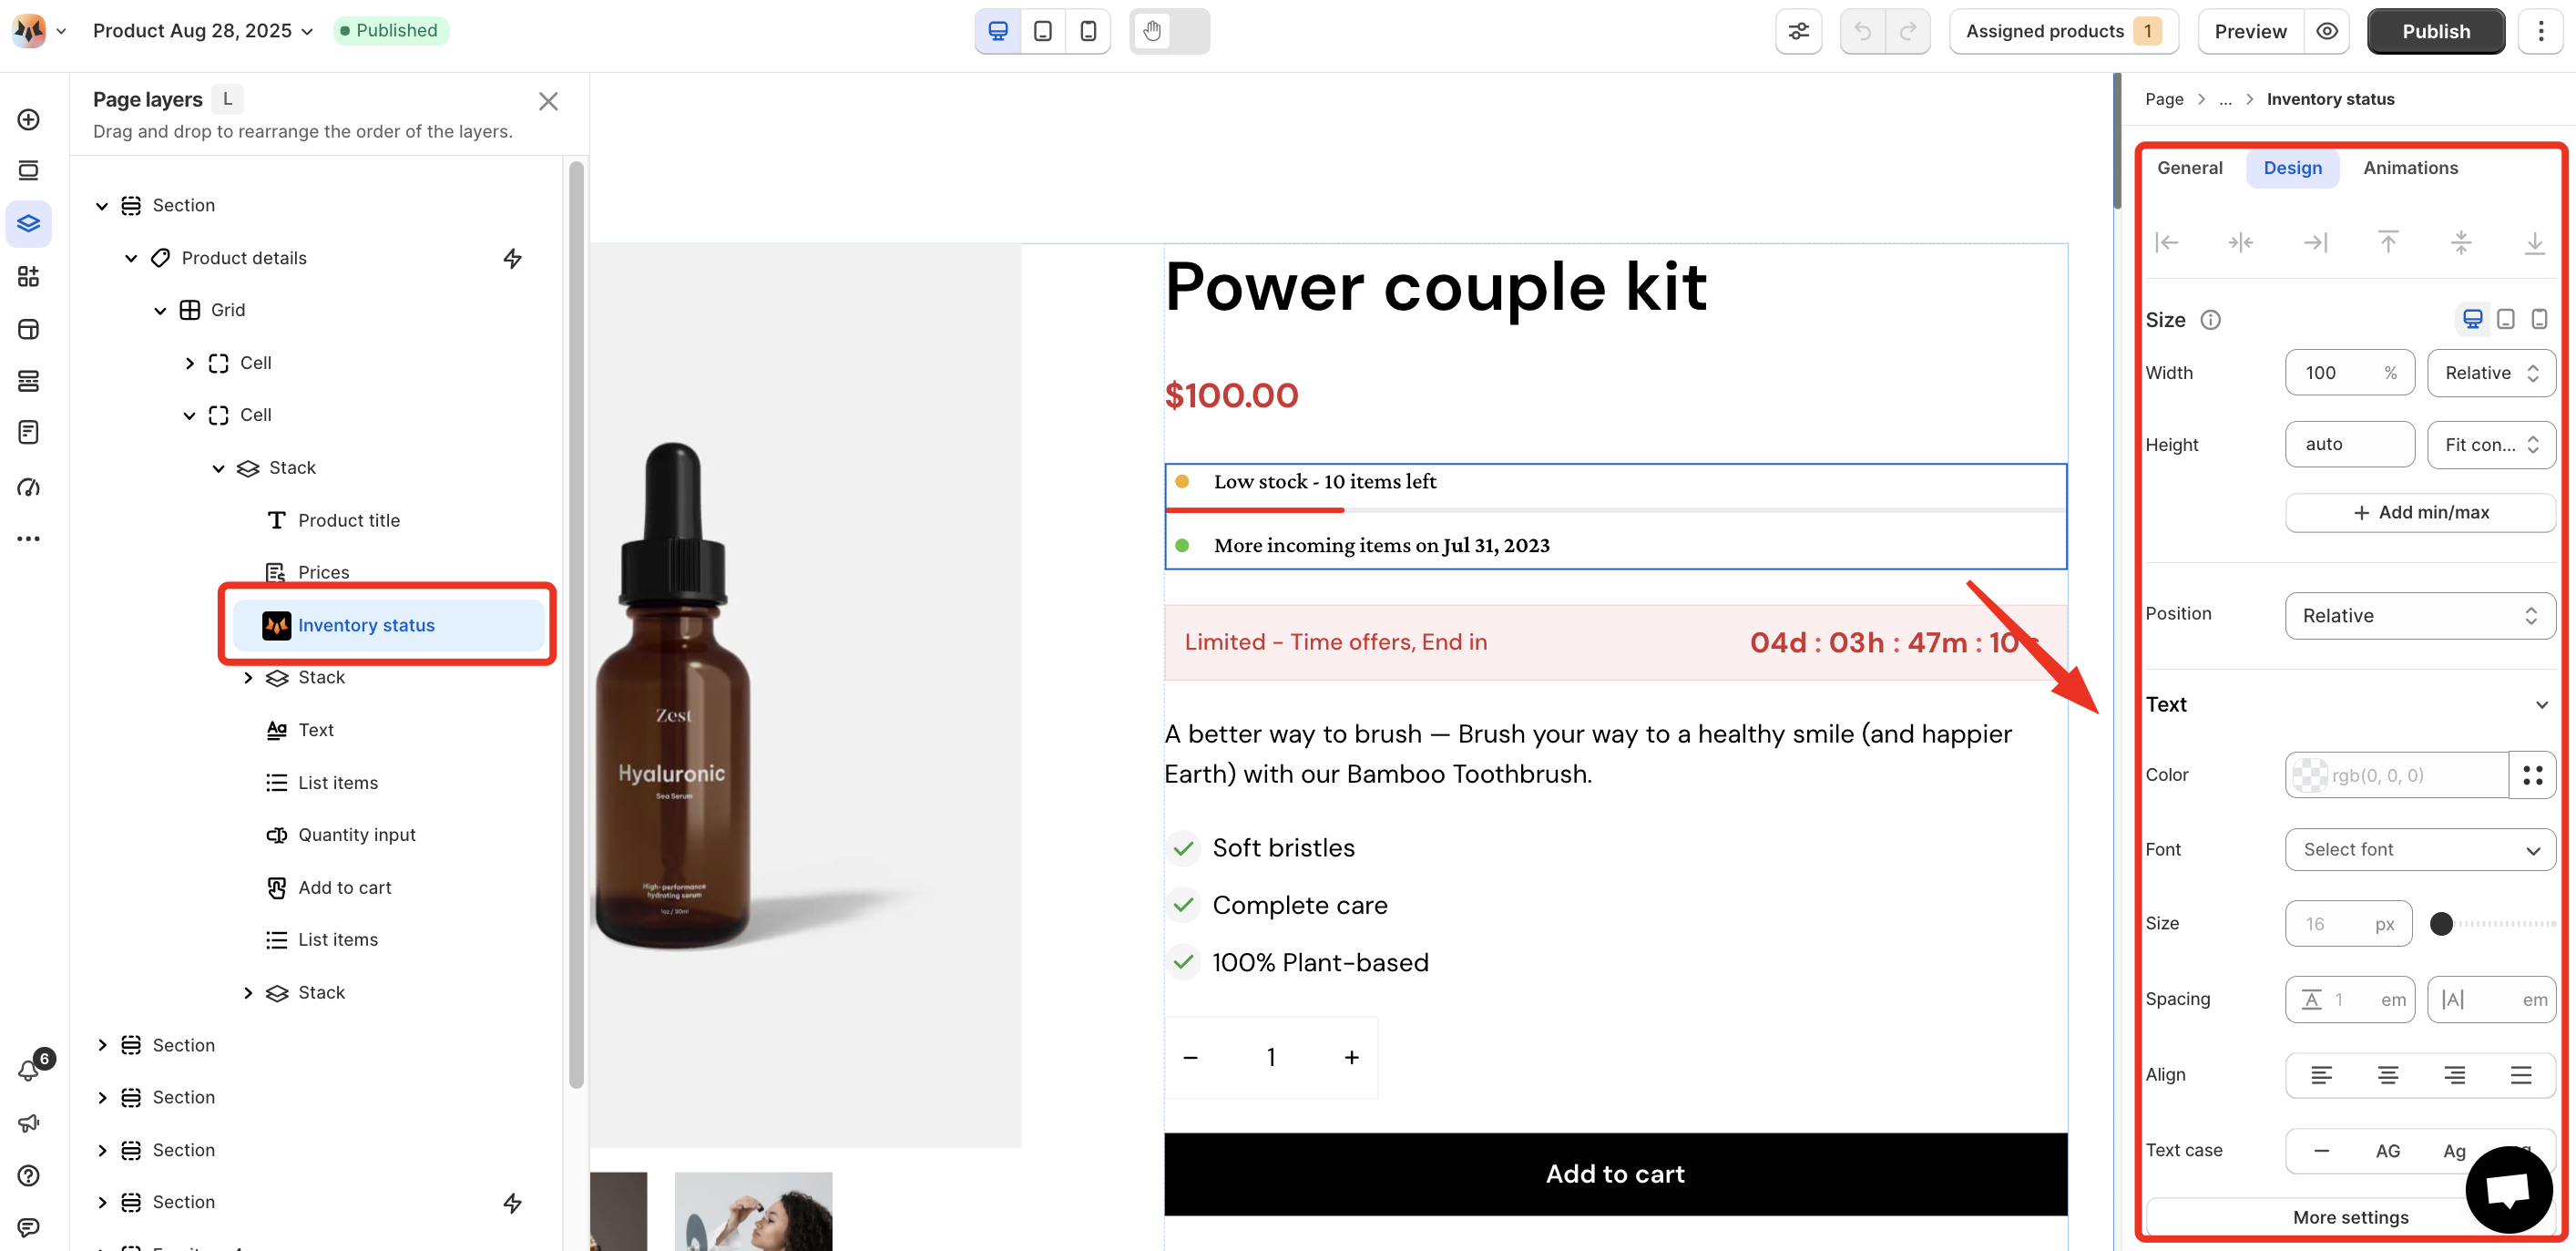
- Set up and edit Inventory Status's widget.
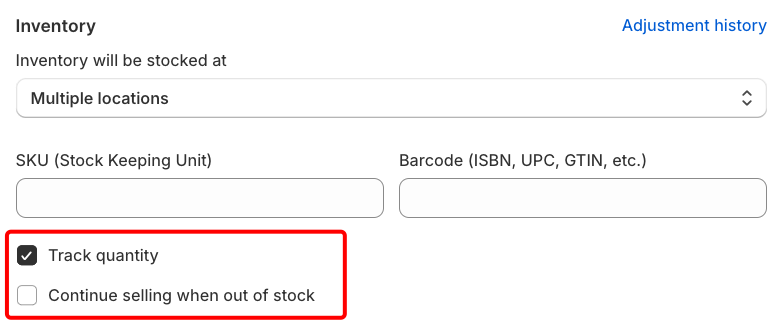
- From your Shopify admin, go to Products > Edit Variants.
- Under Inventory, check Track quantity and uncheck Continue selling when out of stock option.
General settings
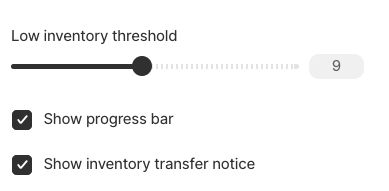
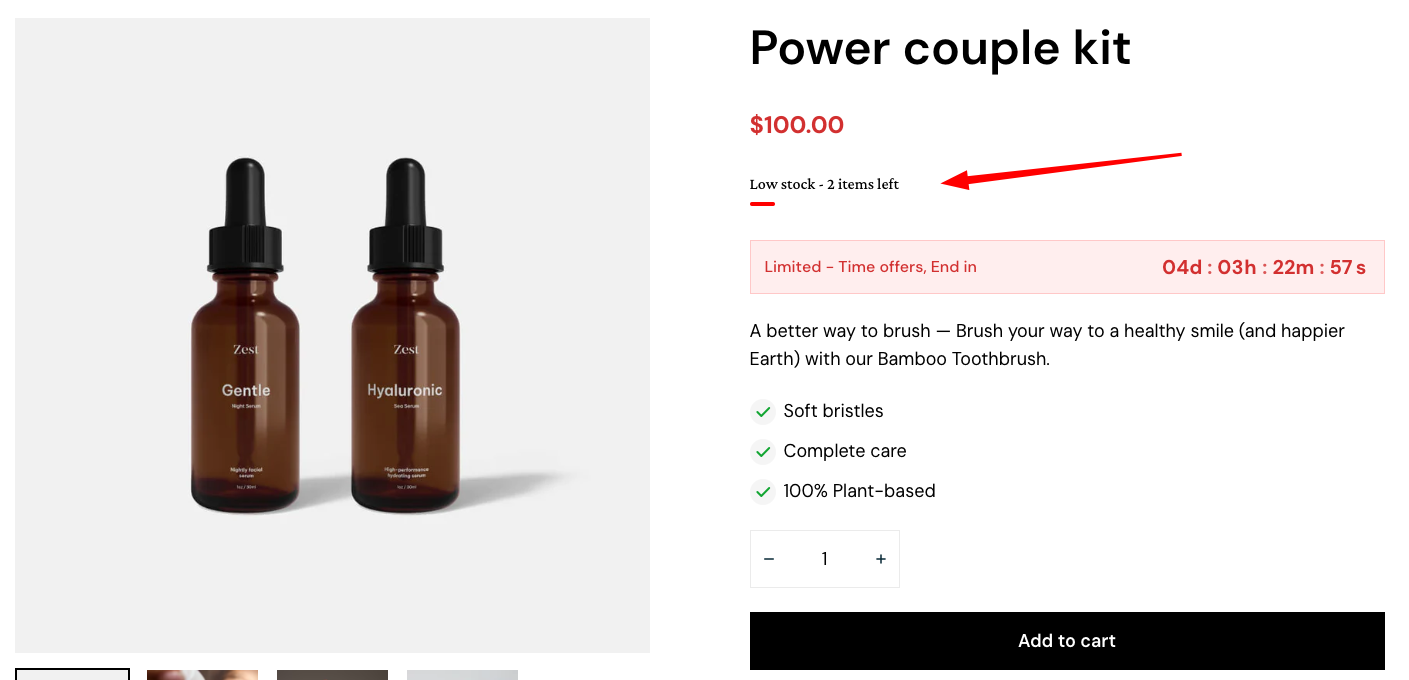
- Low inventory threshold: Sets the minimum stock level at which a product is flagged as low inventory (between 0 and 20).
- Show progress bar: Show the low inventory alert as a progress bar.
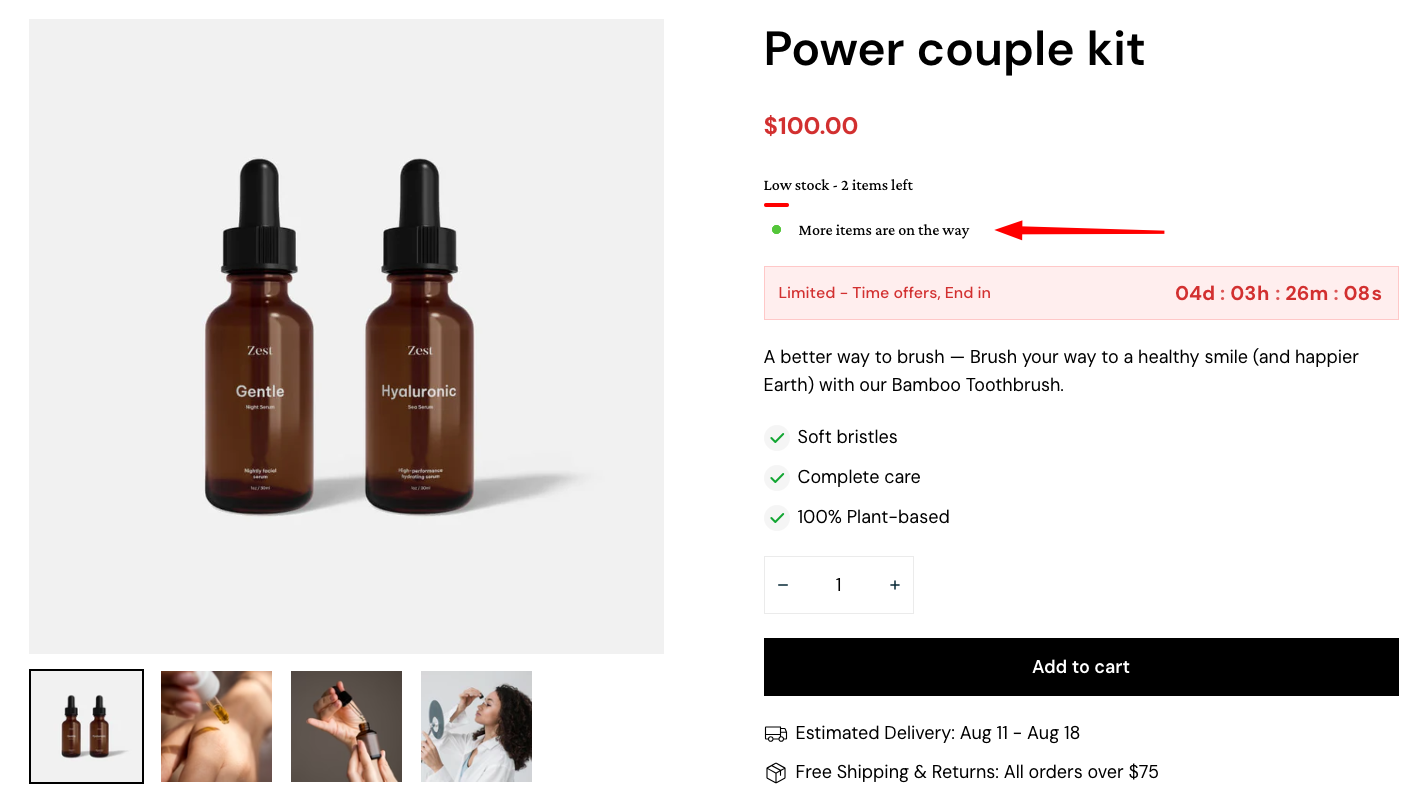
- Show Inventory Transfer Notice: Displays a message when stock is being transferred between locations.
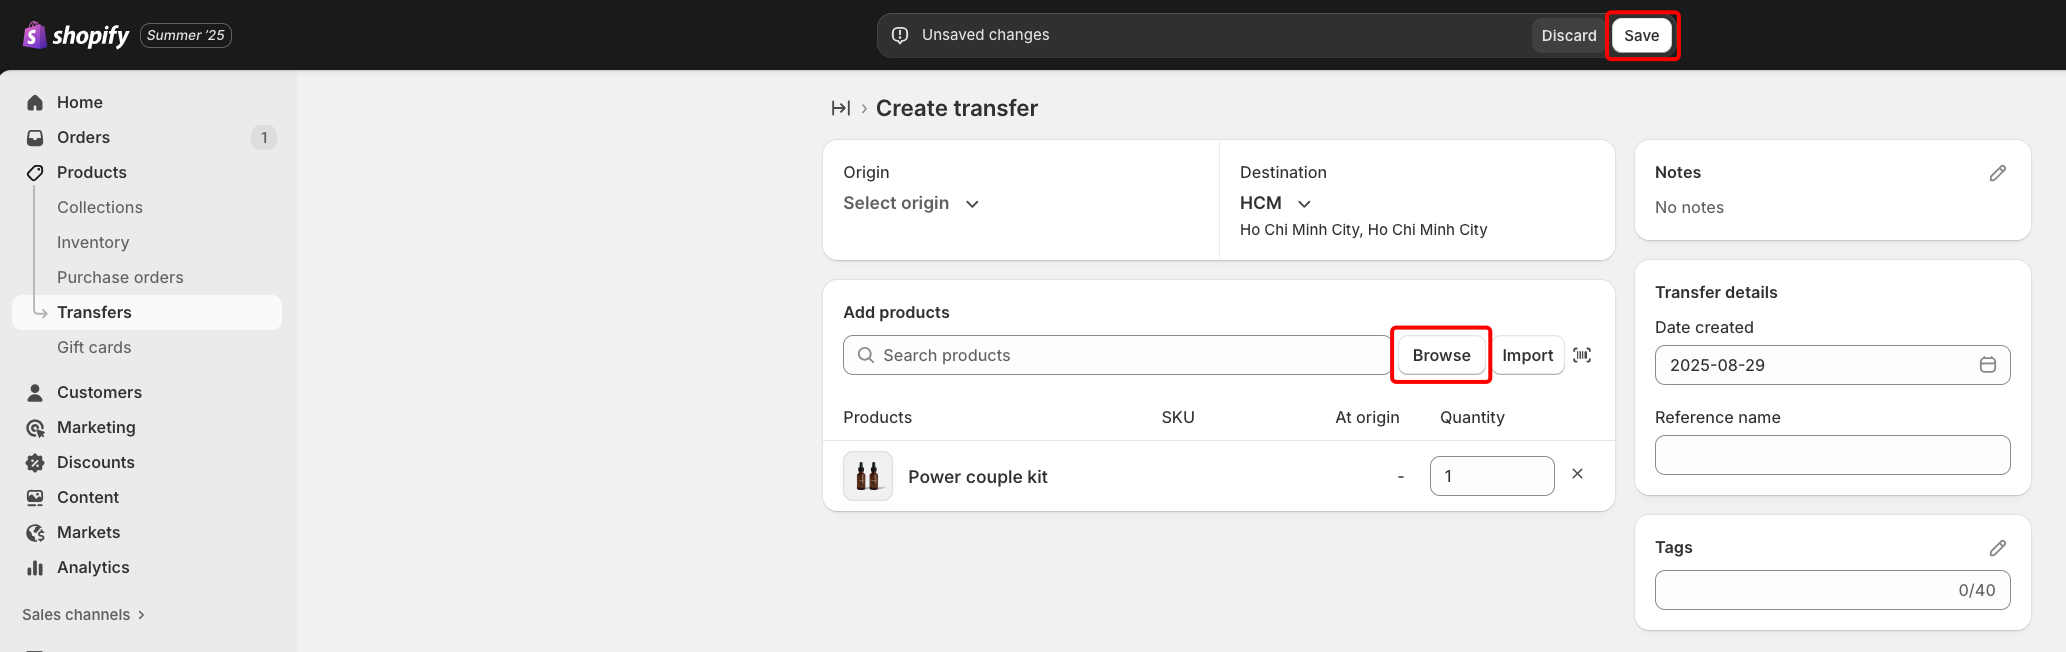
- From your Shopify admin, go to Products > Transfers > Click Add transfer.
- In the Add products section, enter or select the products and variants that you want to add to the transfer, and then click Add to transfer.
- Under Quantity, enter the quantities for each product in the transfer.
- Select Origin and Destination for the transfer.
- Save the settings.
- Mark your transfer.

- Go to Products > Create transfer > Mark as ready to ship.
- Create shipment > Select your estimated arrival date > Save.
- Then mark as in transit > Check your product page.

- Go to Products > Create transfer.
- Mark as In progress.
- Check your product page.
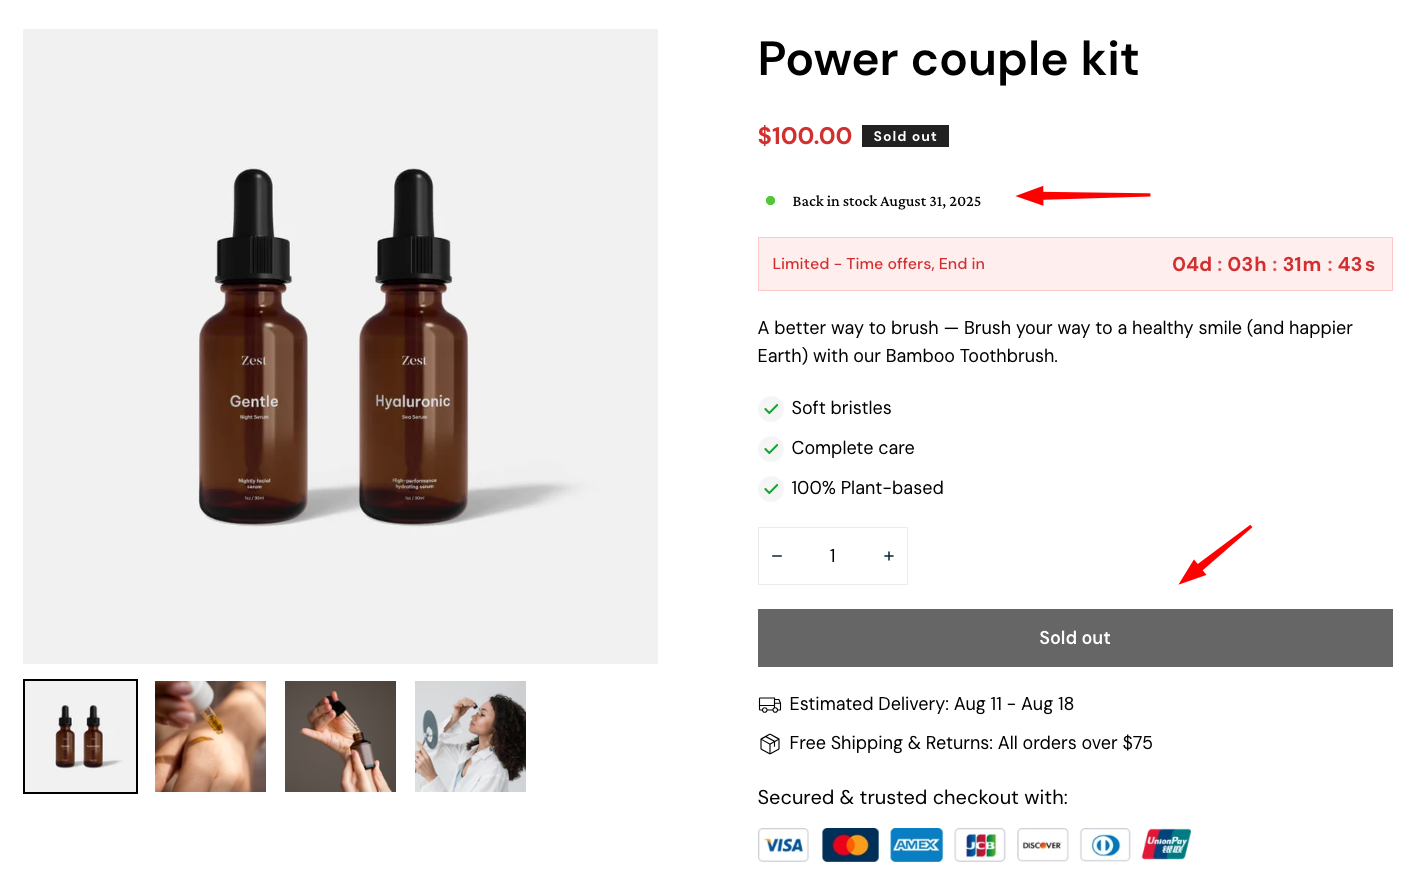
- Ensure that your product is out of stock.
- Go to Products > Create purchase orders.
- Select estimated arrival date > Mark as ordered.
- Check your product page.
👉 Read more about Inventory Transfer here: Creating and managing inventory transfers
FAQs
Do I need to install Foxify: Inventory Status from the Shopify App Store?
Can I customize how the Inventory Status bar looks?
What should I do if Inventory Status isn’t showing?
- Make sure the extension is enabled and shows a green checkmark in App extensions.
- Make sure you've checked Track quantity and uncheck Continue selling when out of stock option in your product.
- Verify you placed the widget in your product page template.
- Check the visibility settings for desktop, tablet, and mobile.
- Save your changes and refresh the live page.
Last updated