
Legacy EditorFoxify layout
Menus
3 min read
For example, you need to create a collection before you can add it to a menu.
Add a menu item
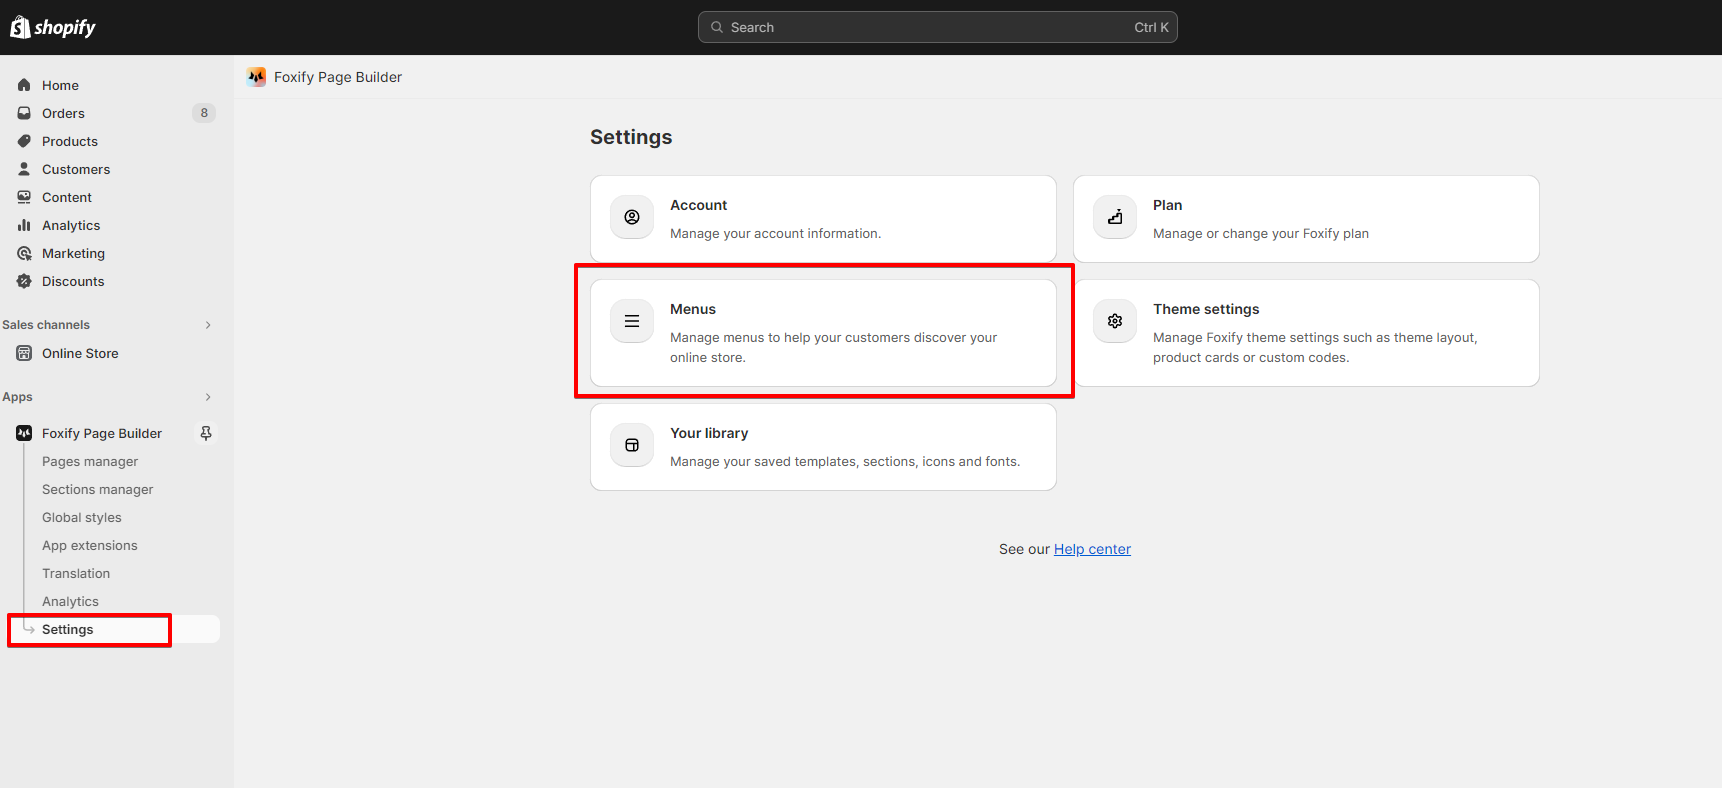
- From your Foxify Dashboard, go to Settings > Menus.
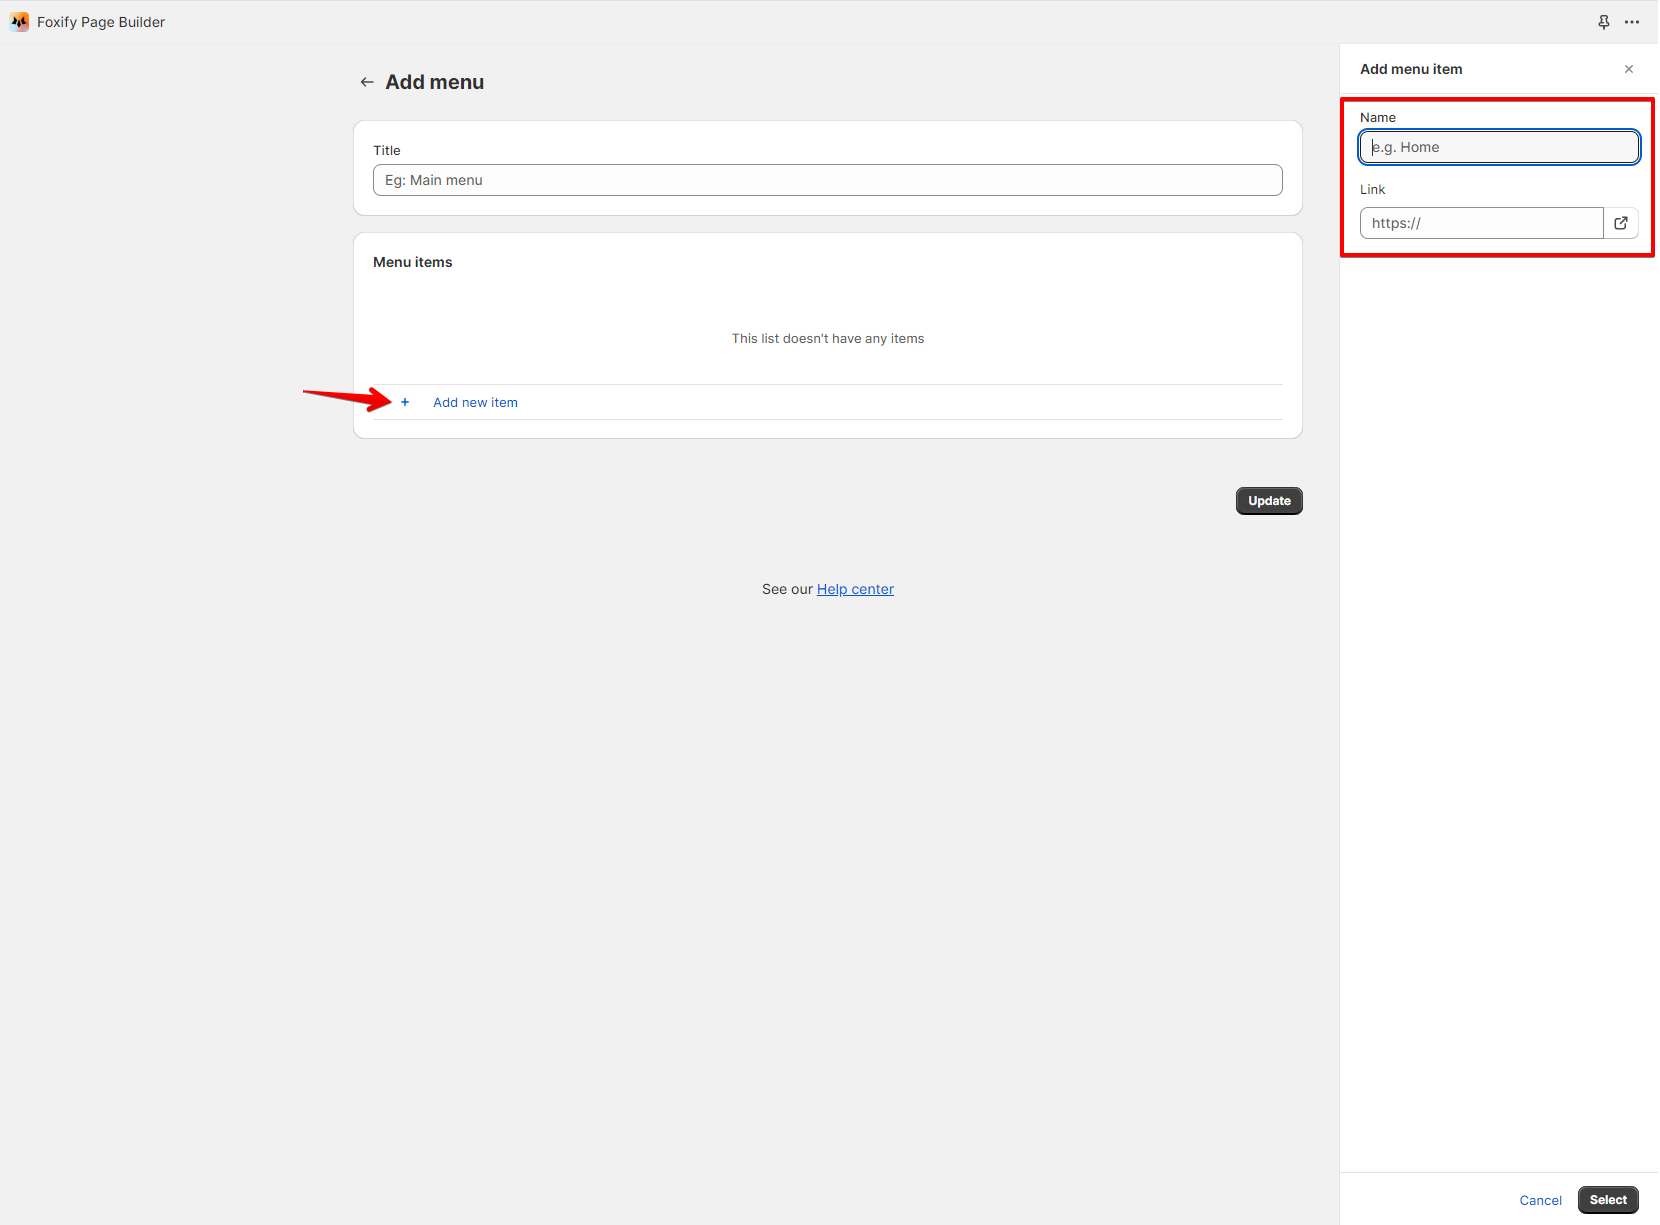
- On the Menus page, click Add menu.
- Enter a menu title to distinguish it from others.
- Click Add new item.
- Enter a name for the menu item. This name displays in the menu.
- Click the Link field, and then enter a website address for an external website or select a link type (Homepage, Collections, Products, Pages, Blogs, Articles, Policies).
- Click Select to save your menu item.
- Click Save menu.
Edit a menu item
- From your Foxify Dashboard, go to Settings > Menus.
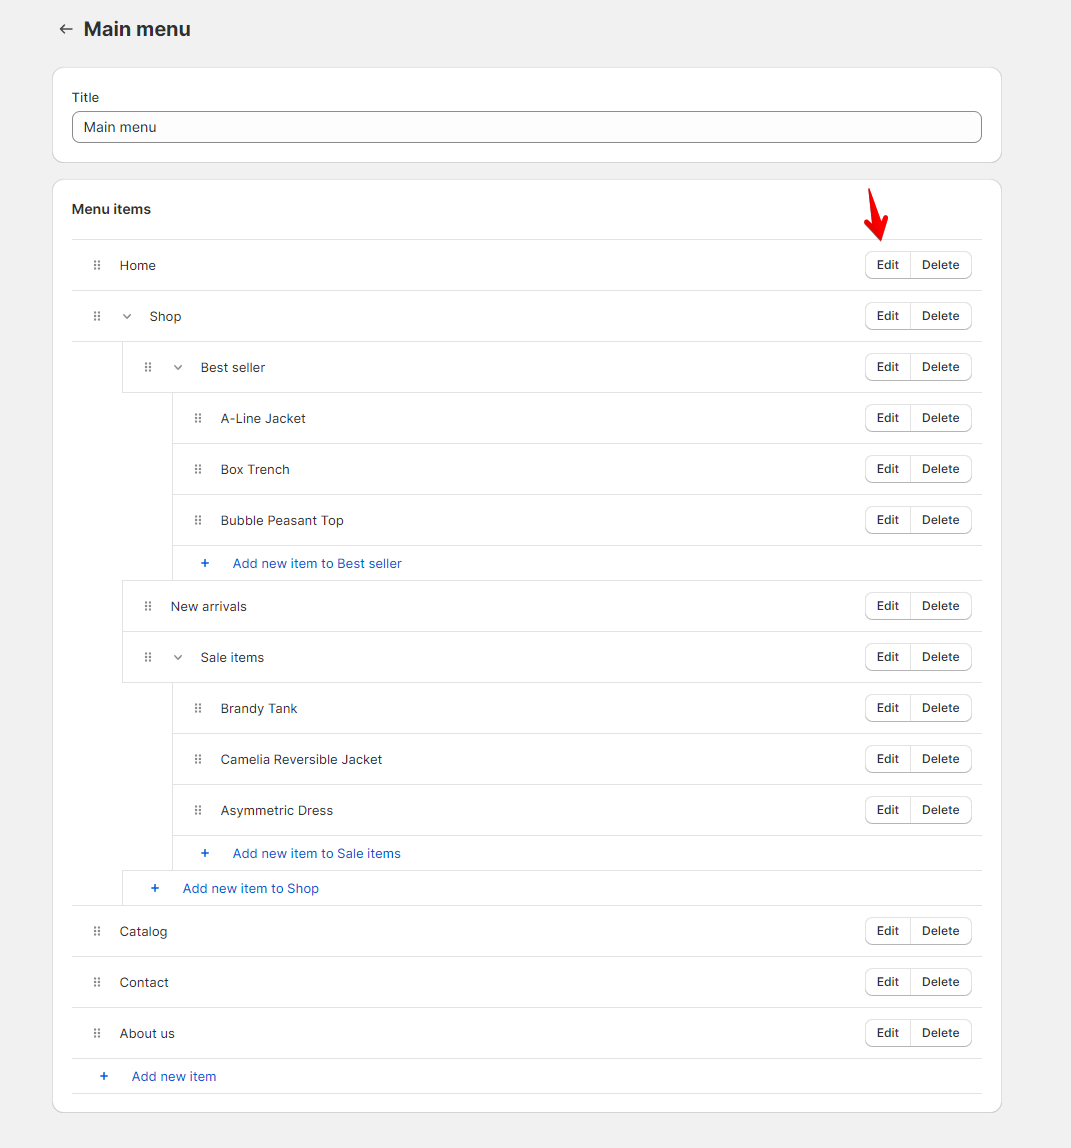
- Click the name of the menu that includes the item.
- In the Menu items section, click Edit beside the name of the item.
- Make necessary changes to the item name or link.
- Click Select.
- Click Save.
Change the order of menu items
- From your Foxify Dashboard, go to Settings > Menus.
- Click the title of the menu that you want to reorder.
- Click and hold the handle icon (⠿) beside the menu item, and then drag the menu item to another position.
- Click Save.
Remove a menu item
- From your Foxify Dashboard, go to Settings > Menus.
- Click Delete beside the menu item you want to remove.
- Click Save.
Last updated