
Workflows
Create a workflow
2 min read
Before you begin
✨ Want a head start? Use our workflow templates library: Get started with workflow templates library
Create and set up a workflow
Create a workflow
- In the XFlow dashboard, go to the Workflow section
- Click Create workflow to start a new workflow.
_9C3Bo0RP.jpg)
_JRC6JWjY.jpg)
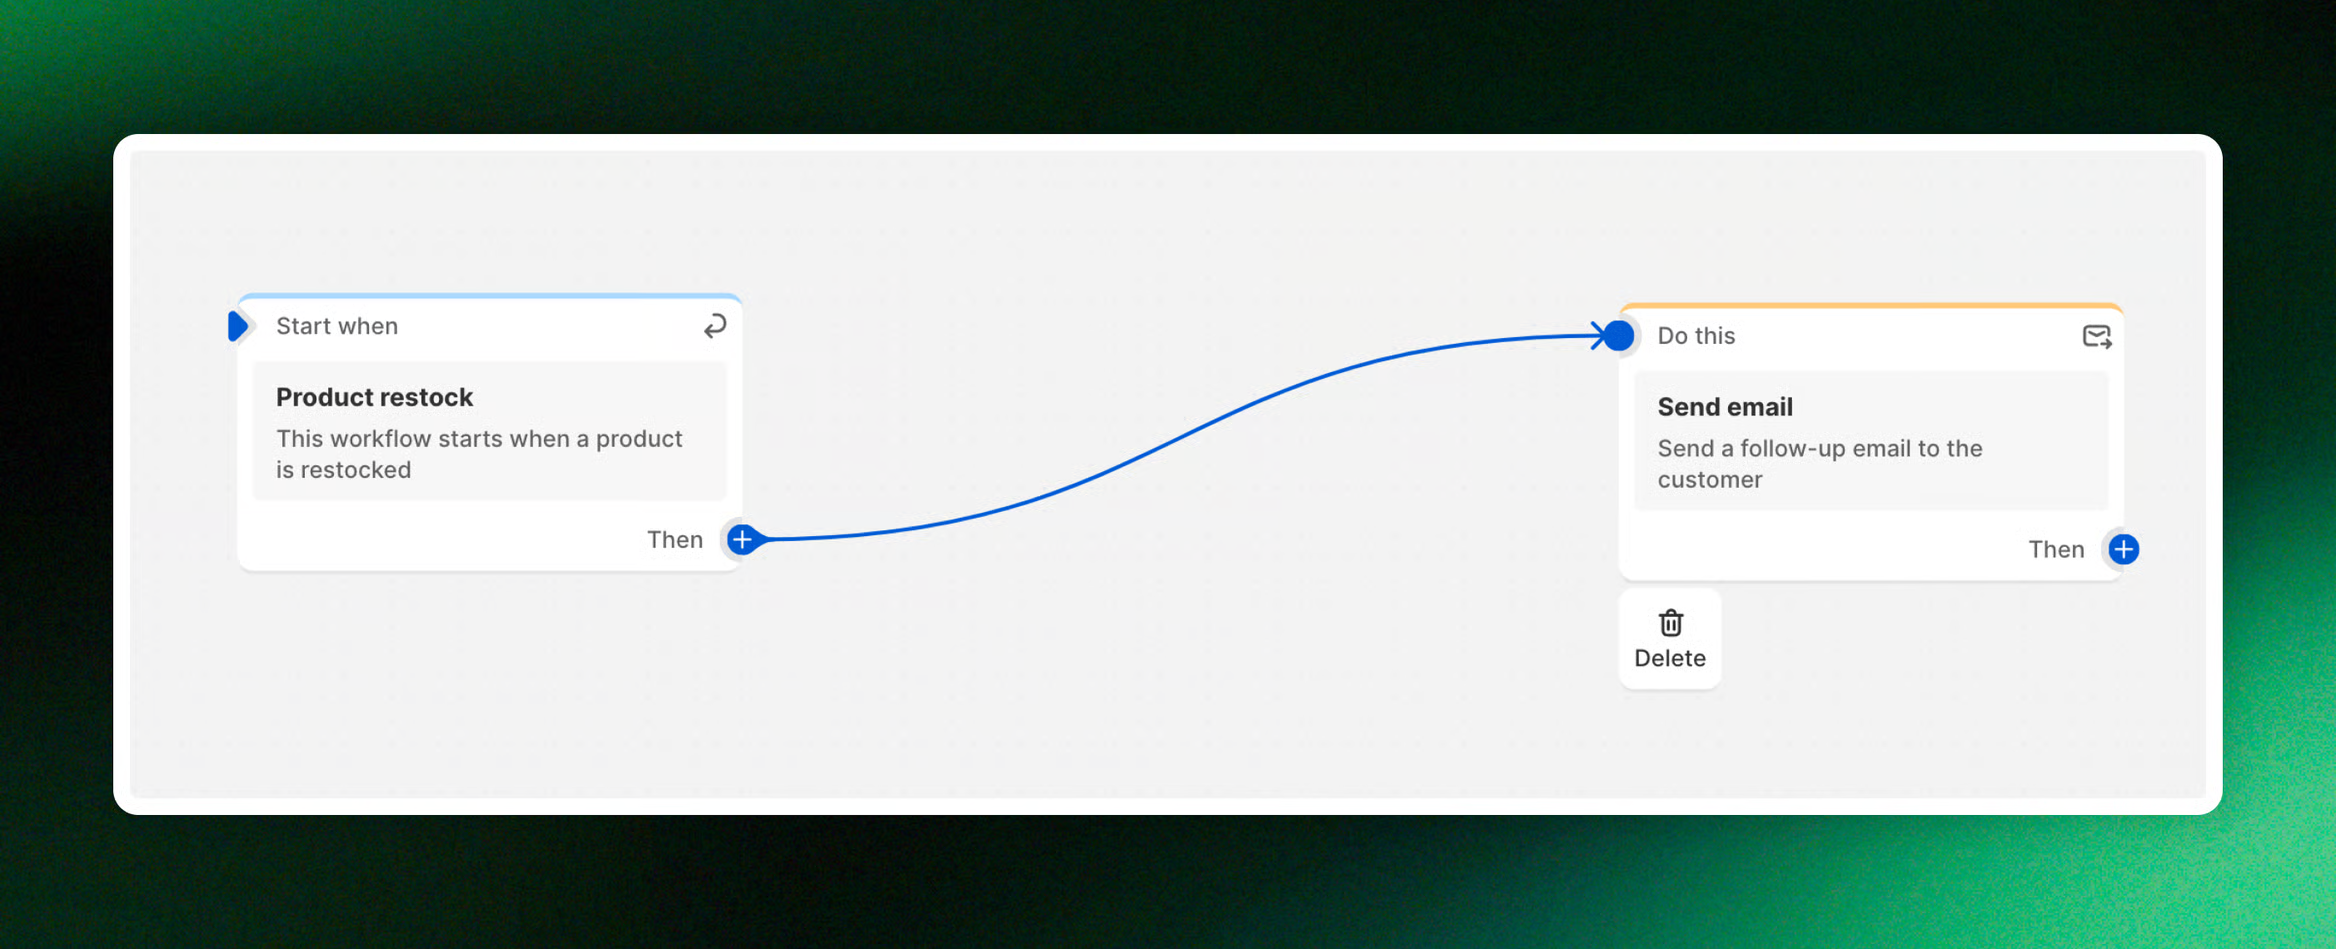
Start creating a workflow
Not sure how workflows work yet? Check out How workflows work
Set up your workflow
Run your workflow
_R5KvDfNI.jpg)
Your workflow has been activated!
_WZz9M6xo.jpg)
Best practices for creating workflows
- Start faster by using our workflow template library instead of building from scratch: Get started with workflow templates library
- After setting up your workflow, don’t forget to test it to make sure it works as expected: Test an email campaign
- Keep an eye on how your workflow runs: Recent runs
- A well-designed workflow follows clear logic and helps you reach the right customers at the right moment, without unnecessary or missing steps: Common mistakes when creating workflows
Related articles
Assign a workflow to your campaign
Email templates
Available triggers, actions, and conditions
Manage workflows
Workflows: FAQs
Last updated