# Advanced restock campaign
Turn on automated back-in-stock emails for the products or collections you choose — with a workflow and email template tailored to each campaign.
The [Global restock campaign](https://docs.foxecom.com/xflow-app/getting-started/quick-start-guide/global-restock-campaign) applies the same workflow to all out-of-stock products automatically. Use an Advanced campaign when you need different notification settings for specific products or collections — or when you want to override the global campaign for certain items.
## How to set up an Advanced restock campaign
1. Go to **XFlow > Campaigns**.
2. Click **Create campaign**.
3. Enter a campaign name.
4. Under **Scope & Target**, select the products or collections this campaign applies to.
5. Click **Save**. The campaign is saved as **Inactive** — you'll activate it after setting up your workflow and emails.
Each campaign represents a dedicated restock strategy.
If you're also running a Global restock campaign, set this campaign's **Priority** to **1 or higher**. The Global campaign has priority 0 — the higher number wins when the same product is covered by multiple campaigns.
[Learn more about Campaigns](https://docs.foxecom.com/xflow-app/campaigns/overview)
Go to **XFlow > Workflows** and open the workflow you want to use — or create a new one.
Workflows control what happens when a product is restocked: when to send emails, whether to wait before sending a follow-up, and what conditions to check before acting.
Each campaign has its own workflow, so different products can follow different restock strategies.
[Learn more about Workflows](https://docs.foxecom.com/xflow-app/workflows/overview)
Go to **XFlow > Email templates** to set up and customize your email template.
Email templates control the content and branding of your notification emails, including:
* Subject line
* Messaging tone
* Call-to-action (CTA)
* Layout and branding elements
[Learn more about Email templates](https://docs.foxecom.com/xflow-app/email-templates/design-your-email-templates)
1. Go to **XFlow > Campaigns** and open your campaign.
2. Under **Notification workflows**, confirm the workflow from Step 2 is assigned.
3. Change **Status** to **Active**.
4. Click **Save**.
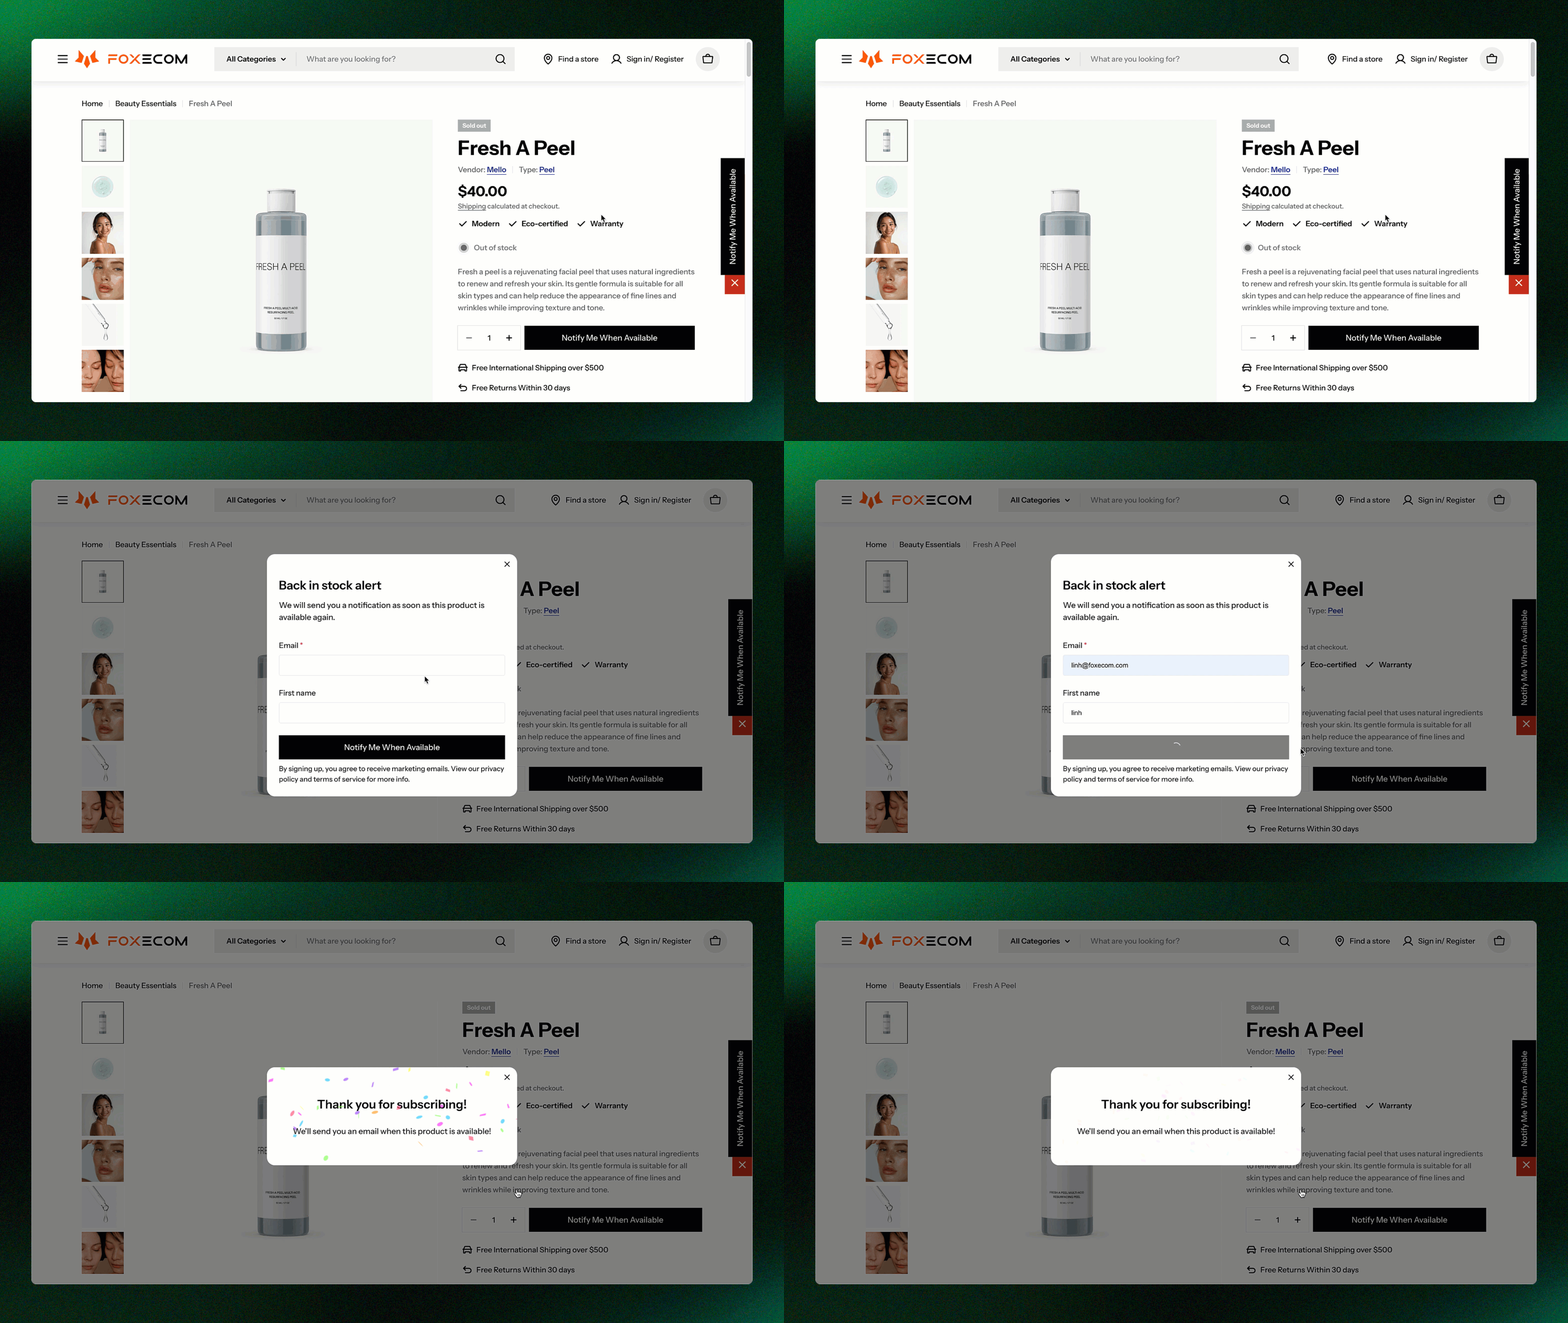
1. Go to one of your targeted out-of-stock product pages on your storefront.
2. Click **Notify Me** and subscribe with a test email.
3. In Shopify admin, manually restock that product (increase inventory by 1).
4. Check your test email inbox — the notification email should arrive within a few minutes.
5. Go to **XFlow > Subscriptions** to confirm the subscription status shows **Delivered**.
Learn more: [Test an email campaign](https://docs.foxecom.com/xflow-app/campaigns/test-an-email-campaign)
## Track performance
After your campaign is live, go to **XFlow > Subscriptions** to monitor:
* Number of subscribers waiting for restock
* Email delivery status
* Open and click activity
* Whether subscribers completed a purchase
All data is campaign-based — so you can compare performance across campaigns and optimize each one separately.
[Learn more about Subscriptions](https://docs.foxecom.com/xflow-app/store-management/subscriptions)
## FAQs
**Can I have multiple Advanced restock campaigns?**
Yes — create as many as you need, each targeting different products or collections with its own workflow and settings.
**What happens if a product belongs to multiple campaigns?**
The campaign with the higher priority number takes precedence. Set priority in the campaign settings — the Global restock campaign always has priority 0.
**Can I pause an Advanced restock campaign without deleting it?**
Yes — change the campaign status to **Inactive**. Your settings are preserved and you can reactivate it whenever you're ready.
## Related articles
Global restock campaign
Key concept overviews